Challenge: Craft it Forward Reveal Part 2

In the last post you saw the fun Craft-it-Forward apron that made it’s way to Lisa (visit this post confused by what Craft-it-Forward is all about).  Today’s post picks up with participant #2’s crafty treat.

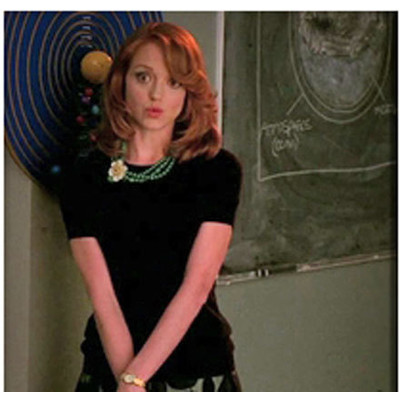
Becky is a fun internet friend I “met” while planning our wedding, and she and her mister will tie the knot in a few weeks.  After glancing over Becky’s blog it is apparent she is a fan of  sunflowers…so I decided she needed something with a sunflower on it and intended to make her an apron with a sunflower pin as well.  Until… I was watching Glee one evening and had a fun idea for her based on my girl Emma’s necklace.

(source: Polyvore)

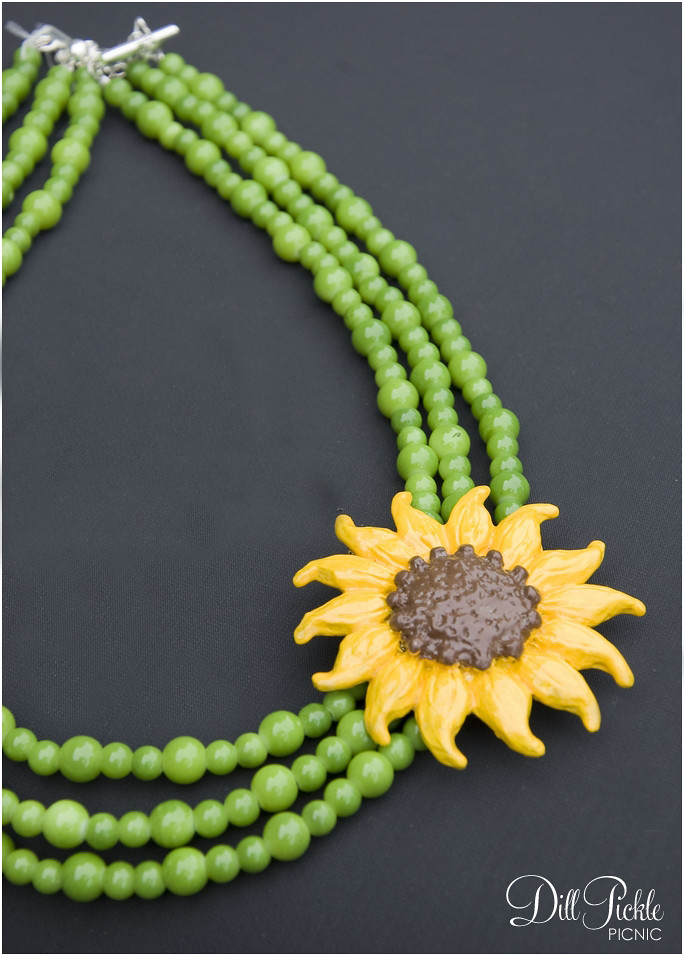
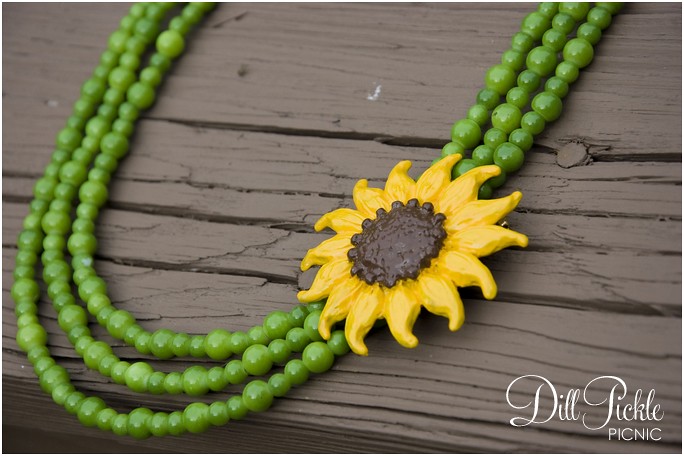
So I decided to attempt to create something similar for Becky, and set off to several local thrift stores in search of the perfect flower.  I found something similar and then posed the following question to her via twitter, “Painted or Gold”…she choose painted and so I painted the gold-tone brooch to be the bright colors of a sunflower.  I then paired the sunflower brooch with three strands of green glass beads to get this:
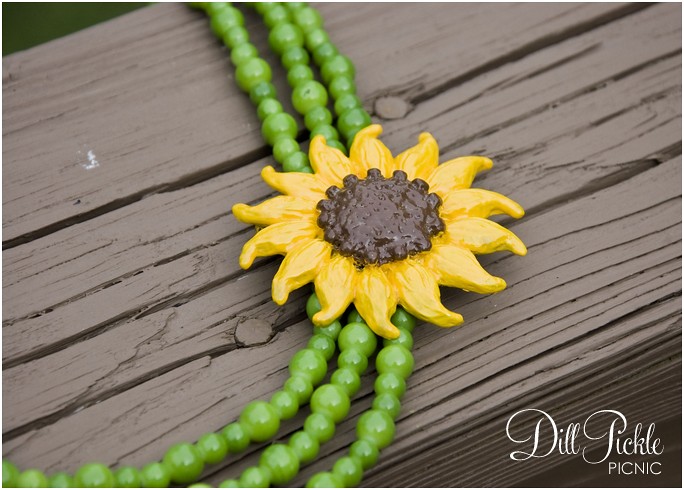
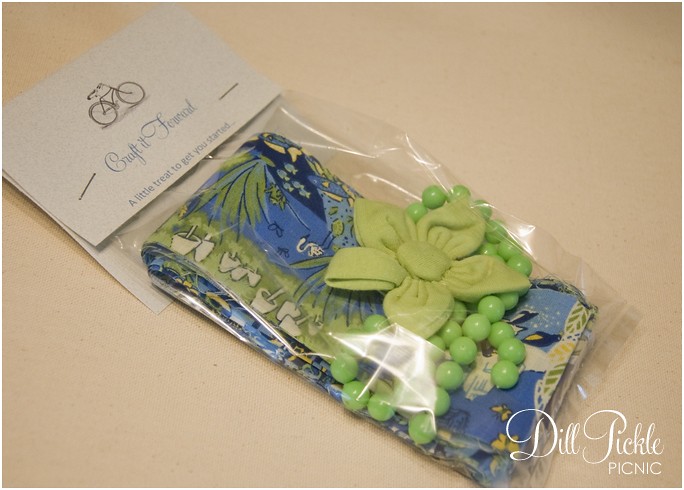
And finally to help get her started on her own Craft-it-Forward projects I included a little bag of crafty items from my ever growing stash:
I had a blast putting together these two fun Craft-it-Forward packages and I hope they enjoyed receiving them.  Now, tell me…am I the only person obsessed with Emma on Glee?  I wish whoever styles her character would come make-over my wardrobe!  Want your own Emma inspired necklace?  Check back next week for the opening of the Dill Pickle Picnic Shop!!

Oh…and congrats to Becky & her mister as they spend the next few weeks wrapping up their wedding plans and celebrating their marriage!
Challenge: Craft it Forward Reveal Part 1

Ages ago you might have seen several posts about a fun little crafting challenge/giveaway I participated in called “Craft it Forward”.  If not, check out this post for all the details.  I ended having a really hard time getting in touch with the 5 winners (who knew it would be so hard to give something away) and I ended up with only 2 participants.    Hopefully my next challenge/giveaway will be a bit more successful (hint, hint…there might be something coming up in September).

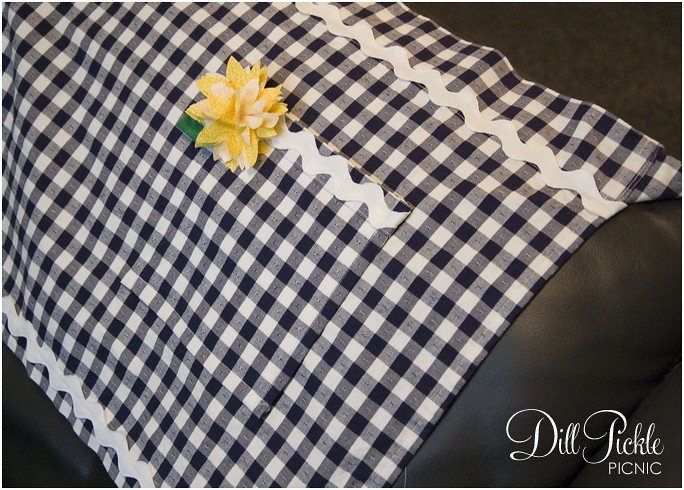
Today, it’s time to show off the goodies that the the lovely Lisa M found in her mailbox earlier this summer.  Using that large bolt of fabric I picked up at Goodwill for $2.00, I created this little apron for her:

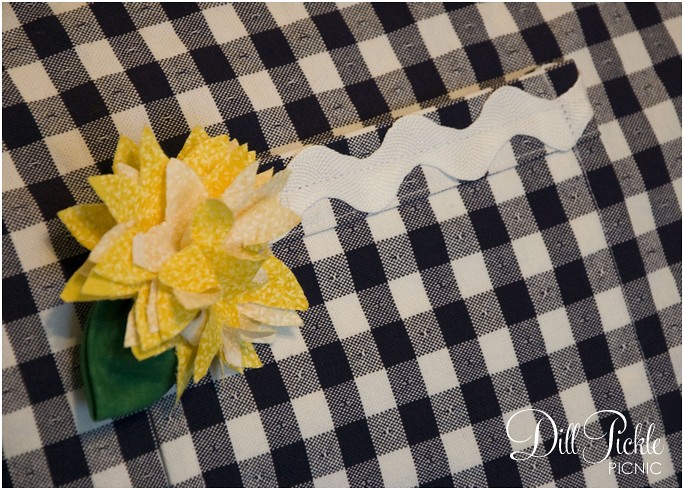
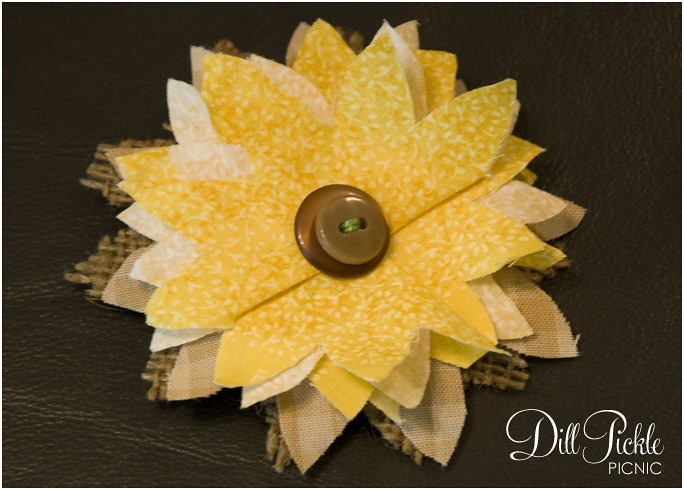
And since the flower could get a bit dusty with all that baking, there is an extra flower pin to switch it up with from time to time:

And finally to help get her started on her own Craft-it-Forward projects I included a little bag of crafty items from my ever growing stash:

It was really fun getting back into sewing (this was the first project I had sewn start to finish in a long time) and it was especially fun to just sit down without a pattern and see what I could come up with.  Lisa, I hope you are enjoying your apron and have as much fun as I did when you do your crafts to pass along.

Check back on Monday to see the second project from my crafting it forward.  Have you ever participated in a crafting challenge?  And if so, did you have problems getting your winners to respond so they could collect their prizes?

DIY: Flour Sack Boo-tiful Pillow Cover

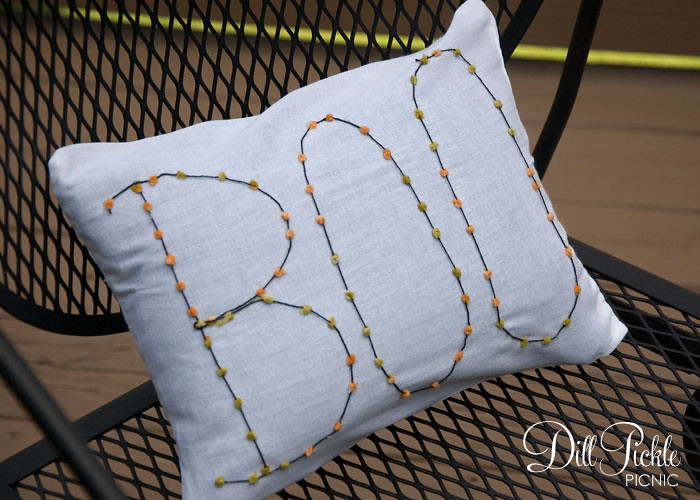
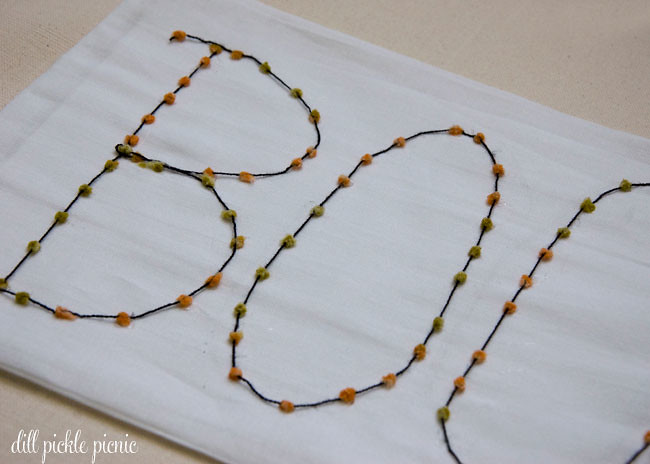
I know Halloween is still a few months away, but I couldn’t resist posting this fun (and cheap) project now.  It was easy & cheap…plus it’s tied to the infamous  “envelope of doom“,  so that makes it even spookier 😉  My Boo’tiful Flour Sack Pillow Cover:

Supplies Needed:

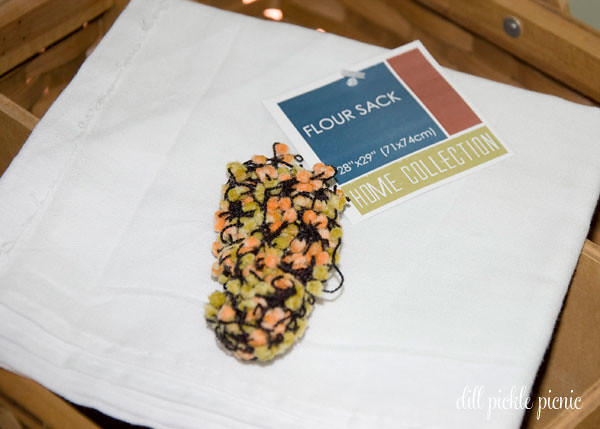
  • Fabric for pillow cover, I used a Flour Sack Cloth from my local Dollar Tree.  You will one piece of fabric that is 14 x 14.5 inches.
  • Small Pillow or stuffing
  • Yarn or Other Trim to make letters
  • Sewing Machine with matching thread
  • iron & ironing board
  • glue (I used hot glue)
  • Ruler

Instructions:

  1. Gather all your materials and press the fabric to remove all creases.
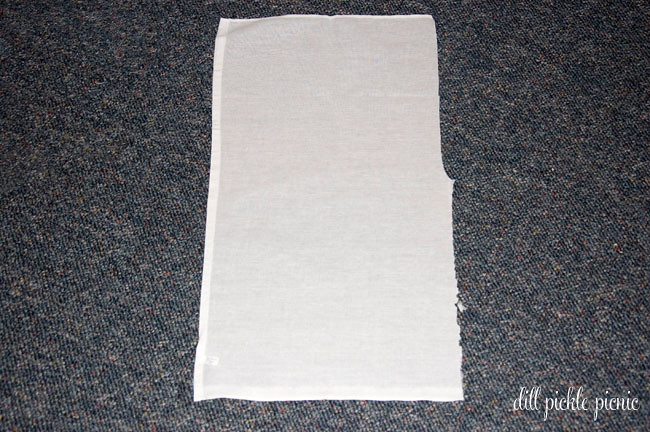
  2. If using the thin flour sack fabric you will need to cut the fabric in half length wise.  If you remember I used the other half of this same piece of flour sack to make this fun fish pin board.
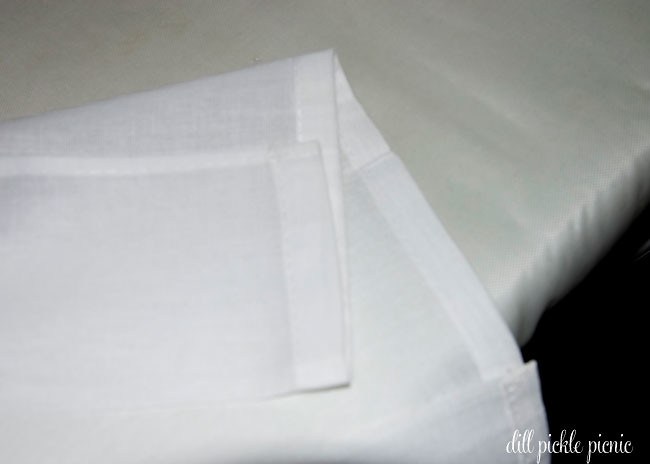
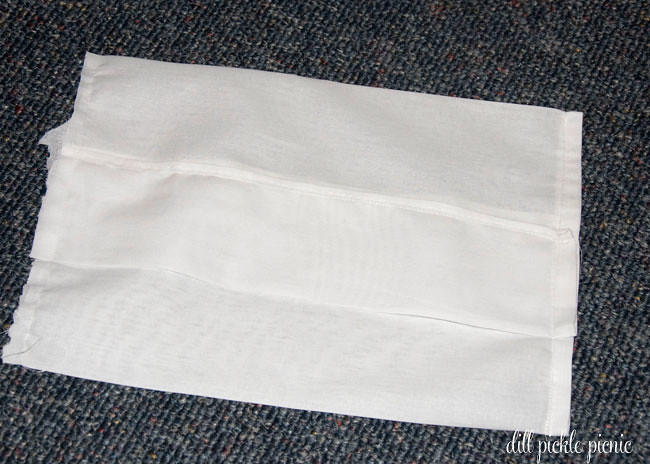
  3. Using your ruler pull the top edge of the fabric to the back 3.25 inches and stitch down along the bottom edge.
  4. With the sewn edge facing down, pull the bottom edge of the fabric up and over to the top 6.5 inches and press.
  5. Using your ruler pull the top portion down 7 inches.  It will overlap the pressed portion from step #4
  6. Take the folded fabric package to your sewing machine and sew both the left and right sides closed (leaving a 1/4 inch seam)
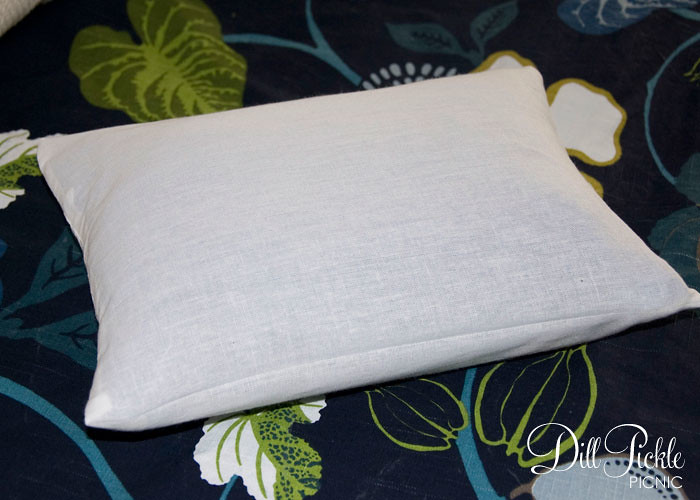
  7. Turn the pillow cover inside out and you are ready to use.
  8. If you don’t have a small pillow already you could either use a pre-purchased accent pillow form, or fill it up with stuffing 🙂

Then to make it boo’tiful:

  1. Place a piece of cardboard inside the pillow cover to keep any stray glue from gluing it closed.
  2. I wasn’t sure of my freehand skills so using a washable pencil I drew a quick outline of my letters.
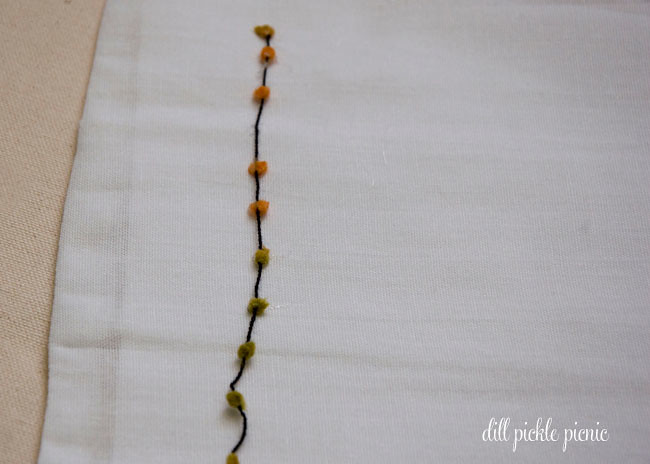
  3. I took my spooky yarn from the “envelope of doom” and glued it around the letter outlines.
  4. To make it a bit more sturdy for future washings I added several stitches around the furry dots to hold everything in place.
  5. Let dry/cool
  6. Remove cardboard, stuff, and enjoy!

Total Cost:  $1.00 and up

Using Envelope templates…of doom!

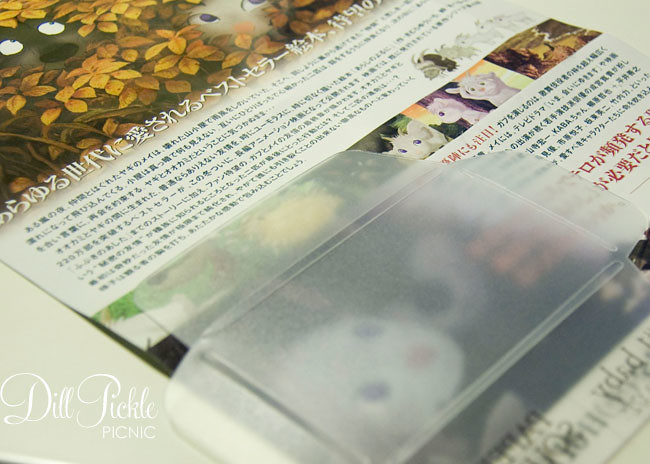
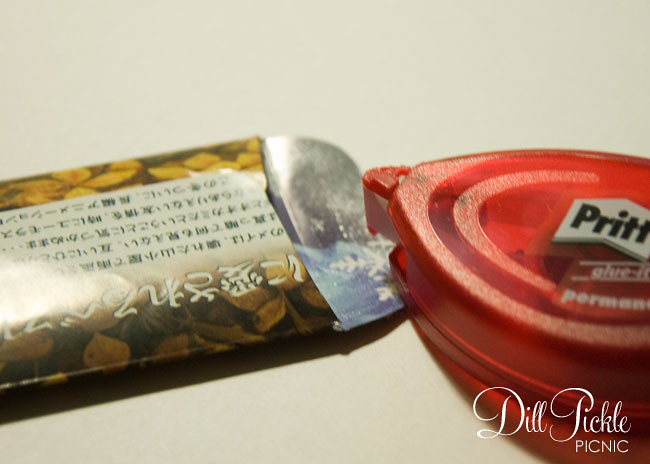
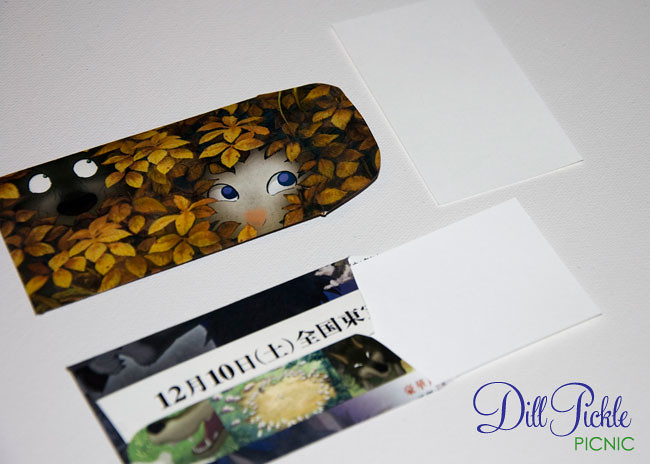
I love paper and I love office supplies.  There, I admitted it, so when I found a fun piece of paper in my envelope of doom I figured what better than to turn it into paper office supplies.  If you’ve followed my blog for a while you already know I love both lining envelopes and making my own envelopes, and some of my favorite tools are the templates you can purchase from Paper-Source.  I’ve more than gotten my money’s worth out of the ones I own, so when I was in the store a few weeks back taking a little class and saw the new baby sized envelope template I had to try it out.

This is the template kit I choose, the other option had pink paper selection but looking around here should explain how much I love blue and green so naturally I selected the “pool” color selection.

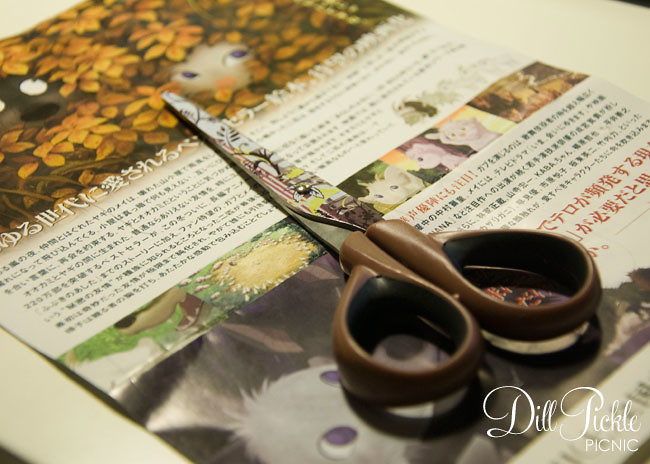
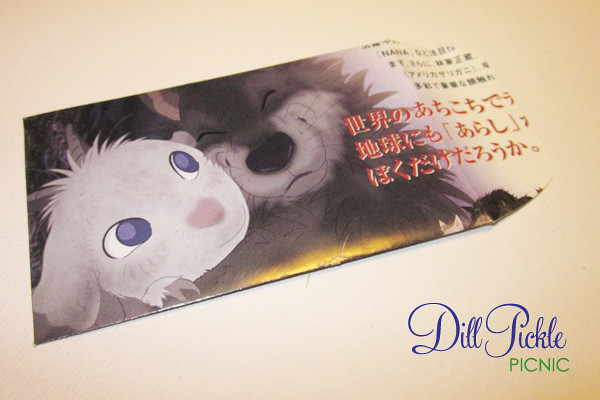
And this is the paper I found folded up in my envelope of doom!

Using their envelope templates is super-simple.

  1. Trace around the template on the reverse side of the paper.
  2. Cut out along the lines
  3. Score where the inner opening of the template are (I use a scoring board from Martha & love it)
  4. Glue the edges
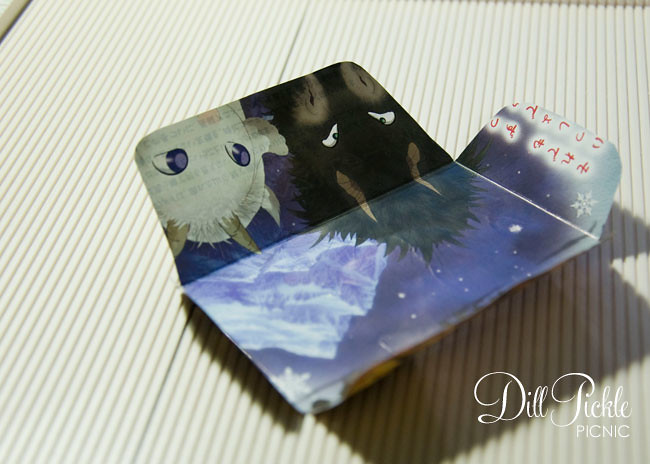
  5. Put those babies to use, these just happen to be the perfect size for a business card!

So basically I used contents from my “Envelope of Doom” to create “Baby Envelopes of Doom” 😉  In keeping with the rules of the game, the items were to be gifted to someone else…and these just so happened to be included in a swap package I was sending out!  I love it when things work out like that!

** I have been in no way compensated for my options or the products referenced above.  These are purely my unsolicited options of crafty products I use and adore! **

DIY: Fishy Thumbtacks

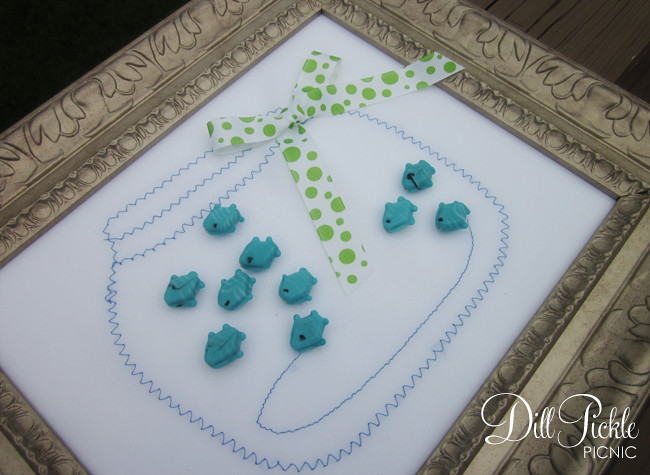
You’ve already seen the fishbowl message board I made as a gift to a friend.  Now, let’s bring on the fish…the fish thumbtacks that is. I mentioned the Envelope of Doom in a previous post, this is second of the 3 (or more) projects I created using several components from the “envelope of doom“. Don’t have an envelope full of supplies…don’t worry. You could create this project using items from your local dollar store & craft store as well! This is one of the quickest projects I’ve taken on in ages.

.

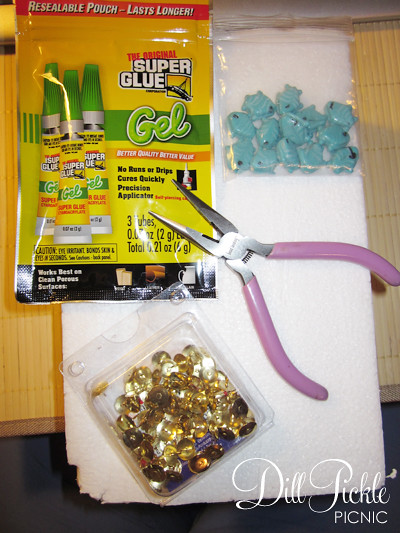
.Supplies & Materials Needed:

  • Fish beads
    Fresh from the envelope of doom, these happen to be glass
  • Thumbtacks
    The old school, plain kind with flat tops
  • Glue
    Any glue that will attach your bead material to metal will work here.  I used super glue which held “ok”.  One commenter suggested E6000 as a better option.
  • Foam block
    Optional but extremely helpful
  • Pliers
    Also optional for most people, but I’m not allowed to use super glue without the supervision of an adult and these help me not glue myself to things.  One day I’ll tell you about the time I glued both hands to separate tools and needed my then boyfriend to rescue me.  So many things will make more sense after that I’m sure! 😉

.

Instructions:
This is potentially the easiest tutorial I’ve ever written, and I think the photos tell the whole story.


  1. Count out the number of thumbtacks you need, and spread them out onto your Styrofoam block.  By placing the sharp end into the foam it will hold them in place while you glue down the fish.
  2. Squeeze a medium-sized amount of super glue onto the first tack.  I’m using the gel type of super glue from my local dollar store, this is because it is thicker and easier for me to work with.  It also means fewer drips which makes it MUCH safer for me to use.
  3. Place a fish bead onto the drop of glue and press down.  Let dry completely.
  4. I use the pliers to help center the beads really quickly before the glue sets.  It is also helpful when removing them just in case they aren’t completely dry.
  5. Repeat for each tack

I had all the supplies in my stash to make these fun tacks, so my grand total was FREE!  Gotta love that

Total Cost: $1.00 and up

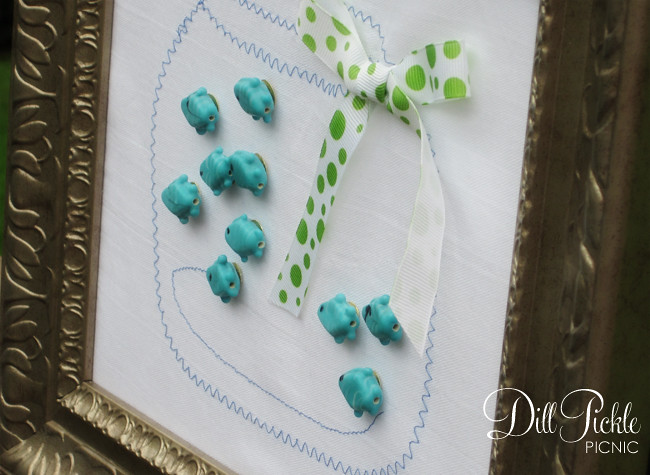
And after they dry, you end up with these cute little guys:

I think they really make the note board look more like wall art… even though now I wish I had painted the frame a fun green to match the ribbon.

I think this process could be fun to make all sorts of cute thumbtacks, so I see more of these in my future.  How about you?  Do you use cute things to attach things to your memo boards and if so where did you find your favorites?