DIY: Race Car Cupcake Toppers

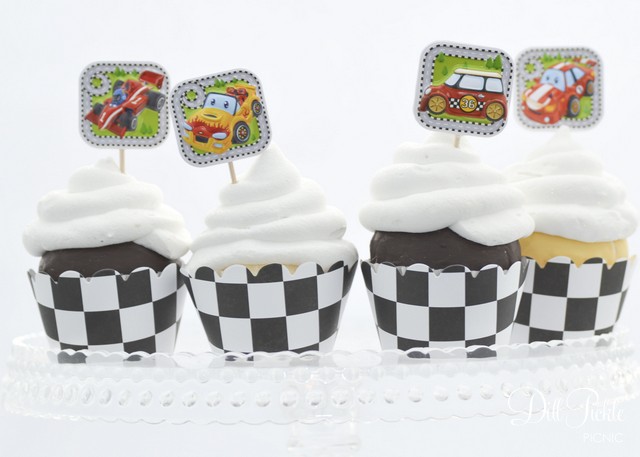
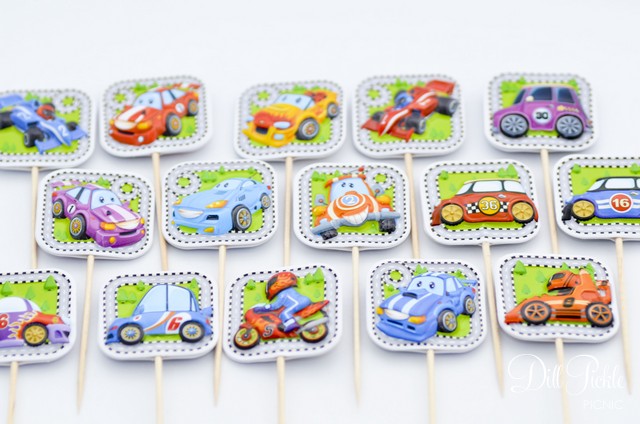
I don’t know about you, but there is at least one person in my house who is a fan of all types of motor car racing.  From F1 (which I actually enjoy watching) to NASCAR he is interested in it all.  I blame his dad and grandfather for this fascination with all things racing but I suspect it is quite the norm with boys of all ages.  I recently had a custom request to put together something for a little guy’s 3rd birthday party.  Mom wanted a race theme but nothing “character” related and I lucked out and found these adorable car stickers on the cheap.  I think they turned out quite fun, and wanted to share in case you might want to make a few of your own!

Race Car Cupcake Toppers by Dill Pickle Picnic

DPPPhoto-096Supplies Needed:

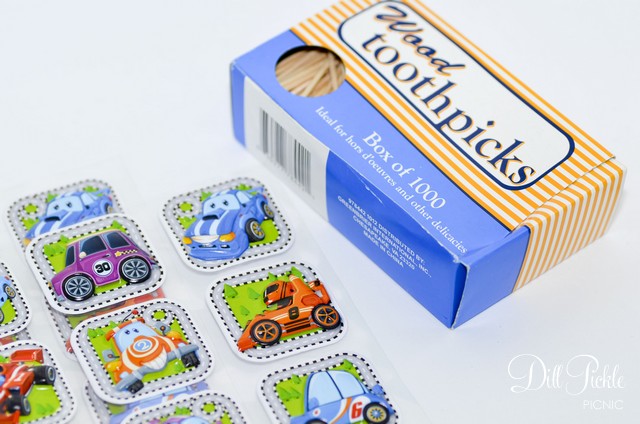
  • Race Car Stickers – 2 stickers per topper (these cute 3D ones came from Dollar Tree)
  • Toothpicks
  • Optional: glue (low temp hot glue or craft glue)

Instructions:

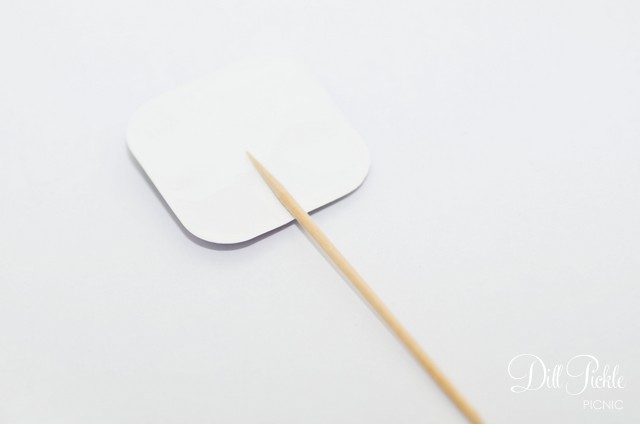
  1. Place first sticker laying face down on a flat surface
  2. Place toothpick near the bottom of the sticker, making sure to leave .25 inch or so of the toothpick on the sticker’s surface.
    DPPPhoto-098
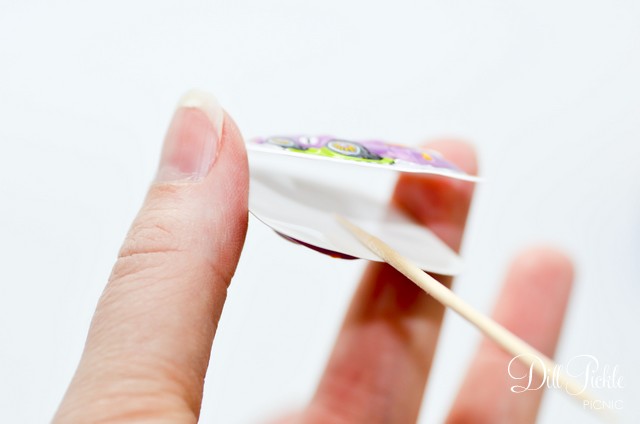
  3. Optional Step in case your stickers are a bit heavier:  Apply glue to the back of the sticker
  4. Carefully place the second sticker over the back of the first pressing firmly to “lock” the toothpick in place.
    DPPPhoto-099
  5. Let dry completely and enjoy!

Race Car Cupcake Toppers by Dill Pickle Picnic

If you don’t want to make your own…I got a bit carried away so I have one additional set listed in my Etsy shop.

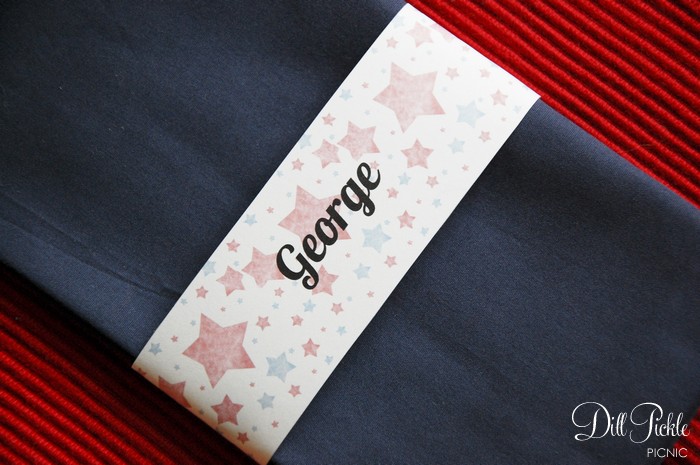
DIY: Patriotic Napkin Wraps – Stars

Keeping with the red,white, and blue theme this week…today I have one more fun napkin wrap template.

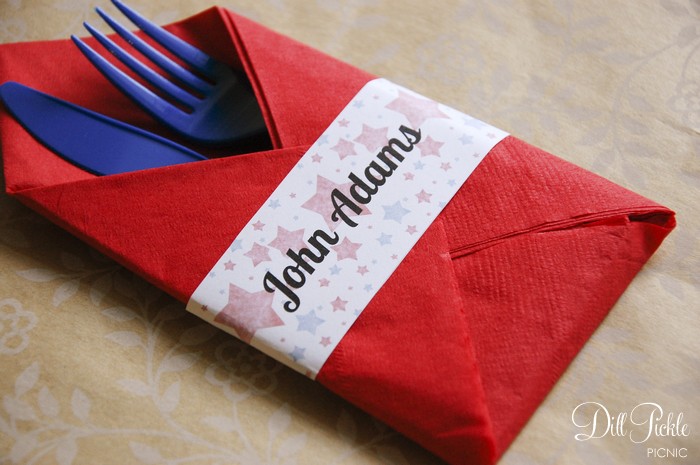
I also noticed recently that I always take photos of the napkin wrap templates using cloth napkins…but the 4th of July is a perfect opportunity to show they work great with paper napkins as well!

(click here to download MS Word template)

I love how this one looks with my dollar store napkins and plastic cutlery!  The great thing is the napkin wrap holds the bundle together so you could make them up ahead of time!  Total Cost $2.14

>>>>>>>>>>>>>>>>>>>>>>>>>>>>

The font used in the template above is Lobster 1.4, which is free to download from Pablo Impallari.

New to Napkin Wraps?  No worries, visit this post for step-by-step instructions on how to use my napkin wrap templates!

DIY: Patriotic Napkin Wraps – Flags

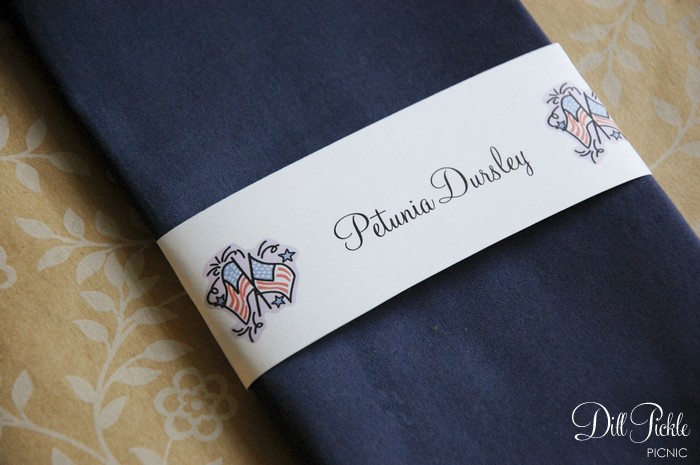
I’ve been away and neglected this poor little blog for far too long….and since the 4th of July is just around the corner, this week it’s all about Patriotic crafts!  Let’s get things started with a new napkin wrap template!

(click here to download MS Word template)

The template above uses Monterey BT font which is free to download from SoFontes.

New to Napkin Wraps?  No worries, visit this post for step-by-step instructions on how to use my napkin wrap templates!

And now for a shameless plug….did you know I have an Etsy shop?  While it is 99% to blame for my lack of craft posts recently, I did take a break from custom orders to whip up a few sets of  red,white and blue cupcake flags and flagged straws!

DIY: Are you ready for some football…straws?

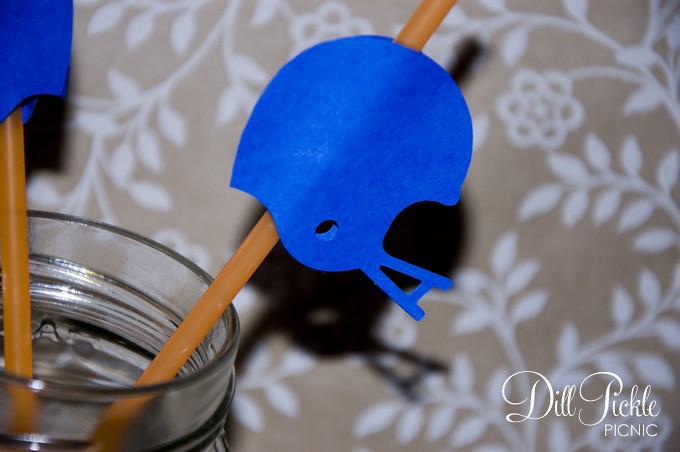
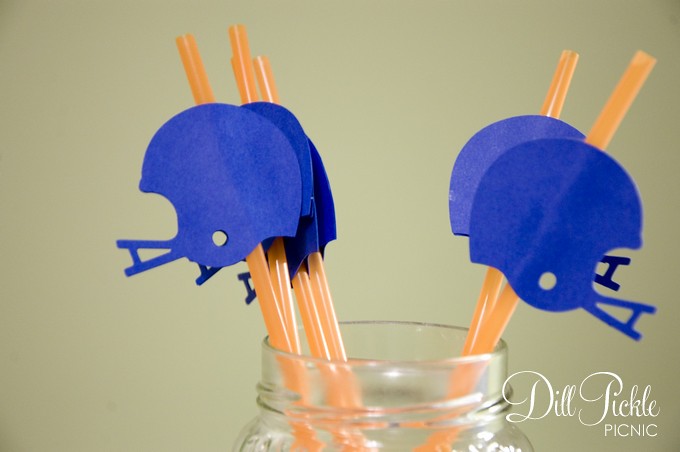
Today I would like to dedicate some craftiness to one of my all-time favorite fall activities…football!  While I tend to gravitate towards college football, this craft could just as easily apply for the pros.  Regardless of what your favorite tailgate beverage might be, I can assure you it will look much more festive when sipped casually through one of these cuties. 😉

DPPhelmetstraw3
Ready to make some of your very own?

Supplies Needed:

  • Cardstock in your favorite team’s colors
  • Straws, also in your favorite team’s colors
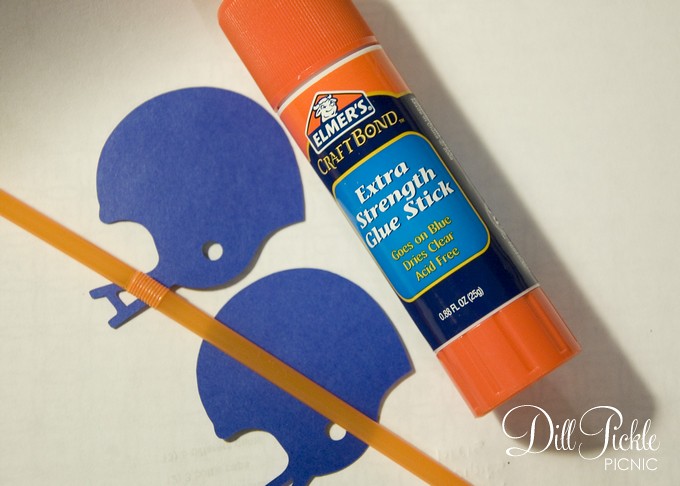
  • Glue or Glue Stick
  • Helmet Punch (or die cuts from your favorite machine, you will need two helmets for each straw)

DPPhelmetstraw9

Instructions:

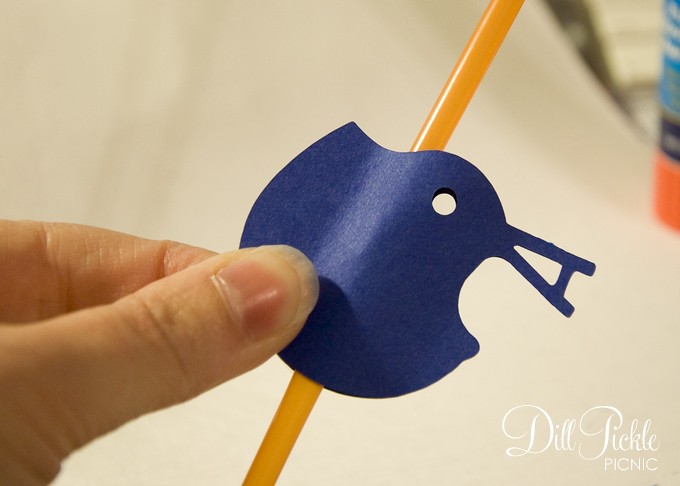
  1. Punch out your helmets.  For this version of this process I used my Silhouette to quickly cut out my helmets using some cardstock I had left over from another project.   You will need two helmets for each straw you want to make.
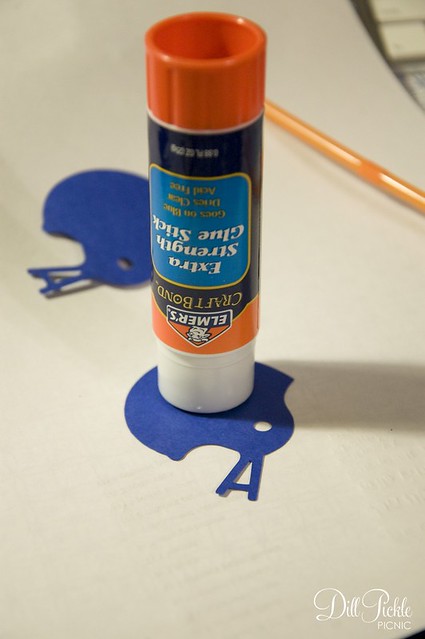
  2. Using your glue cover the back of one helmet. I use a glue stick when I want to whip these up really quickly, but choose to use paper glue for the ones I sell in my store).
  3. DPPhelmetstraw10

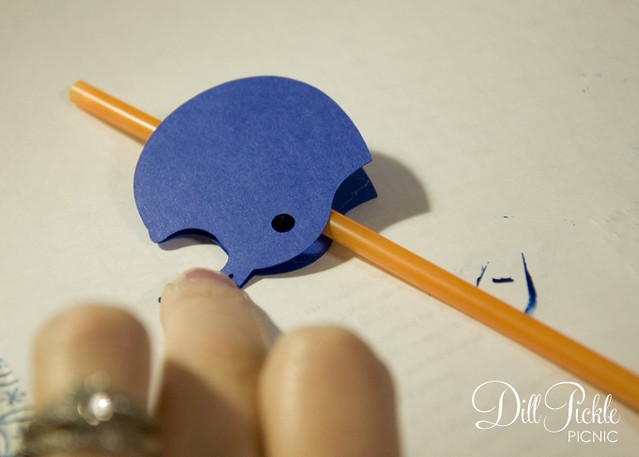
  4. Carefully layer the second helmet onto the first, taking care to line up the edges all the way around. Make sure you press to seal the pieces together around the straw.DPPhelmetstraw11
  5. DPPhelmetstraw12

  6. Repeat for the remainder of your straws

Wouldn’t these look fun for a sport themed birthday party as well?

DPPhelmetstraw13

Total Cost: $1 and up

See quick, easy…and cute! Will you decorate for your tailgate area this year? Can you guess who my team of choice is based on these colors?

War Eagle!

Like these but have no time to make your own?
Check out my shop and message me about creating a set custom for you!

DIY: Pumpkin Ale Labels

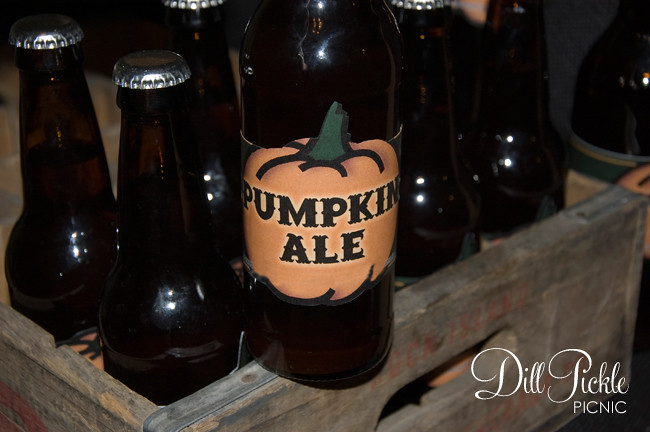
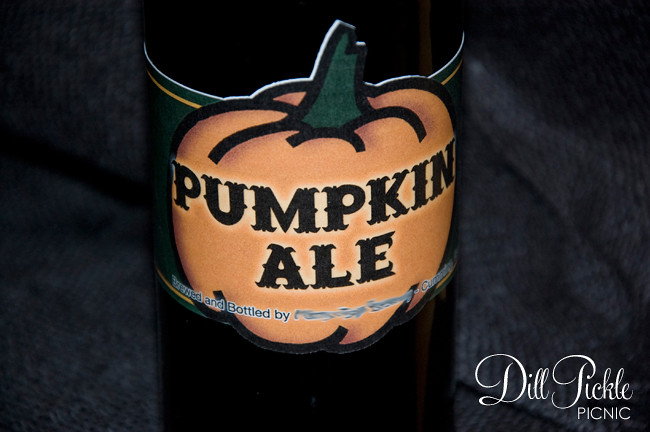
One last project going on in our household this week is the labeling of my hubby’s home-brewed pumpkin ale.  However these fun labels could look fun over your favorite pumpkin brew or any other fun Halloween beverage.  This could even be fun for other fall festivities or Thanksgiving.

Pumpkin Ale Labels
I printed these out on standard paper and then ran them through my Xyron machine, so these labels won’t stand-up to being iced down.  Then I setup a cut file on my Silhouette (which I’m still learning how to use) and cut them out.  The labels were quickly thrown together, but overall I’m happy with how they turned out.

Don’t have all the fun toys above?  That’s ok too!  You can easily make your own by downloading the printable PDF from below and printing it out onto full sheets of labels and then trimming around them!

Click to Download Printable PDF

Pumpkin Ale Labels

Now that the pumpkin ale labels are finally all attached and ready for a Halloween party this weekend…it’s time to start thinking about fun ideas for the Holiday Ale coming up next!

I hope each of you has a safe & spooky weekend, Happy Halloween Y’all!!

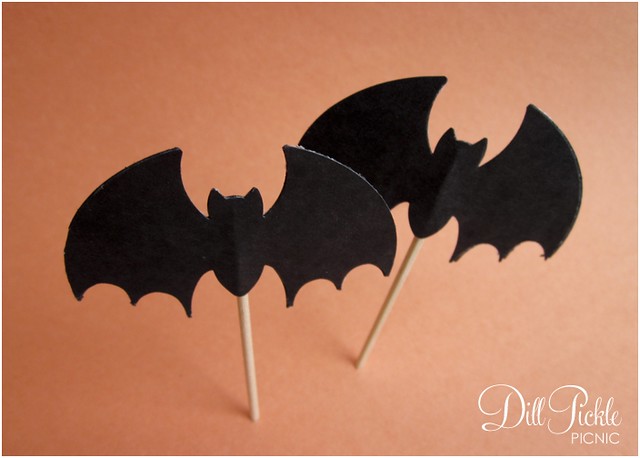
DIY: Batty Cupcake & Food Flags

Well hello there! I’ve missed you guys while I’ve been toiling away on a huge work project that I wish I was able to share. It ended up being almost 100% DIY and has really tested my abilities to be both crafty, economical, and yet still extremely professional. Now I’m creatively tired. Does that make sense?

So, today lets talk about Halloween and how bats can be cute.
DPPbatstraw17Ready to make some of your very own?

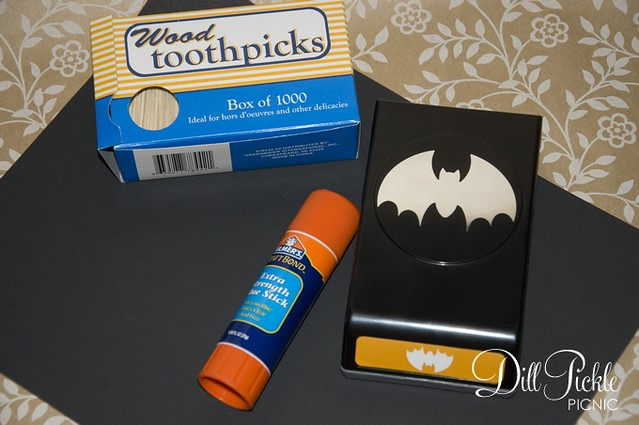
Supplies Needed:

  • Black Paper or Cardstock
  • Glue or Glue Stick
  • Toothpicks
  • Bat Punch (or die cuts from your favorite machine)

DPPbatpicks-1

Instructions:

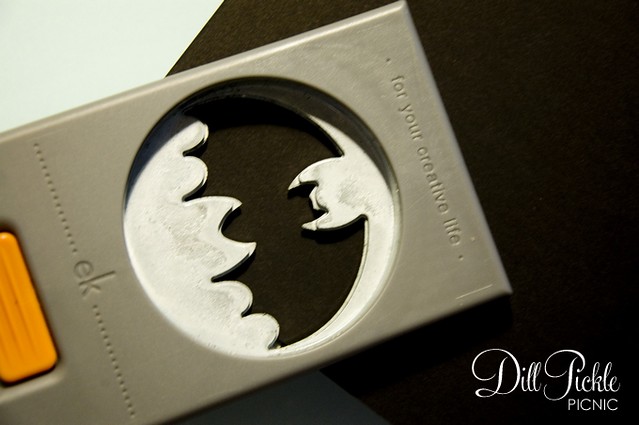
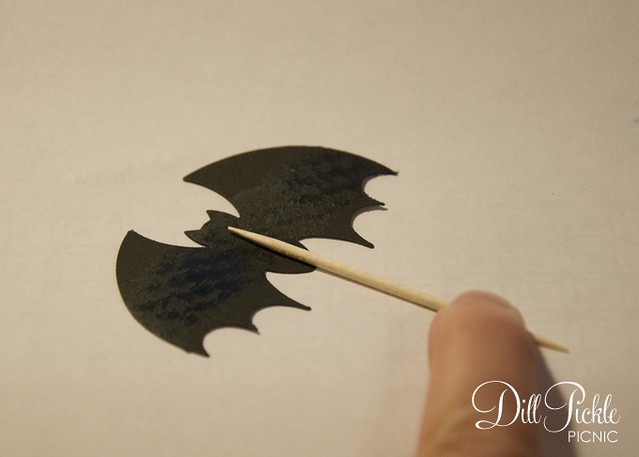
  1. Punch out your bats. I used a punch I picked up at JoAnn’s with a 50% off coupon. You could also cut them using your favorite die cut machine. You will need two bats for each flag you want to make. (Hint: with this punch I could get roughly 20 individual bats from one 8.5×11 piece of cardstock).DPPbatpicks-2
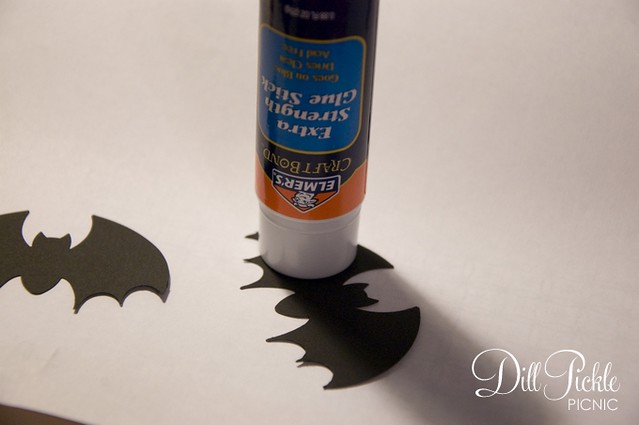
  2. Using your glue cover the back of one bat. I use a glue stick when I want to whip these up really quickly, but choose to use paper glue for the ones I sell in my store).DPPbatpicks-4
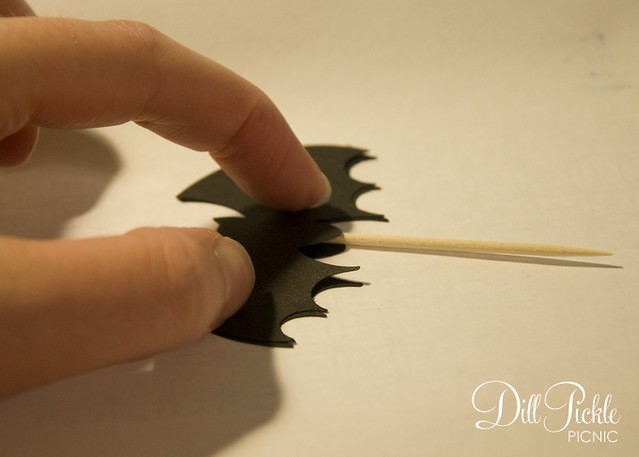
  3. Place your toothpick on the glued bat.
  4. DPPbatpicks-5

  5. Carefully layer the second bat onto the first, taking care to line up the edges all the way around. Make sure you press to seal the pieces together around the toothpick.
  6. DPPbatpicks-6

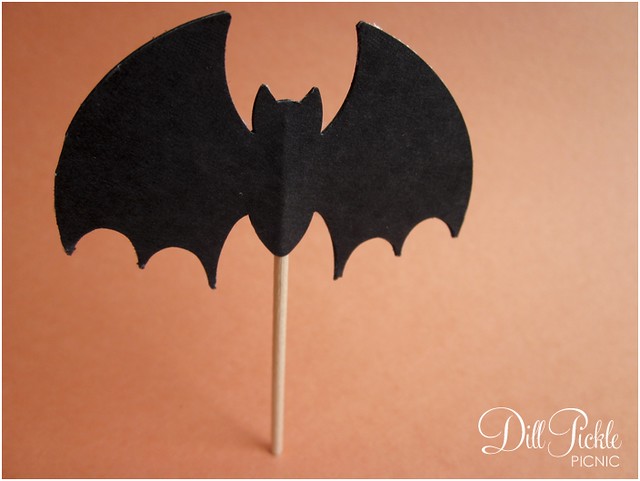
  7. Repeat & Add to Cupcakes or Other Spooky Snacks
  8. DPPbatstraw15

Want to jazz up your Halloween party a bit more? Repeat this process using straws to use when you serve up your “witches brew”.

DPPbatstraw3

Total Cost: $1 and up

See quick, easy…and cute! How will you decorate for your Halloween festivities this year? And, after you finish a big DIY project do you too find yourself creatively fried?

(Like these but have no time to make your own? Check out my shop for limited quantities available for sale!)


Semi-DIY: Creating Coasters – Part 2

So yesterday you saw our first re-purposed item coaster attempt, today I”ll show you the latest additions and how they came about.

Back in June, the boy and I celebrated one glorious year of marriage with a fun little trip to Asheville, NC.  We took a couple days off from work, and the hubs planned out the where/when/how and kept it as a surprise destination until the morning we left.  He chose Asheville because 1)I had never been 2) it offered plenty of outdoor activities (which we both enjoy) 3) it offered nice lodging & dining options and 4) being at a high elevation that Atlanta it would be a nice relief from the oppressive heat that has plagued the Atlanta area this summer.

All I can say about reason #4 is HA!   Mother Nature definitely didn’t get that memo, and instead it was a sweltering mess of high temperatures mixed with humidity from the depths of places known for fiery torture.  Any of your familiar with Weddingbee might remember that Mrs. Snow was getting married in Asheville in June…yes, it was the same weekend and she blogged about the crazy weather swing as well.  So, we rearranged several of the things the boy had in his plans so we didn’t melt away in the oppressive heat…and in the midst of wandering around we realized that weekend was also the River District Artists Studio Stroll.

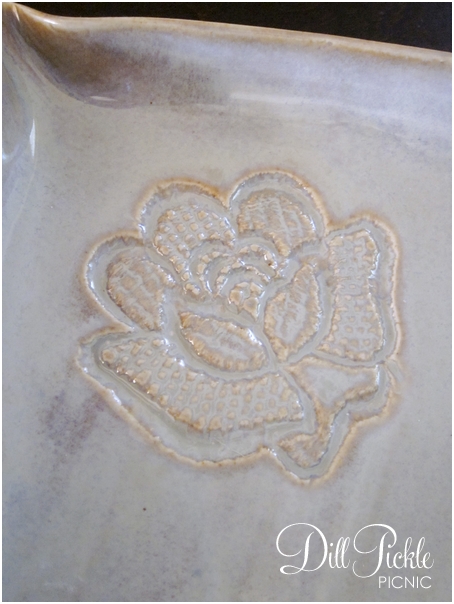
So we drove over and wandered around through several of the studio’s, not really looking for anything in particular.  Then right before turning around to make our way back to the car (and out of the heat) we walked into Michael Hofman’s Studio.  Michael makes beautiful pieces of porcelain pottery using antique lace to make impressions into his pieces.  Some of the lace he uses is centuries old, from things like christening gowns & wedding dresses.  It was quite interesting to meet him, and see part of his process in action.  He was even telling us about someone who brought in their grandmothers wedding dress to use to create their wedding china (incidentally the dress was not harmed in the process).  So we looked around thinking we might pick up a serving platter, but then the boy picked up these small square plates and said “hum? think they could be coasters?”
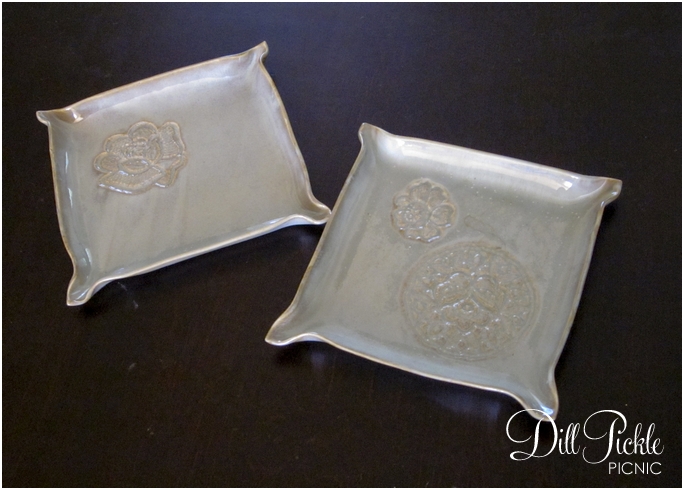
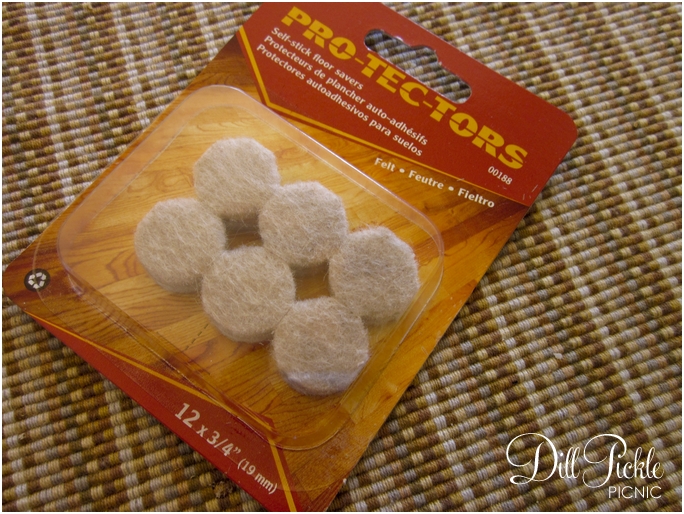
So, we picked up two of the square tapas plates.  Once home, we again brought out some felt pads from the local dollar store (the thinner of the selection this time) and added one to each corner of the plate.

Instant coasters, that once again provide a useful reminder of our anniversary trip!  Look at the lace details up close…aren’t they stunning?  Those lace details also provide a place for beverage sweat to pool, gotta love it when something is both beautiful and useful. 🙂
Can you tell we tend to purchase only mementos that have an actual use around our house?  We tend to buy art or handmade pieces to commemorate special trips or events…that and I buy magnets (which I still need to figure out what to do with since I’ve picked up magnets from my travels my entire life).  What do you pick up as mementos of special occasions or trips?
Semi-DIY: Creating Coasters – Part 1

We don’t like coasters.   There…I’ve said it out loud.  That’s not to say that we prefer to place our sweating beverage glasses or bottles directly onto surfaces, I’m just saying  we haven’t found any that we BOTH found aesthetically pleasing.  Then something happened…we stopped shopping for them and instead focused on things we could make into them.  This is the story about how we used these little guys from the local dollar store to solve our coaster dilemmas.

dollar store felt floor protectors

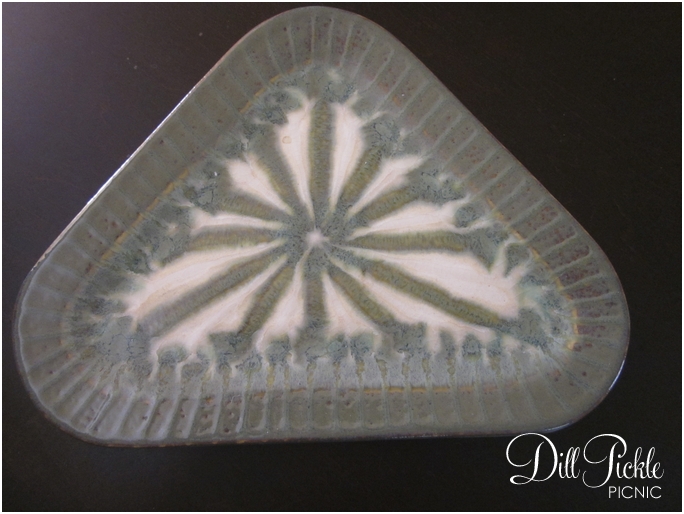
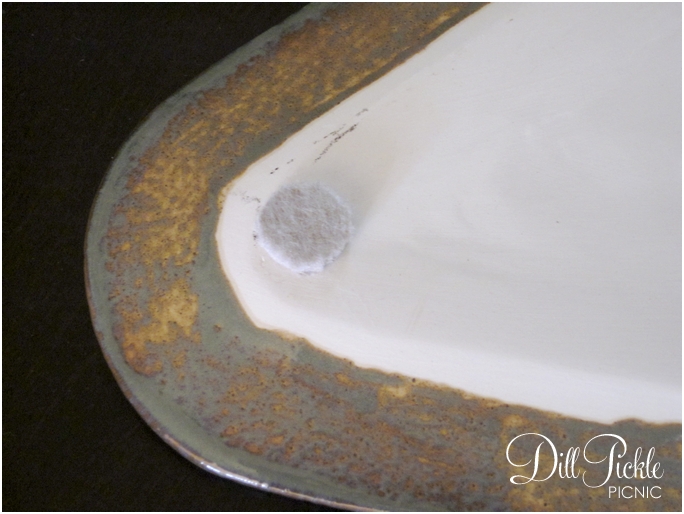
Last year while on a bit of a family vacation with the boy’s family we noticed this fun piece of flattened pottery on a deck side table in the house we were staying in.  It was the perfect size for a couple of glasses and still appealed to both our senses of design.  Interestingly enough we already owned a bowl in a similar pattern from the same pottery studio that the boy uses on his bedside table to store the contents of his pockets each night.  Do you see where I’m going with this?  Yep, we looked around the shops that weekend in search of a plate to use as a coaster on our living room end table. We ended up choosing the small triangular plate from The Good Earth Pottery, their stuff is great in not only is it appealing to the eye, it is also dishwasher and oven safe as well.

Then to keep our fun new find from scratching up our tables we just added one of the little felt pads to each corner.


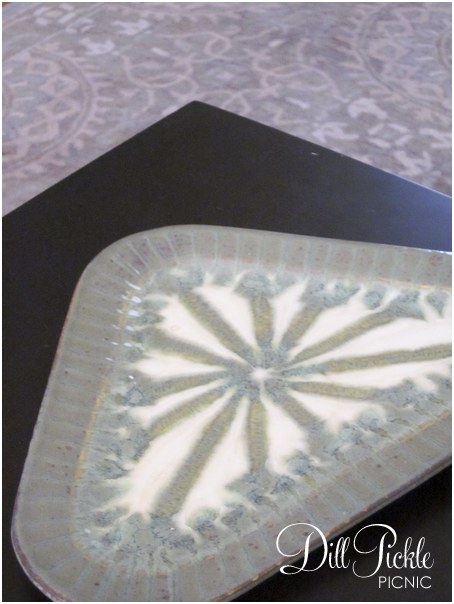
Instant extra large coaster!  What’s really nice is when I am lazy and fill up a Nalgene bottle with water…it fits on the coaster with no worries as well.  As do ice cream bowls, large coffee mugs…you get the picture. You can see in the next photo how the colors in the plate match our rug, but sadly what you can’t tell is how nice it looks on our end table.

Overall, I’m really pleased with how our initial attempts to use something not originally intended as a coaster worked out.  The benefit we never considered when we initially picked this piece was how any sweat from glasses placed on top would pool in the small groves of the pattern , this means the bottom of the glass stays drier than if the piece were a completely flat surface.  Plus, the coaster also serves as a very useful reminder of our trip to Highlands, NC. 

Come back tomorrow and I’ll show you round 2 of our coaster experiment! 🙂

How have you re-purposed items to create the “thing” that seemed to elude you otherwise?  Was it a success?

DIY: Simple Napkin Wrap

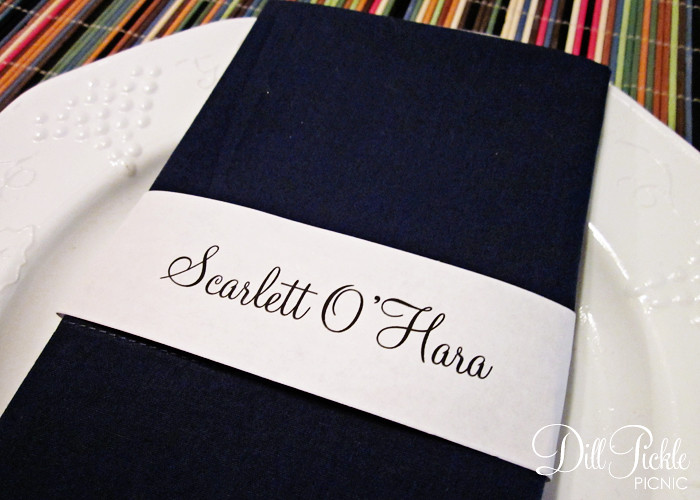
I received an email over the weekend from a bride-to-be working on ways to keep costs down for her upcoming 400 person wedding.  Her request was a simple napkin wrap template…no graphics, just elegant text.  So, Meredith this one is for you, and the possibilities of ways to use this wrap are endless!


Click to Download:  picklepicnic_textonlywrap

The template above use the Monterey BT font which is free to download from Sofontes.  New to Napkin Wraps?  No worries, visit this post for step-by-step instructions on how to use my napkin wrap templates!

DIY: Flower Arranging Simplified

I learned this trick from one of my high school friend’s mom years ago.  She is the quintessential southern mom and entertainer, so each time I have the opportunity to attend a shower,tea, or coffee that she is coordinating I make sure to take notes.  Want to see why….

This was from the Wedding Coffee they threw in my honor last Spring.  She just whips this up in a matter of moments.  It’s pretty amazing to watch!

I’m horrible at arranging live flowers.  It’s like I try to cram everything in the same place and end up with one side really over-weighing the other one…but using this little trick it’s a breeze to make sure you have things evenly placed.  It makes me *almost* look like I know what I’m doing….

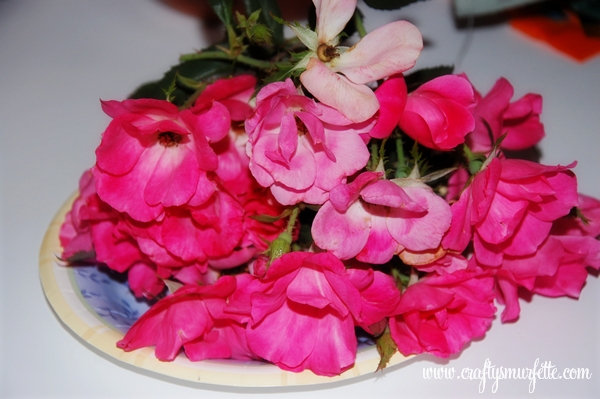
Ignore the flowers in these photos, I used some leftover flowers my hubby gave me to get a bit more life out of them before they went into the trash and mixed in some of the knock-out roses & greenery from right outside our front door.

Supplies Needed:

  • Container to use for arrangement.
  • Floral Tape (or other waterproof tape)
  • Flowers & Greenery for arrangement
  • Snips or Scissors

Instructions:

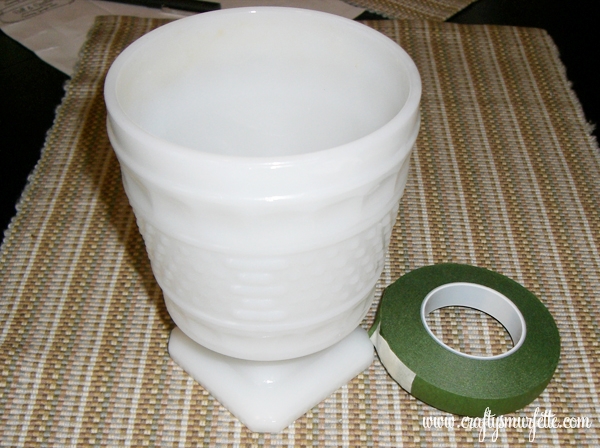
  1. Take out your container and place it on a solid surface.  I like to use our milk glass leftover from the wedding, but a simple glass square from Dollar Tree would also work great.  Try to choose something with a wider opening so you can build your arrangement out with a bit more space.
  2. Use scissors to cut strips of your floral tape that stretch the width of your container opening.  If floral tape is wider you might need to snip it in half width wise for ease of arrangement.
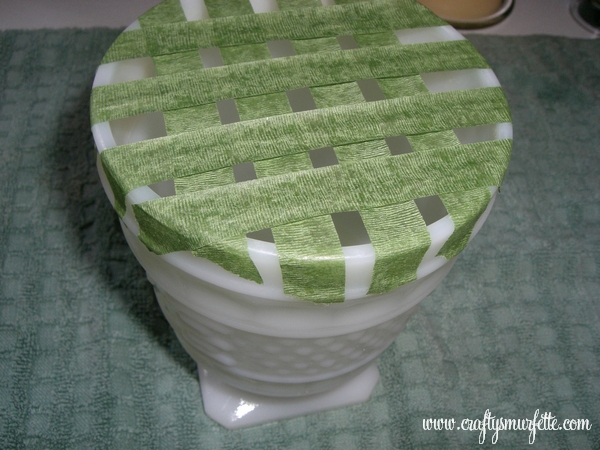
  3. Starting at one edge of the opening carefully place tape strips across the mouth of the container making sure to evenly space them apart all the way to the other side of the container.
  4. Turn the container and repeat this process going the other direction to create yourself a grid of sorts.
  5. Trim the stems of your flowers to be the depth of your container.  Make sure to leave a couple that are a bit longer to use in the middle.
  6. Starting in the center, using slightly longer stemmed flowers, carefully insert one flower stem into one open square of your tape grid.
  7. Carefully add flowers to the grid working from the center to each edge to help create a rounded type of arrangement.
  8. Once finished with your flowers, feel free to go back and insert bits of greenery into the arrangement to fill it out a bit more.
  9. Display!

What about you, have you picked up any entertaining tips from your friend’s parents in your younger years that stuck with you?  If so, by all means share…

PS.  I just realized this was my 100th post!!  🙂