DIY: Golden Table Numbers

Have you ever noticed how sometimes inspiration strikes you when you least expect it?  I had that happen last fall when my husband and I took a trip to Spain.  I love all the Moorish details, cedar beams, and bright colors so it’s no surprise I snapped quite a few “inspiration photos”.  Photos that were meant to remind me of projects I wanted to attempt to make from them when we returned home.  Sadly, most of those inspiration photos are still sitting in a file on my computer waiting for me to do something with them.

Then, last week as I was wandering around Goodwill after dropping off a load of items we’ve finally cleaned from our closets I noticed a gold oval shaped frame.  It had icky dried flowers inside, but it still reminded me of one of my Spanish inspiration photos, and so for only 99 cents it came home with me.

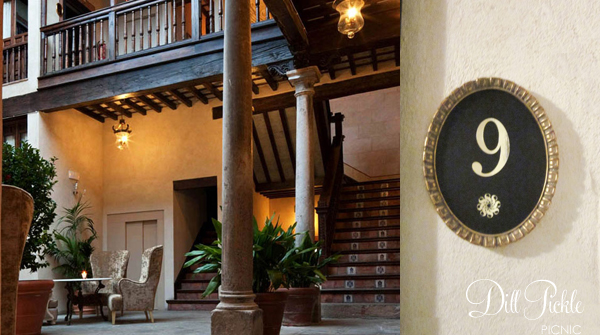
While in Granada we stayed at the lovely Hotel Casa 1800, where lovely wooden & golden finishes were in abundance.

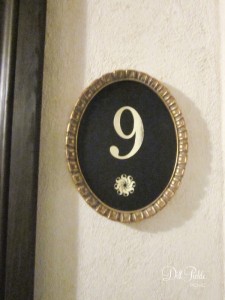
Outside each door, the room number was displayed in a lovely golden, oval shaped frame with a golden numeral on a dark background.  I thought they would make lovely take numbers, and took a quick photo to remind me.   So, with the icky dried flowers removed from my frame I quickly gathered up the supplies I would need to duplicate it.

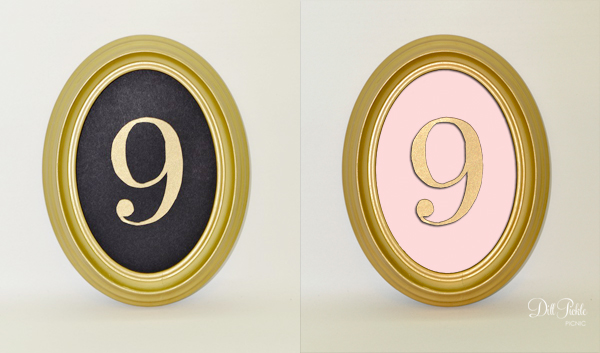
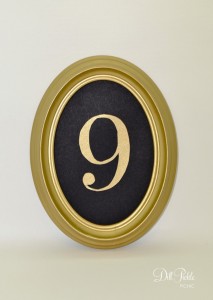
Using my 99 cent frame, an xacto knife, glue stick and some leftover scrapbook paper I quickly threw together the following elegant table numbers.  I think these would look lovely leaned against a soft floral arrangement or sitting alone in a stand.  I also couldn’t resist the urge to switch out the black paper for pink to how romantic it would look.

These are super easy to make and just like the table numbers we used for our wedding, it doesn’t damage the frames.  This means you can reuse them later, maybe add photos from the event and gift to the special people who helped make the day happen.

  1. Carefully remove the back, and then the glass from your frame.
  2. Place the glass and your background paper on a cutting mat, and carefully cut around the edge of the glass with your knife.
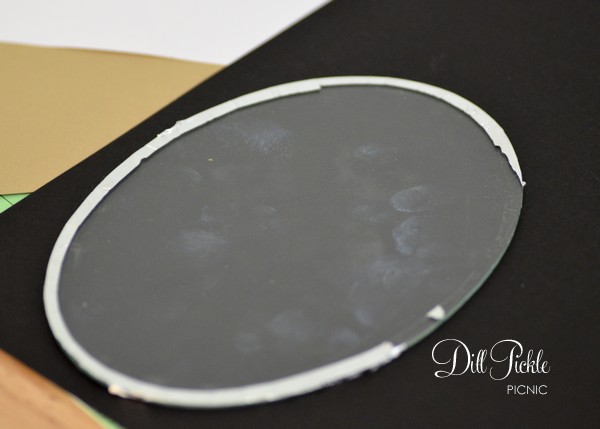
  3. Place the cut background paper into your frame, then add the glass, and finally the frame backing.
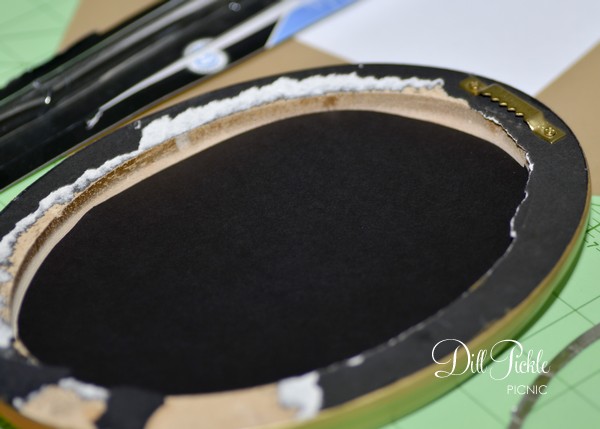
  4. Place a printout of your number and the gold paper on your cutting mat, and carefully cut around the edges of your number.  You could also use an electronic cutter or even house numbers from the hardware store.
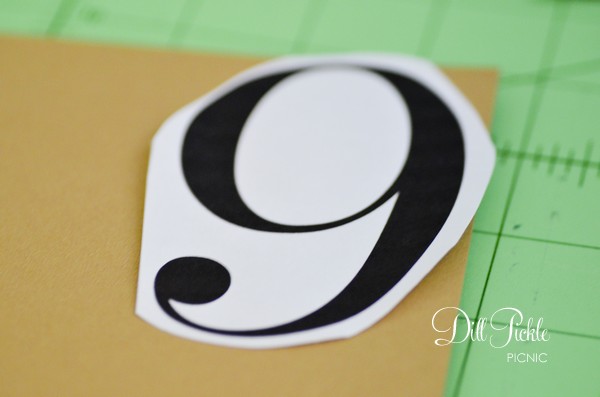
  5. Apply glue with a glue-stick to the back of your number and apply to the middle of the oval.

Enjoy!  These are so easy to make, and could be a lovely, yet low cost solution for your table numbers.

What do you think?  Do you snap inspiration photos when you travel?
Featured – Occasions Magazine

Hello!  I’ve been struggling to get caught up recently and failing it seems….or at least where my blog is concerned.  It’s been a bit crazy recently with how much my little Etsy shop has picked up.   So, while this post is a bit delayed it’s still quite exciting and a bit surreal.

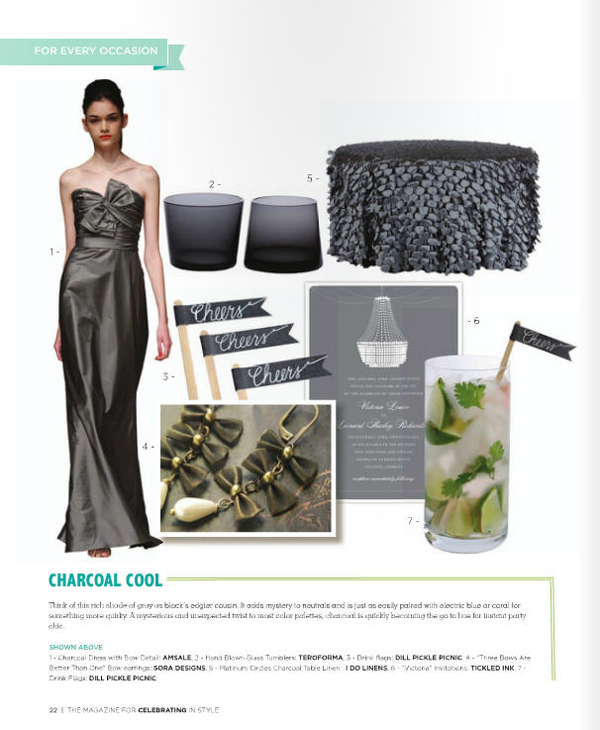
Earlier this year I was contacted by one of the editors from Occasions Magazine (now rebranded as The Celebration Society) about creating a set of stirrers in a lovely charcoal gray to be featured in their Winter 2012 Edition.  Occasions is a really great magazine featuring venues & events around the Atlanta area.  My stirrers were included in one of the color features focusing on charcoal.

Obviously it’s surreal to see something you created featured in a magazine but I have to admit it was also  fun to have a reason to peruse a wedding/event planning magazine again!

Hope everyone has a fantastic weekend!

Inspiration: Large Candy Decorations

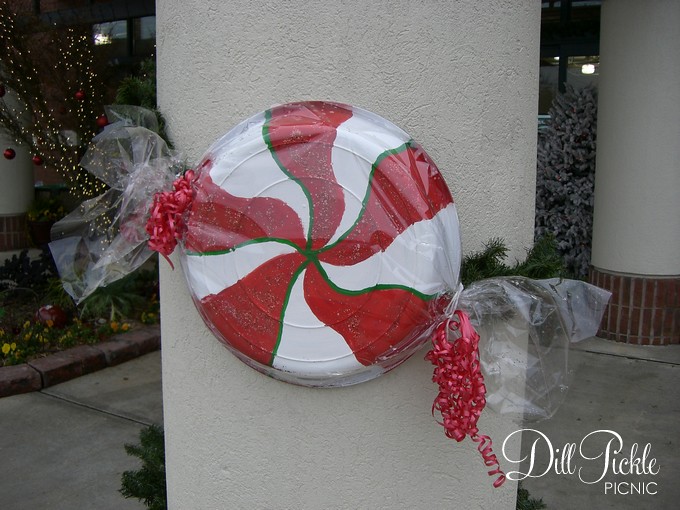
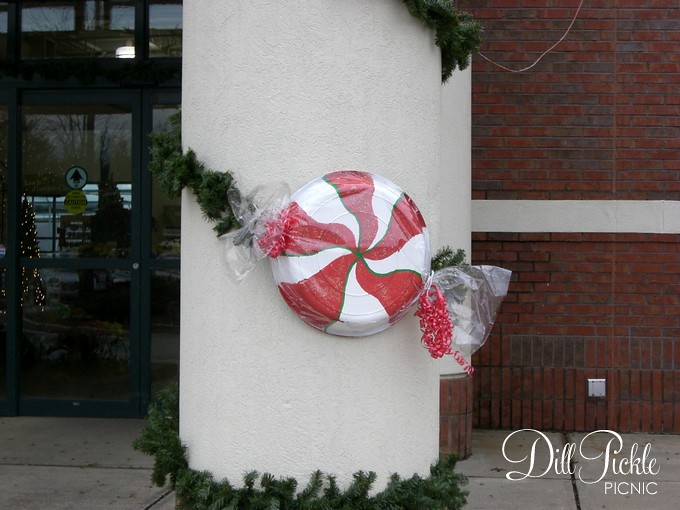
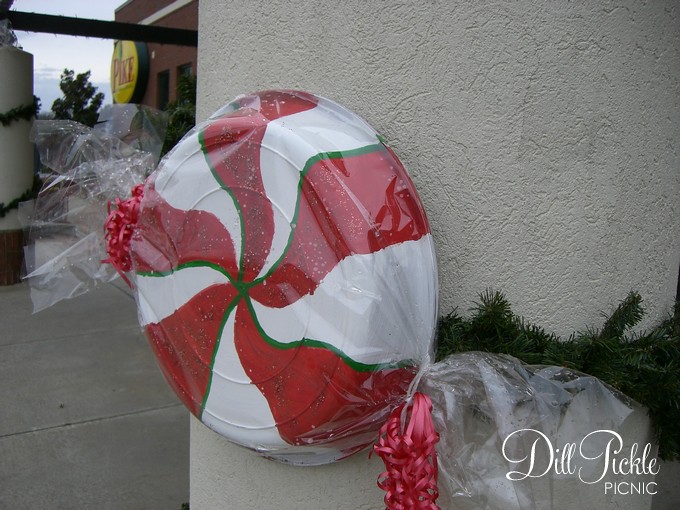
I mentioned in my first post about the Large Candy decorations that was inspired by decorations I saw outside my local Pike Nursery last year.  It took me forever but I finally found those photos….see aren’t these huge candies fun?

DPP-lgcandy03
DPP-lgcandy02
DPP-lgcandy01

You can  see that they used large white saucers to make 24 inch pieces of candy to decorate the front of their store…who says businesses can’t be creative & crafty!  I’ll have the second large candy post up later tonight or first thing tomorrow and photos of how we used some of them.

How has a local businesses decorations inspired your own holiday creativity?

Semi-DIY: Creating Coasters – Part 1

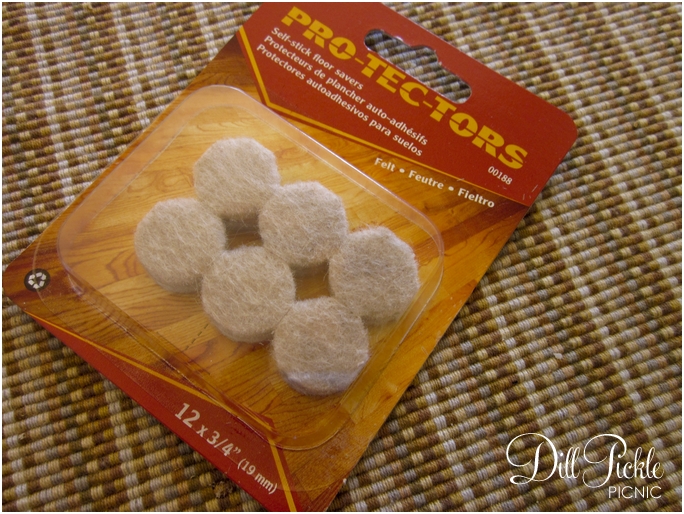
We don’t like coasters.   There…I’ve said it out loud.  That’s not to say that we prefer to place our sweating beverage glasses or bottles directly onto surfaces, I’m just saying  we haven’t found any that we BOTH found aesthetically pleasing.  Then something happened…we stopped shopping for them and instead focused on things we could make into them.  This is the story about how we used these little guys from the local dollar store to solve our coaster dilemmas.

dollar store felt floor protectors

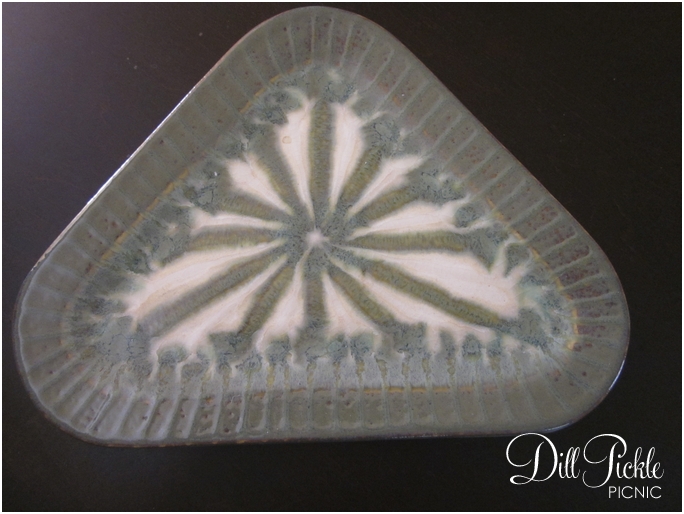
Last year while on a bit of a family vacation with the boy’s family we noticed this fun piece of flattened pottery on a deck side table in the house we were staying in.  It was the perfect size for a couple of glasses and still appealed to both our senses of design.  Interestingly enough we already owned a bowl in a similar pattern from the same pottery studio that the boy uses on his bedside table to store the contents of his pockets each night.  Do you see where I’m going with this?  Yep, we looked around the shops that weekend in search of a plate to use as a coaster on our living room end table. We ended up choosing the small triangular plate from The Good Earth Pottery, their stuff is great in not only is it appealing to the eye, it is also dishwasher and oven safe as well.

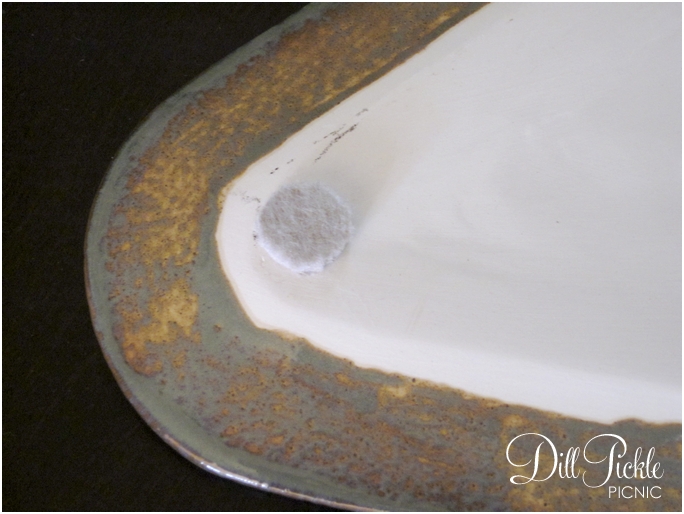
Then to keep our fun new find from scratching up our tables we just added one of the little felt pads to each corner.


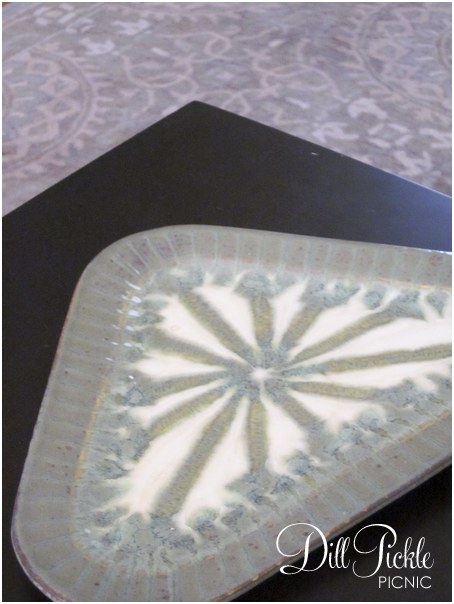
Instant extra large coaster!  What’s really nice is when I am lazy and fill up a Nalgene bottle with water…it fits on the coaster with no worries as well.  As do ice cream bowls, large coffee mugs…you get the picture. You can see in the next photo how the colors in the plate match our rug, but sadly what you can’t tell is how nice it looks on our end table.

Overall, I’m really pleased with how our initial attempts to use something not originally intended as a coaster worked out.  The benefit we never considered when we initially picked this piece was how any sweat from glasses placed on top would pool in the small groves of the pattern , this means the bottom of the glass stays drier than if the piece were a completely flat surface.  Plus, the coaster also serves as a very useful reminder of our trip to Highlands, NC. 

Come back tomorrow and I’ll show you round 2 of our coaster experiment! 🙂

How have you re-purposed items to create the “thing” that seemed to elude you otherwise?  Was it a success?

Weddingbee Valentines Swap 2010

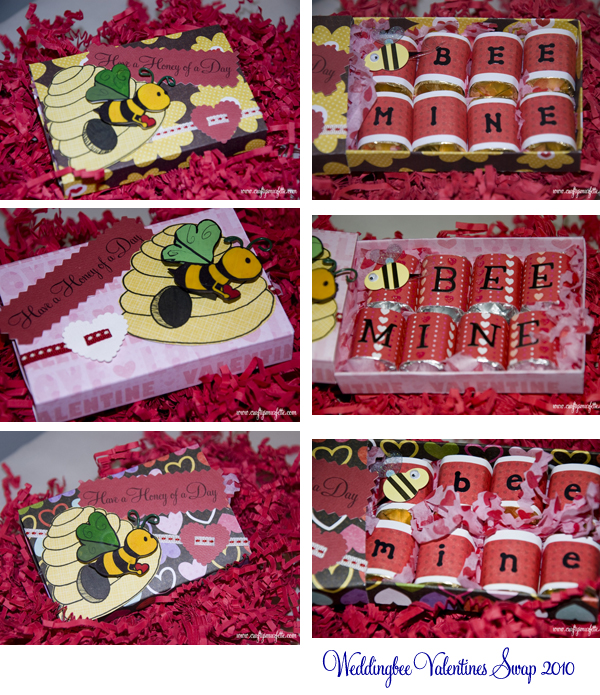
Last year the day before Valentines I saw this adorable template for making a larger matchbox style paper box with matching candy wrappers to fill up the inside with.  I quickly downloaded it, printed it out…and hit a roadblock.  No matter what I did with the settings it was either too small or too large and I deleted it and gave up.  (sidebar:  I honestly don’t remember where I found it last year since I didn’t save it and I’m also quite positive the problems were with our old printer).  So this year I wanted to do something similar to send my swap partners for the WB Valentine’s Swap…so I sat down with some scrap paper, a ruler, and a pencil.  It took an hour or so…but I ended up with a box template that would hold 8 Hershey’s nuggets.  

I went to work decorating the boxes and their chocolate cargo…and I think they turned out quite cute!  Each includes a Shrinkey Dink magnet on the front with a familiar little bee for them to keep to remember their fun ‘bee times with for years to come.  I hope they like them half as much as I enjoyed making them! 🙂

PS.  I’ll be posting the templates & instructions for how to make your own matchbox style boxes later tonight 🙂

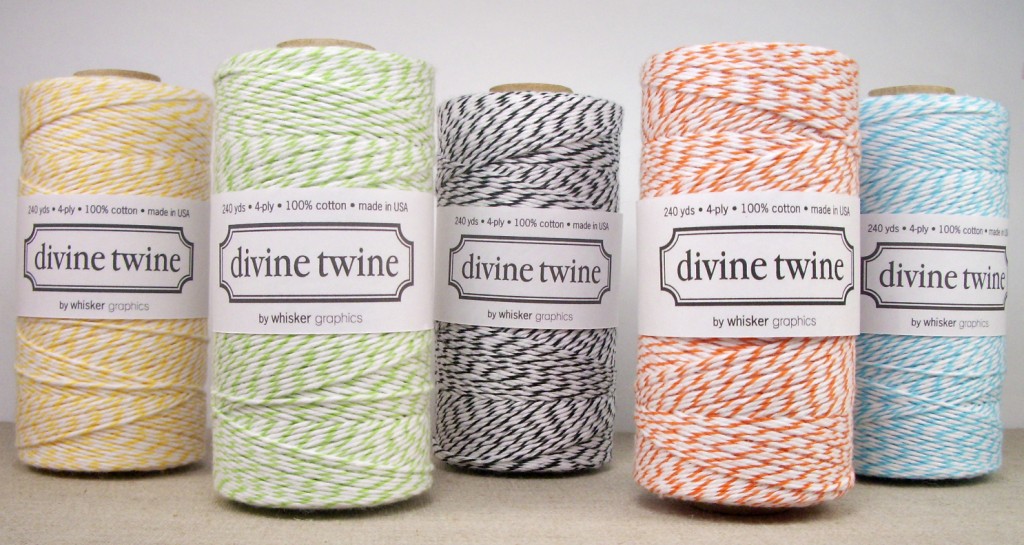
New Product – Devine Twine is HERE!

If you aren’t already familiar with Whitney at Whisker Graphics you are already missing out…but as of today she is my hero because she brought new colors of bakers twine to the masses.  I’m seeing the apple green working well with many things in my future!!

(source: Devine Twine)

Click the photo above to check it out and order yours!

**Note: I am in no way affiliated with or receive nothing in return for this post.  It is based purely on my own opinions!”

Inspiration – French Wire for Fall

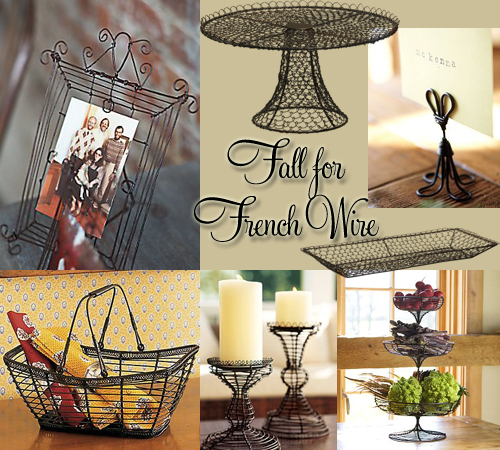
I keep drifting to fun pieces of “french wire” this fall.  I think they would be wonderful for a fall wedding or your Thanksgiving spread.  I also think they are timeless pieces you could use for years to come.

board_frenchwire

(source clockwise from top left:  Wire Sculpture Frames from Anthrpologie, Wire Pedestal from Crate & Barrel, French Wire Place card holders from Pottery Barn, Wire Tray from Crate & Barrel, French Wire 3-Tier Stand from Pottery Barn, French Wire Pillar Holders also from Pottery Barn, and French Wire Basket with Handle from Pierre Deux)

Why do I love french wire so?  First up, I posted about these Wire Sculpture Frame from Anthropologie weeks ago and I’ll admit that I’m debating ordering a few for our guest room.  Then I ran across this wire pedestal and tray from Crate & Barrel.  It will hold a 12 inch cake with style, and for $18.95 it’s a deal as far as pedestal’s go.  I could see it with a vintage lace doily on the pedestal with cupcakes stacked on top (or a yummy carrot cake).  And wouldn’t the tray be fun for holding cookies or other baked goodness?  It’s also only $18.95.  Then there are thesese place card holders from Pottery Barn.  They would not only make nice place card holders, but I could also see them holding table numbers, menus, food labels, and even photos on my mantle!  Then a simple search for French Wire on the Pottery Barn site yielded more goodness in the 3-Tier Stand, Pillar Holders, several baskets and even a French Wire Chandelier. And you can’t beat Pierre Deux for French Wire Baskets. 

What’s new out there right now that just screams fall decorating and parties to you?

Decor Inspiration – Office "to-do"

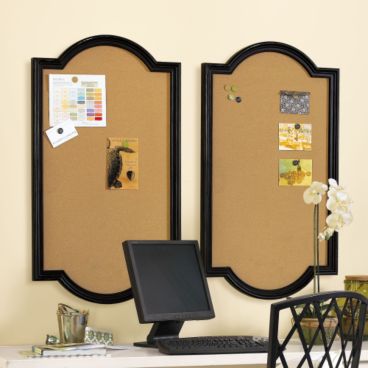
I’ve been looking for something that involves cork boards to use in office for ages.  I wanted a way to post pieces of ongoing projects in an organized, yet attrative fashion (important since I sometimes hold customer meetings in my office as well).  I had decided on two large cork boards that I would make out of two large frames, with the corkboards covered in fabric…but that still didn’t solve the part about how to break down the different projects.

Then yesterday the Pottery Barn Kids catalog arrived.  I always think it’s funny that we get both these and the Babies version when we are so, so far away from even thinking about the little creatures…but sometimes I glance through them for birthday present ideas for my little cousins.  And there it was…I think I might have to change it up just a bit since I don’t want days of the week…but now I think I have an idea up my sleeve!  Now to find two large frames similar to these from Ballard Designs on the cheap!

ballard_belhaven

(Source: Ballard Designs)

img53l

(Source: Pottery Barn Kids)

Decor Inspiration – Reduce – Reuse?

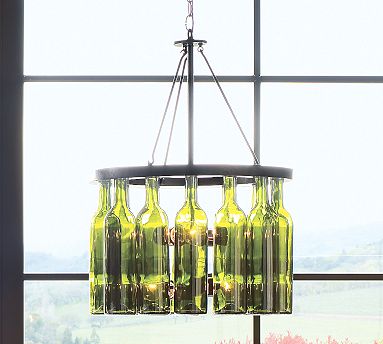
Has anyone else seen the new Pottery Barn catalog for Fall 2009?  I’m loving all the vintage looking inspiration (even through it doesn’t fit the “look” of our house).  Something that really caught my eye was this recycled wine bottle light fixture.  It reminds me of the cute wine bottle vases and candle holders some of those craftybees whipped up.  Wouldn’t this but fun hanging at a vineyard wedding?  or on my back deck…ok it’s a bit pricey so maybe not but it’s seriously fun.

pbarn001

(Photo Source