DIY: Mother’s Day Napkin Wraps II

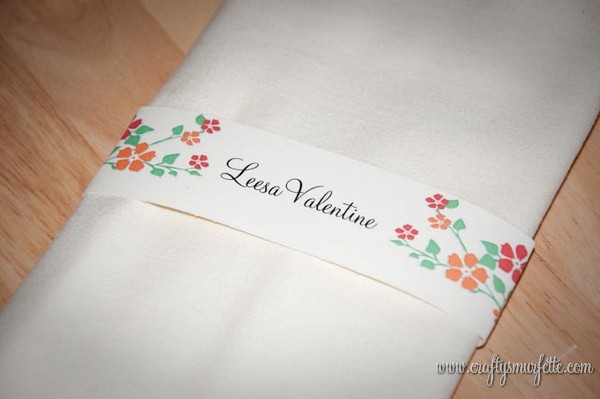
I can’t believe in my haste to finish up all my April Stash Busting projects (which I will begin to post this weekend) I almost forgot to post the second round of Mother’s Day Napkin Wraps!  Hope you enjoy Part II which we’ll call the “Mother’s Day Floral Set”
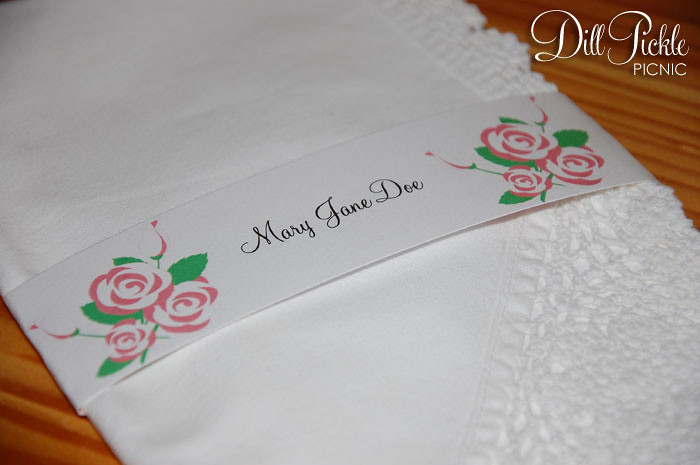

Click to Download: Pink Roses Napkin Wrap
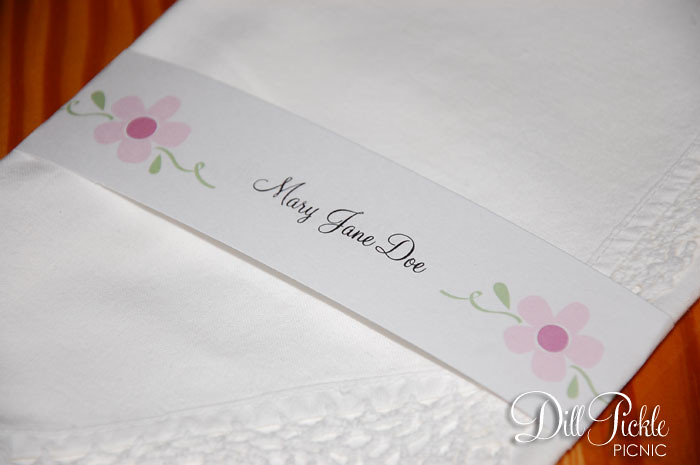

Click to Download: Pink Daisy Napkin Wrap

All templates use the Monterey BT font which is free to download from Sofontes.  New to Napkin Wraps?  No worries, visit this post for step-by-step instructions on how to use my napkin wrap templates!What do you have planned for the mothers in your life to celebrate Mother’s Day this year?
DIY: Folding Napkins into a Pocket

This post should kick off the beginning of our wedding DIY recaps. One of the projects I took on for our wedding was dressing up the table just a bit.  It seems that all too often with buffet dinners the tables can get “left out” of the decorating grand plan since it’s not really “necessary”.  I didn’t want to just go with rolled silverware/napkins to be picked up from the food line. Instead I wanted something a bit more formal, yet still in line with our not-so-shabby chic surroundings.  By setting each place setting with the silverware and folded napkin with menu, I think it gave our tables a bit more color and pop…even if my husband did call me crazy for obsessing over it! 😉


Since I’ve already posted our menu template that was created to fit inside a folded napkin, and the paper napkin wraps we used for seating cards, today we’ll go over how to easily fold your napkins into the pocket shape.  I know there are quite a few different methods out there, so I used bits and pieces and ended up with this one working best for me.

Items Needed:

  • Napkins (the ones we used for our wedding were purchased from Ikea)
  • Iron & Ironing Board
  • Something fun to put in the pocket 🙂

Instructions:

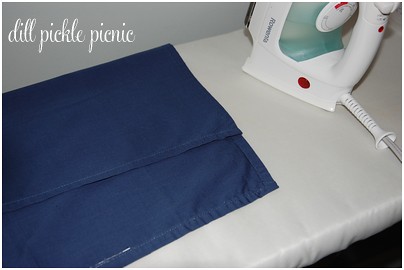
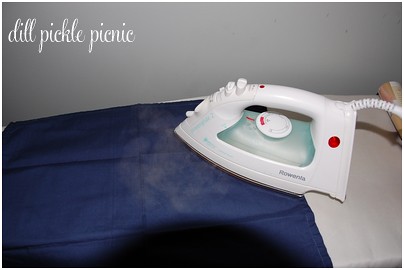
  1. For best display iron napkins flat before starting folding process.
  2. Place napkin front (or finished) side down
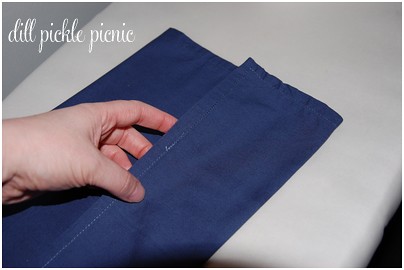
  3. Carefully fold the top horizontal edge (the one farthest away from you) down about 3/4 the length of the napkin.  Iron top portion of napkin for crisp edge.
  4. Fold the bottom horizontal edge up and over the previous fold.  This will create your pocket and again iron to create crisp fold.  (Hint:  This set controls the depth of the pocket, so simply adjust your fold size for larger/smaller pocket).
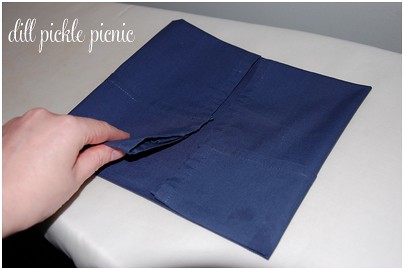
  5. Now, flip the whole napkin over so that the pocket it now face down on your ironing board.
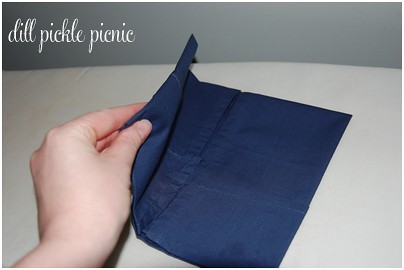
  6. Fold each vertical side of the napkin into the middle so that they meet flush and form a square.  Once again press for crisper look.
  7. Finally fold the left side over on-top of the right side and press one final time.
  8. Add menu, favor, or other fun item into the pocket and set your table.

Afterthoughts:

This is where I’ll be honest and forewarn you that ironing and folding 100’s of napkins will take a WHILE.  I did the first 50 by myself over several nights and it seemed to be taking forever to fold, add the menus, & the name card wraps.  Then with the help of two wonderful friends was able to finish the second 50 in a few hours in an assembly line fashion.  If you are doing this for a larger event I HIGHLY recommend the assembly line approach skipping the middle ironing steps and only iron at the beginning to make sure the napkin is flat to start with.  All in all…I’m still really happy with how everything turned out.

If you are following along with our DIY wedding table scape so far we’ve (click for details):

DIY: Mother’s Day Napkin Wraps

I am trying to get a slight bit ahead with posting holiday napkin wraps…my mom would be so please! Speaking of Moms here are a few napkin wraps inspired by the mom’s in my life.  Hope you enjoy Part I which we’ll call the “Mother’s Day Tea Set”

Let’s kick this off with a simple pink background.  This would be great for a Mother’s Day Brunch, Tea Party with the girls, or even a pink wedding.


Click to Download: Pink Background Napkin Wrap Template

And a simple tea kettle that looks fun printed on colored cardstock:


Click to Download: Tea Kettle Napkin Wrap Template

A finally, a pretty china tea-cup!

Click to Download: China Tea Cup Napkin Wrap Template

All templates use the Monterey BT font which is free to download from Sofontes (see link on templates page).  New to Napkin Wraps?  No worries, visit this post for step-by-step instructions on how to use my napkin wrap templates!

What do you have planned for the mothers in your life to celebrate Mother’s Day this year?
DIY: Easter Napkin Wraps – Religious Themed

I have a friend putting together a ladies pre-Easter brunch at her church who asked me if I could put together a couple of reusable religious themed wraps.  So using MSClipArt (I’m being lazy since I’m so swamped at work) I whipped up several options that could be used not only at Easter but for other events later in the year.

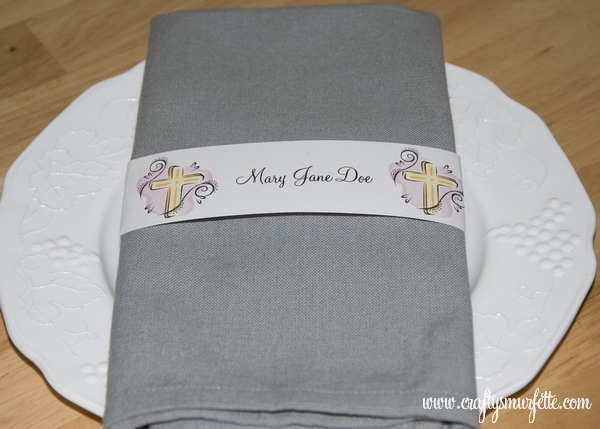
Let’s start out with a pastel cross theme:


Download Template:  Pastel Cross Napkin Template

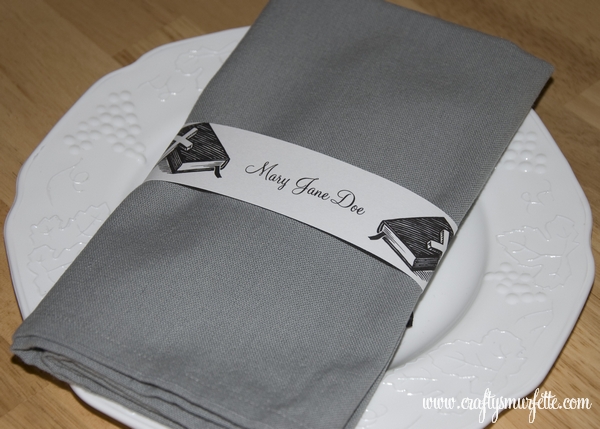
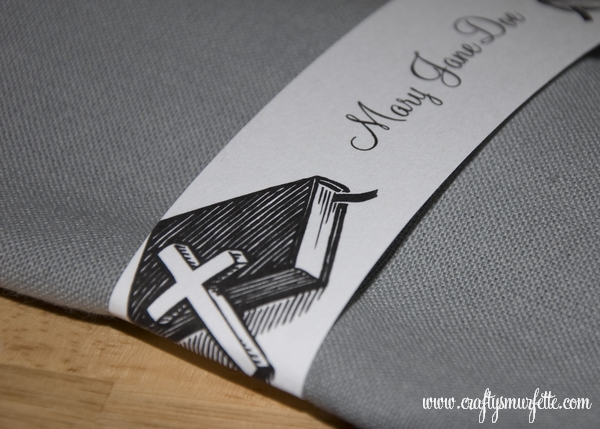
And then my friend requested a black & white option with a bible theme:

Download Religious theme template: Black & White Bible Napkin Template

All templates above use Monterey BT font which is free to download from SoFontes (see link on templates page).  New to Napkin Wraps?  No worries, visit this post for step-by-step instructions on how to use my napkin wrap templates!

DIY: Pink Lily Napkin Wraps

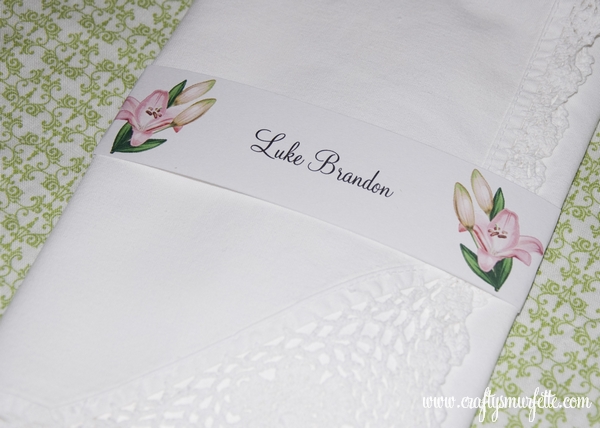
Yesterday a reader sent me an email asking for a template featuring an Easter Lily, and since I am always so excited to hear from someone who reads my little blog I couldn’t turn her down.  So, Becky…this one is for you and thanks so much for your kind words!


To Download Template:  Pink Lily Napkin Wrap Template

All templates above use Monterrey BT font which is free to download from SoFontes(see link on templates page).  New to Napkin Wraps?  No worries, visit this post for step-by-step instructions on how to use my napkin wrap templates!

It’s true what they say about comments being the crack for bloggers…so what say you?  Any suggestions for future templates that you’d love to see?

DIY: Orange & Red Floral Napkin Wraps

Sometimes I get questions about changing up my original “blue flower” napkin wrap template and sometimes if I’m not busy I’ll volunteer to whip up a new one.  This template is the result of one of those requests.  I love the color orange and would have never thought to pair it with a shade of red…but I think it looks fab!

Click to download template:  csmurfnap_redorange

New to Napkin Wraps?  No worries, visit this post for step-by-step instructions on how to use my napkin wrap templates!

PS…Best of luck Heidi and make sure to send us photos of your napkin wraps in action!

DIY: Holiday Napkin Wraps – Part II

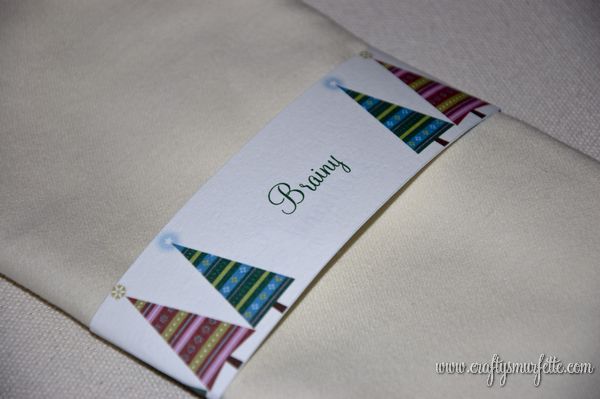
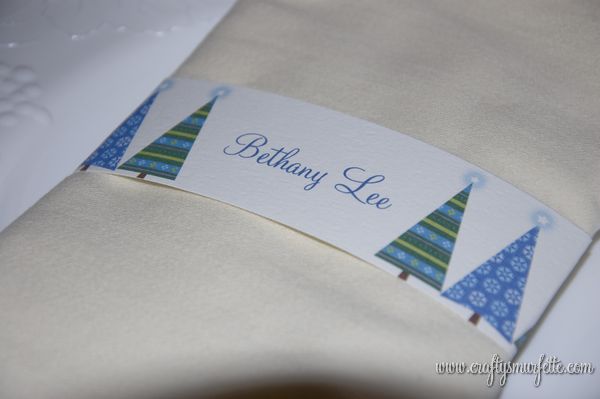
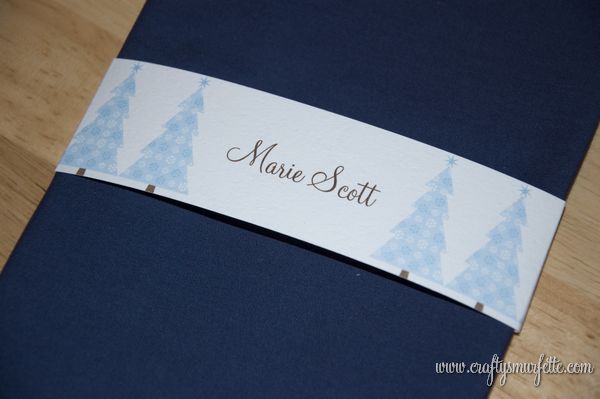
And now time for the “tree edition” of the napkin wraps.  Again, these work the same as my previous wraps, refer to this post for complete instructions.  Merry Christmas from our Smurfy house to yours!

The first is a Set of Multi-Colored Trees
Click to download: csmurf_treenapkins

Or how about my favorite with green & blue trees
click to download template:  csmurf_greenbluetreenapkins

and finally a winter wonderland with pale blue trees
click to download template:  csmurf_palebluetreesnapkins

Check back tomorrow for my final Christmas project for this year:  My version of these 🙂

DIY: Holiday Napkins Wraps – Part I

Ever had that moment when you know you’ve already created something and just can’t find it.  That was me with the Holiday Napkin wraps…I created and tested them weeks ago and then promptly lost the files.  Thankfully today I found them, and not a moment too soon! These work the same as my previous wraps, refer to this post for complete instructions.  Merry Christmas!!

The first is a sepia toned winter cottage.
Click to download: csmurf_rustichousenapkins

Or how about some pastel ornaments
click to download template:  csmurf_pastelornamentnapkins

Check back tomorrow for the “tree” edition of Holiday Napkin wraps & hope you and yours have a wonderful Christmas!

Die-Cut Christmas: Food Buffet Labels

I’ve dubbed this Christmas season in our home as the “Die-Cut Christmas” because I plan to make several projects using both my Cuttlebug for die-cuts and paper punches.  First there was the Christmas Card Addresses, then the place cards and I liked how they turned out so I moved onto today’s project:  Buffet Labels.

Editor’s Note: These will actually get quite a bit of use during the holidays with not one but Christmas potluck lunches, and I’m so excited to see them in all their glory!

Materials Needed:

  • White or Ivory Text Weight Paper
  • Small pieces of Heavy weight card stock or even recycled cardboard
  • Green Cardstock or Construction paper (it’s ok to reuse envelopes, etc.)
  • Red Paper (it’s ok to reuse envelopes, etc.)
  • Glue Stick or pen

Tools  Needed:

  • Top Note Die from Stampin Up
  • Die Cutting Machine (I use a Cuttlebug)
  • Sizzix Festive Christmas Set (purchased 50% off at Joann’s)
  • Standard Hole Punch
  • Scissors or Paper Cutter
  • Computer with Word Processing Software of your choice
  • Home Printer

Getting the pieces punched out:

  1. Cut your paper.  I cut my paper ahead of time so it is easier to center it on the die cut.  Since I am using regular 8.5 x 11 paper, I simply cut my paper into fourths.  For this project I used my paper-cutter because it has the outlines for this size paper on the board so I just line it up and cut.  Each piece of paper should end up 4.25 x 5.5 inches.
  2. Setup your document in your word processing software.  I use MS Word, so I just create a new document and then set the page size to be the 4.25 x 5.5 inches of my pre-cut paper.  Then I center the document and choose my font/size of choice.  For this project I used Monterey BT which you can download for free (see my templates page for a link). This is where you could get really fancy and use the mail merge feature of MS Word to fill in from a spreadsheet, it’s a great time saver but is a bit tricky to setup…or you could just cut and paste in each one like I did.
  3. Print out your individual buffet labels.
  4. Start die cutting.  Using the Top Note Die face up in your machine, carefully center the printed page in the center of the surface.  Run through the machine.  Repeat for each printed page.
  5. Continue die cutting.  Now take out your green paper and the holly die and start working on cutting out your leaves.  A large holly shaped paper punch would also work well for this if you have one!  You’ll need 2 holly leaves per buffet label.  Note that I didn’t use whole pieces of paper when I cut out my leaves…I had some scrap paper from the edges of some green top notes I cut out earlier so I just used the scrap paper to line up over my leaves.  This is a great usage for scraps or even perhaps those envelopes from the Christmas cards you’ve already received!
  6. Punch out your berries.  Now the Holly Die comes with a berry if you’d like a single red berry…but I liked the smaller berries so I went with a standard hole punch.  You’ll need 3 to 4 berries per buffet label.  Again this is a great place to reuse paper…you can see I used the cover of an old PaperSource catalog that was in my recycle bin.

Putting it all together:

  1. Start with the Leaves.  Using a piece of plastic or paper, take the glue stick and cover the back of 2 of the holly leaves so the portions of the leaves that will attach to the buffet label are covered.
  2. Carefully lift them from the backing and place onto label (I found it easier to start with the lower leaf in the bottom left corner and then add the upper one afterwards).  To remove the leaf from the backing I was able to use my fingernail, however tweezers would also work well for this.
  3. Add the berries.  Using a glue stick repeat the step above for the berries, this is the most tedious step.  I think a glue pen or even school glue might have worked more quickly for this step.
  4. Cut a small piece of heavy cardstock or recycled cardboard (think cereal boxes) approx 1 inch by 3.5 inches per buffet label.
  5. Fold the first third of the cardboard strip forwards and align on the back of the label, holding in place with a glue stick or even tape.
  6. Stand it in front of your tasty dishes and let them tell the world that your cobbler is made of blackberries 😉

If you like these, you might also like the other entries in my Die-Cut Christmas Series:
Die-Cut Christmas Card Addresses
– Die-Cut Seating Cards
– Die-Cut Food Buffet Labels

Die-Cut Christmas – Seating Cards

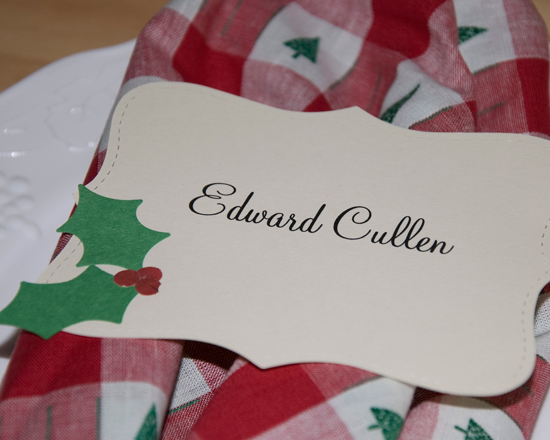
I’ve dubbed this Christmas season in our home as the “Die-Cut Christmas” because I plan to make several projects using both my Cuttlebug for die-cuts and paper punches.  First there was the Christmas Card Addresses, and I liked how they turned out so I moved onto today’s project:  Seating Cards

Editor’s Note:  Here is where I should be totally honest and fess up that my family will in no shape or form use this for our Christmas lunch or dinner…but I can dream right?

Materials Needed:

  • White or Ivory Text Weight Paper
  • Green Cardstock or Construction paper (it’s ok to reuse envelopes, etc.)
  • Red Paper (it’s ok to reuse envelopes, etc.)
  • Glue Stick or pen

Tools  Needed:

  • Top Note Die from Stampin Up
  • Die Cutting Machine (I use a Cuttlebug)
  • Sizzix Festive Christmas Set (purchased 50% off at Joann’s)
  • Standard Hole Punch
  • Scissors or Paper Cutter
  • Computer with Word Processing Software of your choice
  • Home Printer

Getting the pieces punched out:

  1. Cut your paper.  I cut my paper ahead of time so it is easier to center it on the die cut.  Since I am using regular 8.5 x 11 paper, I simply cut my paper into fourths.  For this project I used my paper-cutter because it has the outlines for this size paper on the board so I just line it up and cut.  Each piece of paper should end up 4.25 x 5.5 inches.
  2. Setup your document in your word processing software.  I use MS Word, so I just create a new document and then set the page size to be the 4.25 x 5.5 inches of my pre-cut paper.  Then I center the document and choose my font/size of choice.  For this project I used Monterey BT which you can download for free (see my templates page for a link). This is where you could get really fancy and use the mail merge feature of MS Word to fill in from a spreadsheet, it’s a great timesaver but is a bit tricky to setup…or you could just cut and paste in each one like I did.
  3. Print out your individual name plates.
  4. Start die cutting.  Using the Top Note Die face up in your machine, carefully center the printed page in the center of the surface.  Run through the machine.  Repeat for each printed page.
  5. Continue die cutting.  Now take out your green paper and the holly die and start working on cutting out your leaves.  A large holly shaped paper punch would also work well for this if you have one!  You’ll need 2 holly leaves per name plate.  Note that I didn’t use whole pieces of paper when I cut out my leaves…I had some scrap paper from the edges of some green top notes I cut out earlier so I just used the scrap paper to line up over my leaves.  This is a great usage for scraps or even perhaps those envelopes from the Christmas cards you’ve already received!
  6. Punch out your berries.  Now the Holly Die comes with a berry if you’d like a single red berry…but I liked the smaller berries so I went with a standard hole punch.  You’ll need 3 to 4 berries per name plate.  Again this is a great place to reuse paper…you can see I used the cover of an old PaperSource catalog that was in my recycle bin.

Putting it all together:

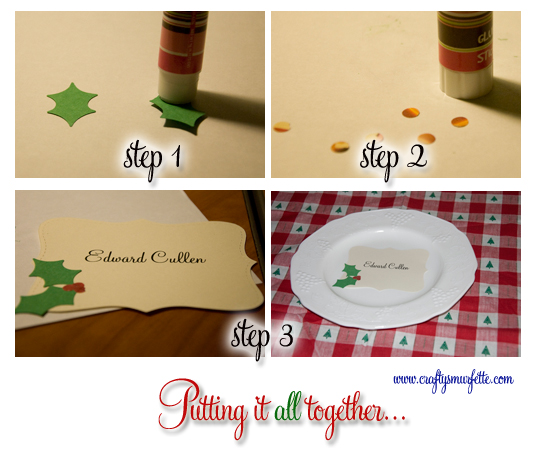
  1. Start with the Leaves.  Using a piece of plastic or paper, take the glue stick and cover the back of 2 of the holly leaves so the portions of the leaves that will attach to the name plate are covered.  Carefully lift them from the backing and place onto name plate (I found it easier to start with the lower leaf in the bottom left corner and then add the upper one afterwards).  To remove the leaf from the backing I was able to use my fingernail, however tweezers would also work well for this.
  2. Add the berries.  Using a glue stick repeat the step above for the berries, this is the most tedious step.  I think a glue pen or even school glue might have worked more quickly for this step.
  3. Admire your work and set that table!

If you like these, you might also like the other entries in my Die-Cut Christmas Series:
Die-Cut Christmas Card Addresses
– Die-Cut Seating Cards
– Die-Cut Food Buffet Labels