DIY: Race Car Cupcake Toppers

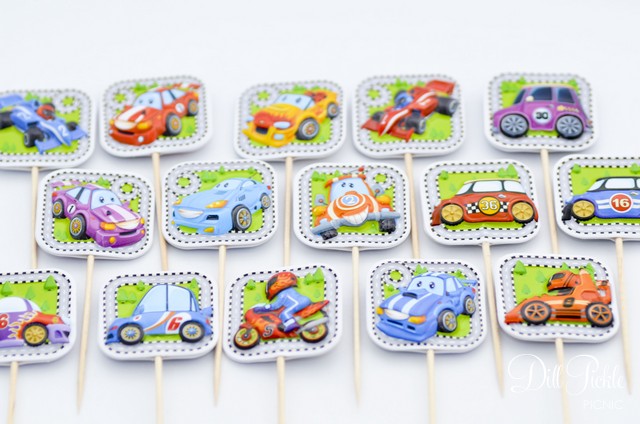
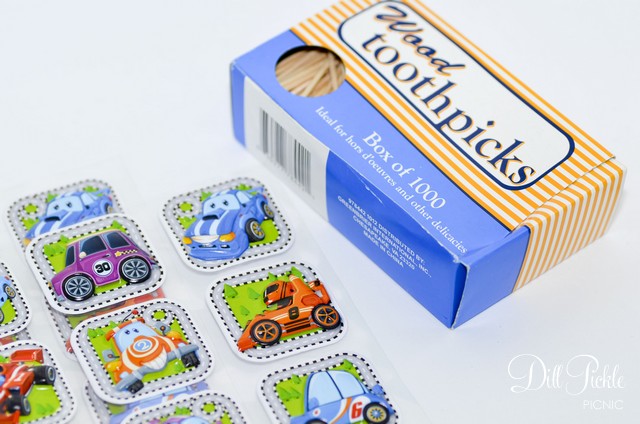
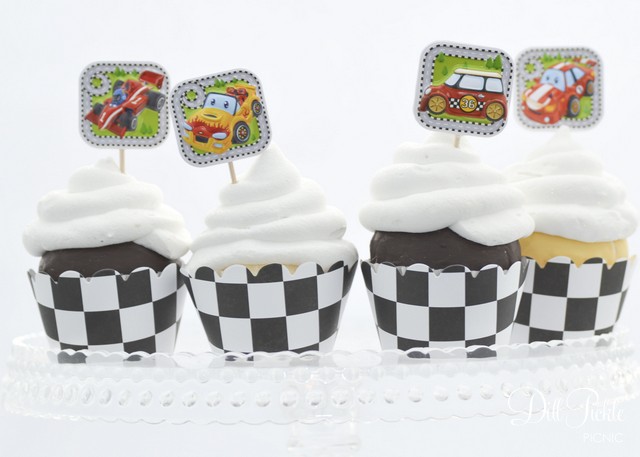
I don’t know about you, but there is at least one person in my house who is a fan of all types of motor car racing.  From F1 (which I actually enjoy watching) to NASCAR he is interested in it all.  I blame his dad and grandfather for this fascination with all things racing but I suspect it is quite the norm with boys of all ages.  I recently had a custom request to put together something for a little guy’s 3rd birthday party.  Mom wanted a race theme but nothing “character” related and I lucked out and found these adorable car stickers on the cheap.  I think they turned out quite fun, and wanted to share in case you might want to make a few of your own!
Race Car Cupcake Toppers by Dill Pickle Picnic

DPPPhoto-096Supplies Needed:

  • Race Car Stickers – 2 stickers per topper (these cute 3D ones came from Dollar Tree)
  • Toothpicks
  • Optional: glue (low temp hot glue or craft glue)

Instructions:

  1. Place first sticker laying face down on a flat surface
  2. Place toothpick near the bottom of the sticker, making sure to leave .25 inch or so of the toothpick on the sticker’s surface.
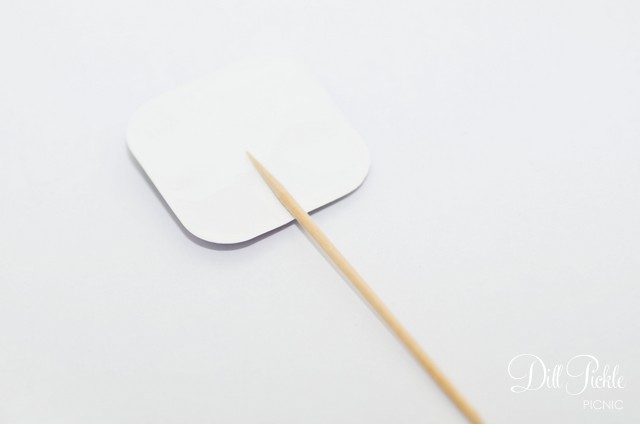
    DPPPhoto-098
  3. Optional Step in case your stickers are a bit heavier:  Apply glue to the back of the sticker
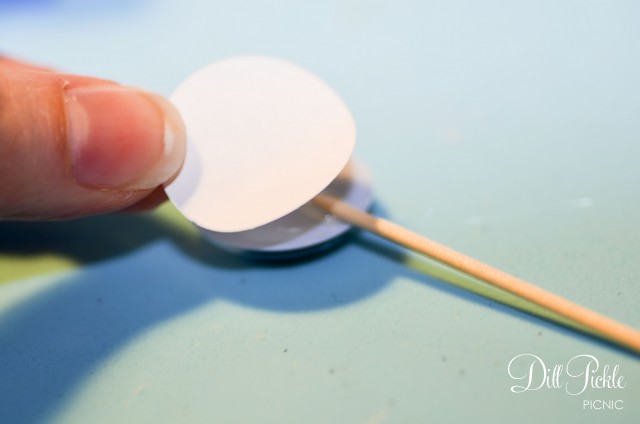
  4. Carefully place the second sticker over the back of the first pressing firmly to “lock” the toothpick in place.
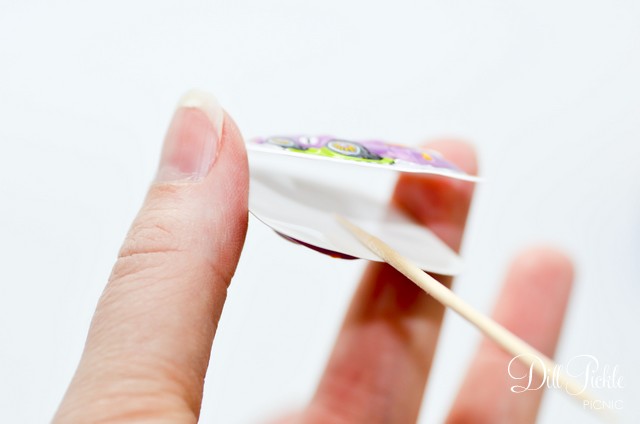
    DPPPhoto-099
  5. Let dry completely and enjoy!

Race Car Cupcake Toppers by Dill Pickle Picnic

If you don’t want to make your own…I got a bit carried away so I have one additional set listed in my Etsy shop.
DIY: Monster Cupcake Eyes for $1

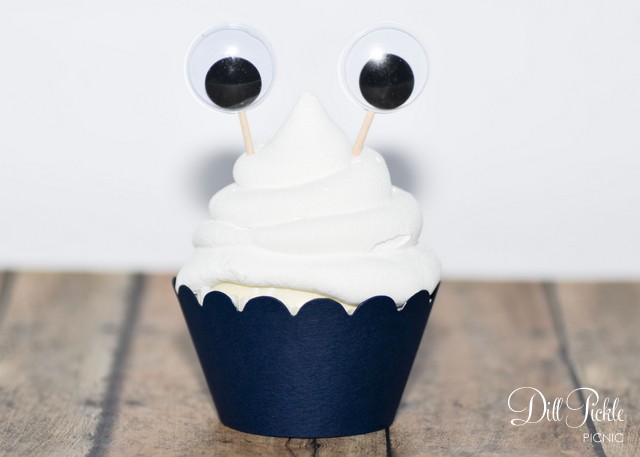
So, I really should have posted this before Halloween but these little guys are adorable for Monster birthday parties as well.  They are another one of those quick & easy crafts that pack so much cute for such a small investment.  How awesome would they look if you covered the top of the cupcake with the squiggly grass-like icing or solid “monster-colored” sprinkles?

Monster Cupcake Eyes from Dill Pickle Picnic

DPPPhoto-100Supplies Needed:

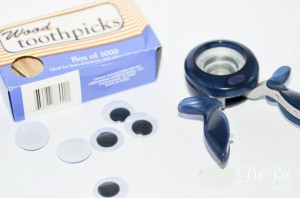
  • Googly Eyes (mine came from Dollar Tree)
  • Glue (or adhesive backed paper)
  • Optional: White cardstock or construction paper
  • Optional: Round Punch in same size as eyes

Instructions for Monster Eye Cupcake Toppers:

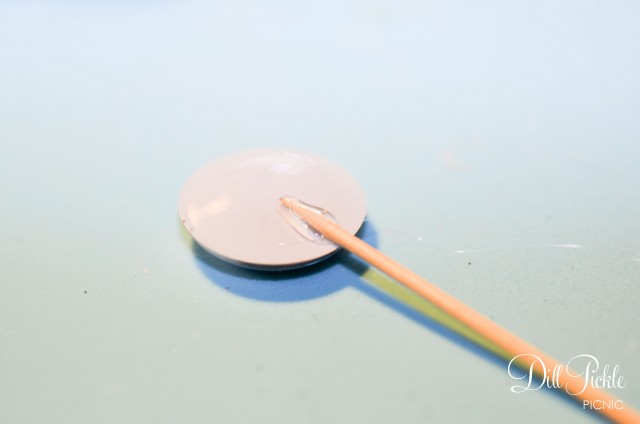
  1. Glue toothpick to the back of each eye.  I would recommend regular craft glue, or low temp hot glue.  Using a higher temperature hot glue tends to cause the thin plastic backing of the eye to bubble.
    DPPPhoto-102
  2. Optional Steps: I wasn’t really happy seeing the glued toothpick on the back of the eye.  To fix this I simply pulled out my 3/4 inch circle punch which is the same size as the googly eyes and punched circles out of some left over white label paper (you know the parts that are left on the side margins after you use the actual labels?).  Then I stuck those to the backs covering the glue/toothpick which also did a nice job of holding the toothpicks in place instead of glue.  You could also use white cardstock and just glue them in place as well.
    DPPPhoto-103
  3. Let dry completely & enjoy!

DPPPhoto-108

The best thing about these is they could be used to create so many different type of critter cupcakes!  What creatures will you be creating with your googly eye cupcake toppers?

DIY: Fall Sunflower Cupcake Wraps for $1

There is something about the cooler temperatures of fall that make me think of sunflowers and jewel tone colors.  Maybe it’s all the colors that nature surrounds us with this time of year.  So when I found these fun little yellow sunflower doilies at my local Dollar Tree, I dropped them in my cart not really knowing what I would do with them.  A few weeks later I needed to take muffins & mini muffins to a gathering and decided it was the perfect time to give those little doilies a new home.

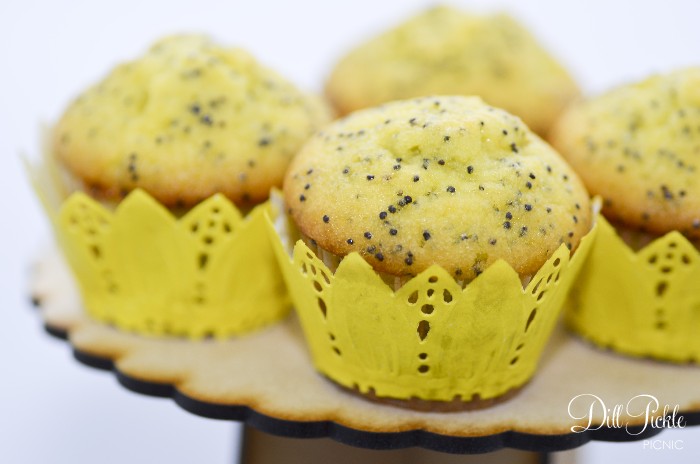
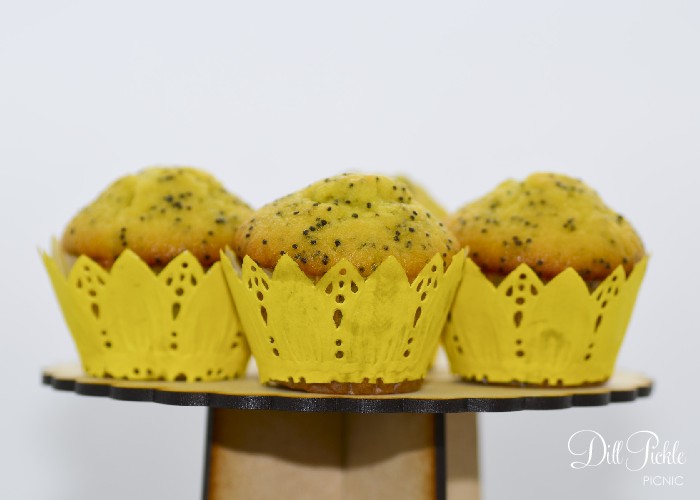
Sunflower Muffin Wraps from Dill Pickle Picnic
This is the part where I admit this all happened last fall…but as I was running through the Dollar Tree in search of clear treat bags last week I once again saw these packages of cute little sunflower doilies and made a note to finally put this post together.  These are the types of craft projects I really enjoy….quick, easy, and quite a bit of fun for the buck.

It’s easy to make your own sunflower muffin or cupcake wraps:DPP-Fall-2013-01

Supplies Needed:  

  • Package of Sunflower (or any rounded shape doilies)
  • Scissors
  • Ruler
  • Clear Tape

To Make Mini Size Muffin Wraps:

  1. Fold your doily in half
  2. Measure down from the outside 1.25 inches in several places and make a slight mark.
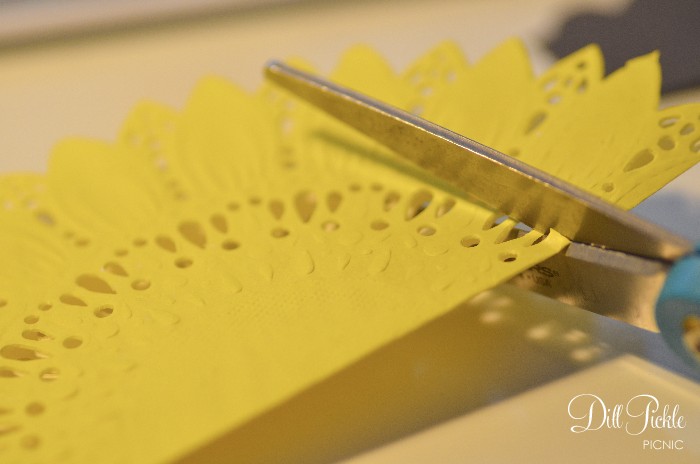
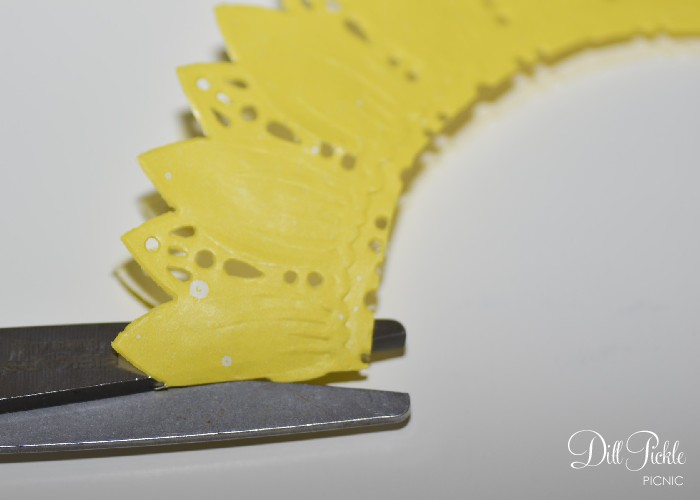
  3. Cut along the marked lines with your scissors.  On the sunflower doilies it was easy since the 1.25 inch mark ended up being in line with one of the rows of cutouts, so I could just cut along that row of details without needing to measure all the way across.
    DPP-Fall-2013-03
  4. Cut the doilies along the folded lines on both ends.
    DPP-Fall-2013-05

To Make Standard or Jumbo Size Cupcake Wraps:

  1. Lay your doilies out flat.
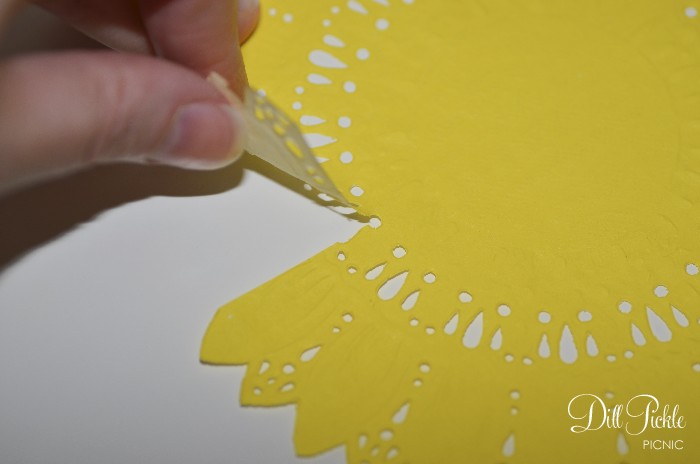
  2. Measure down from the outside 1.75 inches for standard or 2.5 inches for jumbo from the outer edge and make a slight mark. Do this around the entire circle.
  3. Using your scissors make a straight cut from the outside to the marked location for one of your marks.
    DPP-Fall-2013-06
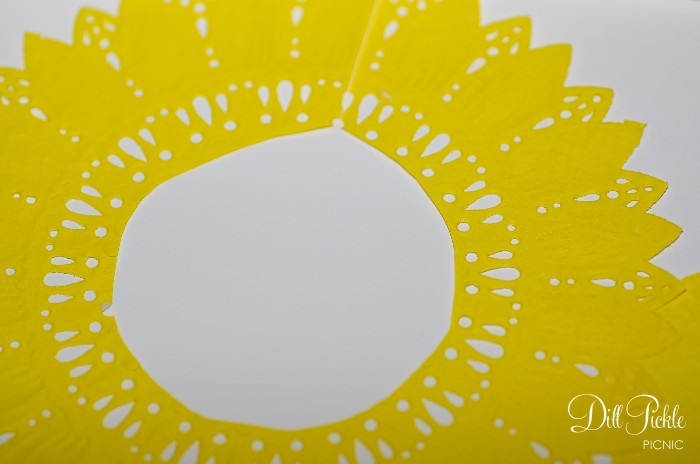
  4. Cut along the marked lines with your scissors.  On the sunflower doilies it was easy since the 1.75 inch mark ended up being in line with one of the rows of cutouts, so I could just cut along that row of details without needing to measure all the way across.
    DPP-Fall-2013-07
  5. Wrap around the base of your cupcake/muffin and cut to size using a small piece of clear tape to adhere them together in the back.
  6. Serve & Enjoy!

With these smaller sunflower size doilies I was able to make 2 mini wraps per doily or 1 standard or jumbo wrap. Which means for $1.07 I could make 64 mini wraps or 32 standard or jumbo wraps.  I call that a fabulous fall deal 🙂
DPP-Fall-2013-08

What does fall make you think of?  Do you look for quick ways dress up your fall treats?  If so, please share….I’d love to hear how you quickly add a little fall to your goodies!

The Perks of Being Busy

Hello there little blog…it’s been way too long since I last visited you! Sadly the web gremlins (the mean kind, not the fuzzy little gizmo kind) took you away for several months but thankfully our favorite web designer, Joy, was able to bring you back after my pitiful attempts failed.

I have several posts partially finished in the draft folder from before the gremlin attack that I need to sort through since I’m pretty sure it’s too late/too early for Christmas decoration posts.  Hopefully I’ll be back to pseudo-regular updates soon.

In the meantime I leave you with this….
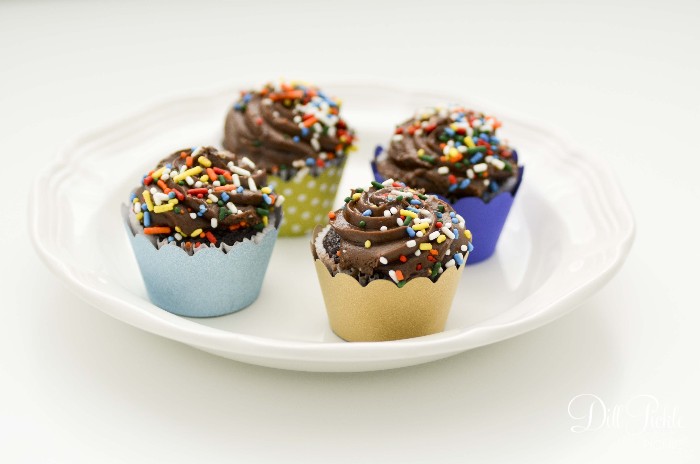
Cupcake Wrap Photography
…the single best thing to come from new product photography. Edible props….and no I don’t mean the plate! 🙂

DIY: Golden Table Numbers

Have you ever noticed how sometimes inspiration strikes you when you least expect it?  I had that happen last fall when my husband and I took a trip to Spain.  I love all the Moorish details, cedar beams, and bright colors so it’s no surprise I snapped quite a few “inspiration photos”.  Photos that were meant to remind me of projects I wanted to attempt to make from them when we returned home.  Sadly, most of those inspiration photos are still sitting in a file on my computer waiting for me to do something with them.

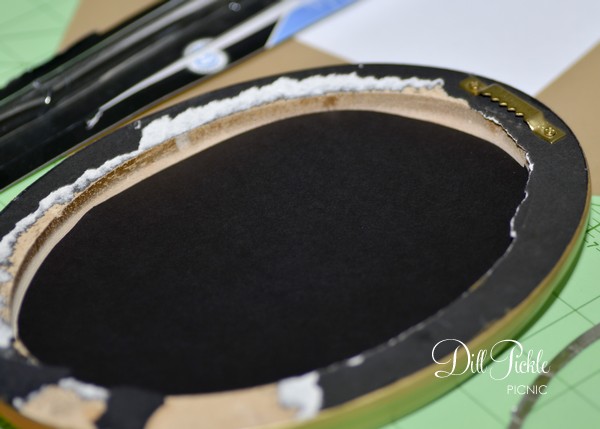
Then, last week as I was wandering around Goodwill after dropping off a load of items we’ve finally cleaned from our closets I noticed a gold oval shaped frame.  It had icky dried flowers inside, but it still reminded me of one of my Spanish inspiration photos, and so for only 99 cents it came home with me.

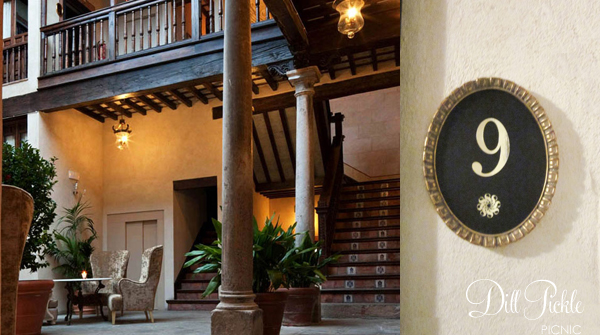
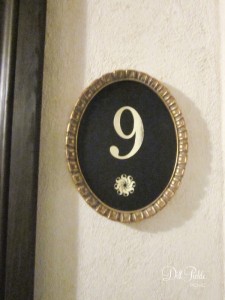
While in Granada we stayed at the lovely Hotel Casa 1800, where lovely wooden & golden finishes were in abundance.

Outside each door, the room number was displayed in a lovely golden, oval shaped frame with a golden numeral on a dark background.  I thought they would make lovely take numbers, and took a quick photo to remind me.   So, with the icky dried flowers removed from my frame I quickly gathered up the supplies I would need to duplicate it.

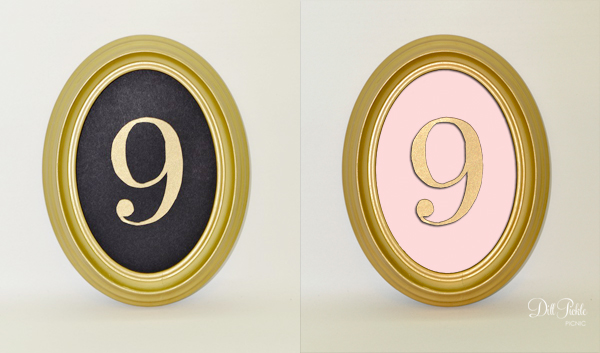
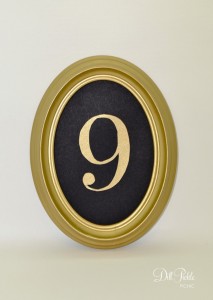
Using my 99 cent frame, an xacto knife, glue stick and some leftover scrapbook paper I quickly threw together the following elegant table numbers.  I think these would look lovely leaned against a soft floral arrangement or sitting alone in a stand.  I also couldn’t resist the urge to switch out the black paper for pink to how romantic it would look.

These are super easy to make and just like the table numbers we used for our wedding, it doesn’t damage the frames.  This means you can reuse them later, maybe add photos from the event and gift to the special people who helped make the day happen.

  1. Carefully remove the back, and then the glass from your frame.
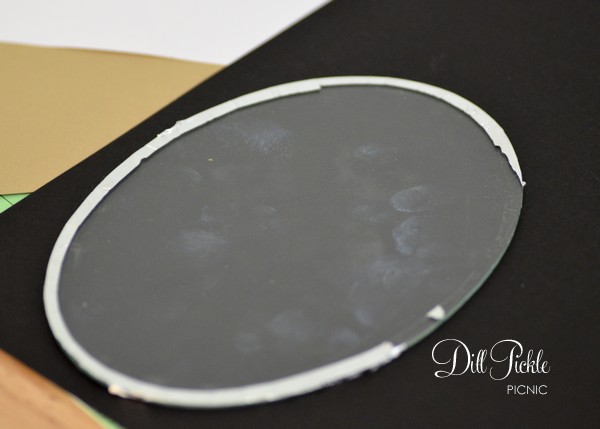
  2. Place the glass and your background paper on a cutting mat, and carefully cut around the edge of the glass with your knife.
  3. Place the cut background paper into your frame, then add the glass, and finally the frame backing.
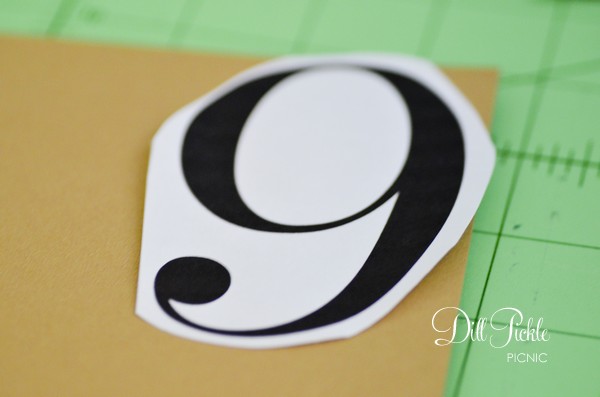
  4. Place a printout of your number and the gold paper on your cutting mat, and carefully cut around the edges of your number.  You could also use an electronic cutter or even house numbers from the hardware store.
  5. Apply glue with a glue-stick to the back of your number and apply to the middle of the oval.

Enjoy!  These are so easy to make, and could be a lovely, yet low cost solution for your table numbers.

What do you think?  Do you snap inspiration photos when you travel?

Featured – Occasions Magazine

Hello!  I’ve been struggling to get caught up recently and failing it seems….or at least where my blog is concerned.  It’s been a bit crazy recently with how much my little Etsy shop has picked up.   So, while this post is a bit delayed it’s still quite exciting and a bit surreal.

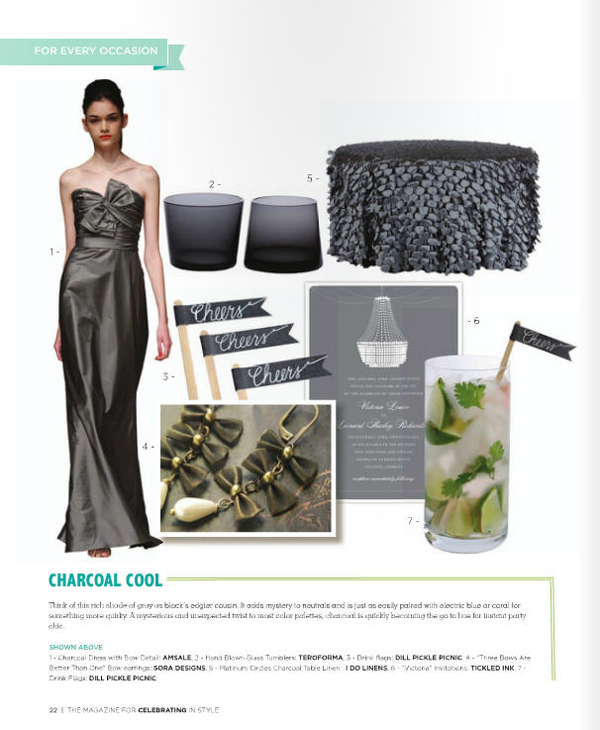
Earlier this year I was contacted by one of the editors from Occasions Magazine (now rebranded as The Celebration Society) about creating a set of stirrers in a lovely charcoal gray to be featured in their Winter 2012 Edition.  Occasions is a really great magazine featuring venues & events around the Atlanta area.  My stirrers were included in one of the color features focusing on charcoal.

Obviously it’s surreal to see something you created featured in a magazine but I have to admit it was also  fun to have a reason to peruse a wedding/event planning magazine again!

Hope everyone has a fantastic weekend!

DIY: Valentine’s Bunting for Under $1

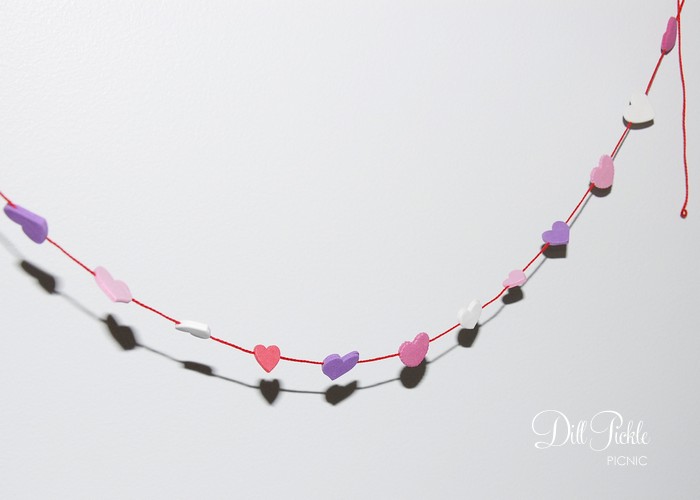
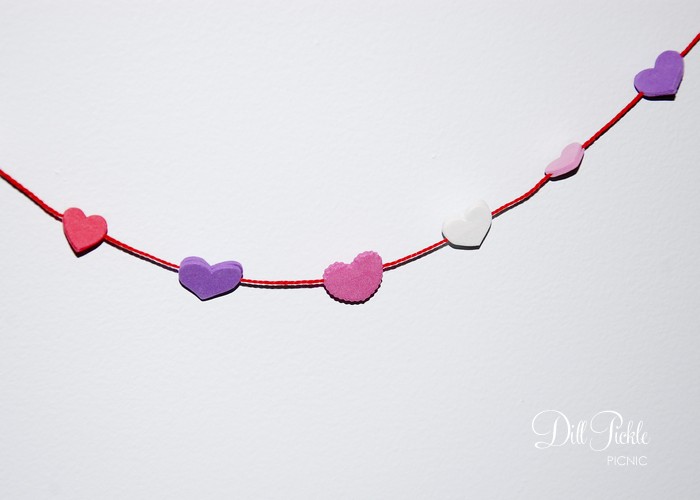
Yesterday I used the larger stickers from my dollar spot container to make heart shaped cupcake toppers.  When I was finished I had a handful of the smaller stickers left over and knew I needed to do something with them!  A quick glance through the craft stash box yielded some red embroidery floss and I realized that a mini heart bunting could be really cute.

DPP: Valentine Bunting for $1

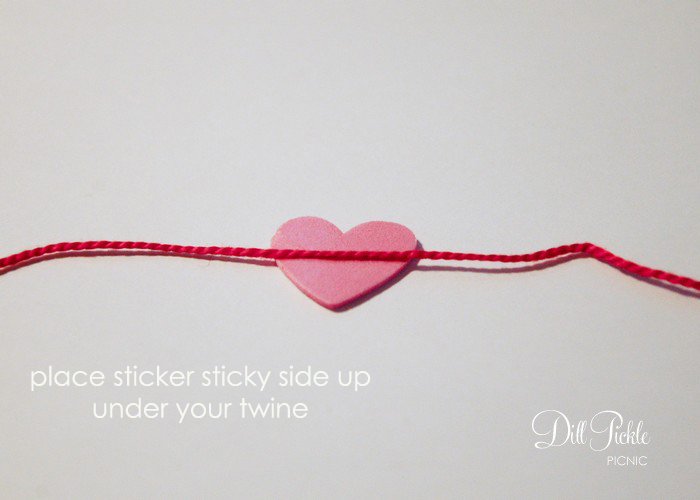
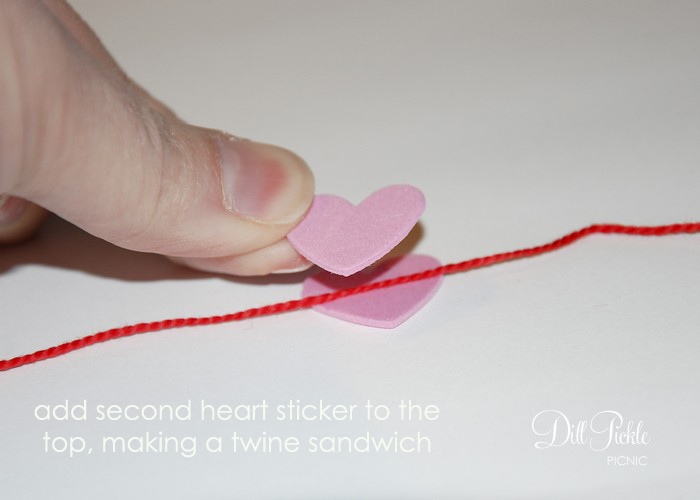
If you’d like to quickly make you own:


With my leftover stickers I was able to make over 6 feet of the bunting…which combined with the cupcake toppers is quite a bit of Valentine’s goodness for an expenditure of $1.07 (including tax)!   I’ve seen bags of rainbow foam heart stickers at my local dollar store this could be a fun birthday party decoration as well…one which your kiddos could help you assemble!


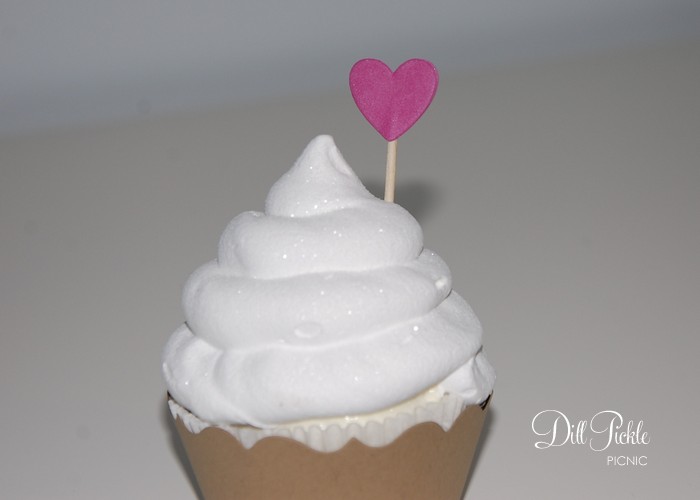
DIY: Valentines Cupcake Toppers for $1

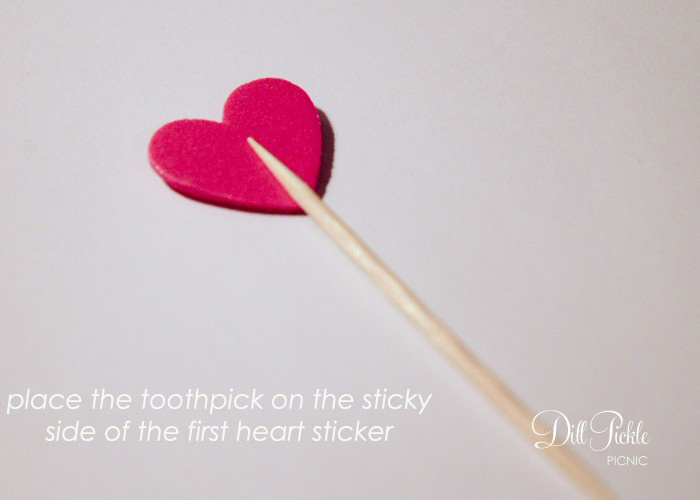
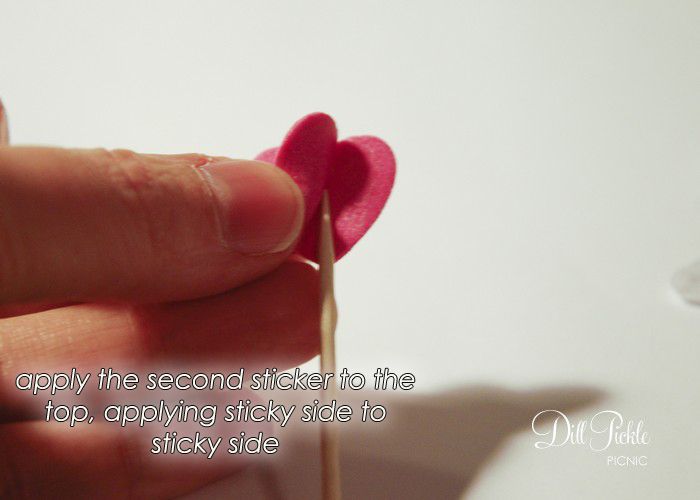
I’ve made these before…but when I ran across these cute heart stickers in the Target Dollar Spot I knew I had to repeat this Easter project.

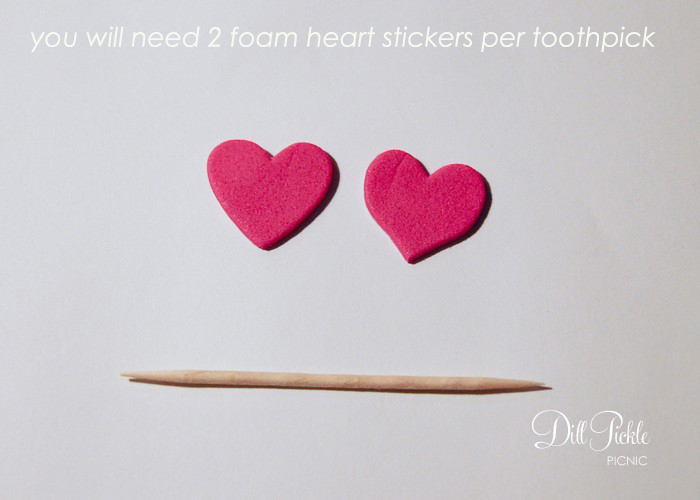
In case you missed the Easter egg ones, the process is super cheap & easy.


And repeat until you end up with these cute little guys!

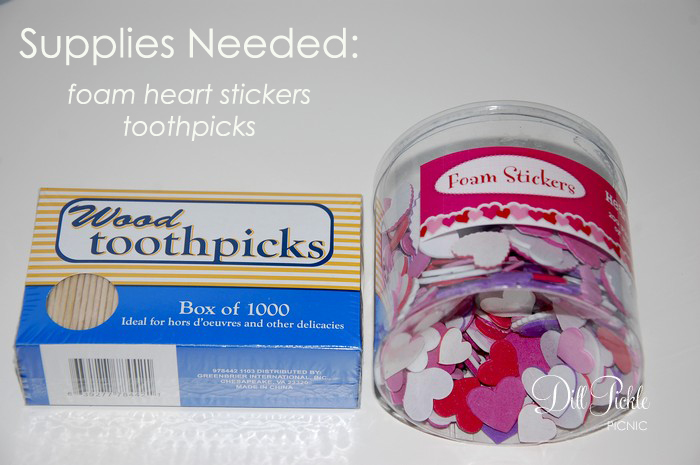
I picked up the container of stickers in the Target dollar section but I’ve also seen large bags of these in rainbow colors at my local dollar store in the craft section.  The fun thing about the Target container was that after making cupcake toppers with the larger stickers, I still had a large amount of the smaller ones left over.  This means I have another project lined up tomorrow with the leftovers and rumor has it I’ll give them both away next week 🙂

Anyone else out there throwing together last minute Valentines ideas?  I’d love to see them so share those links!

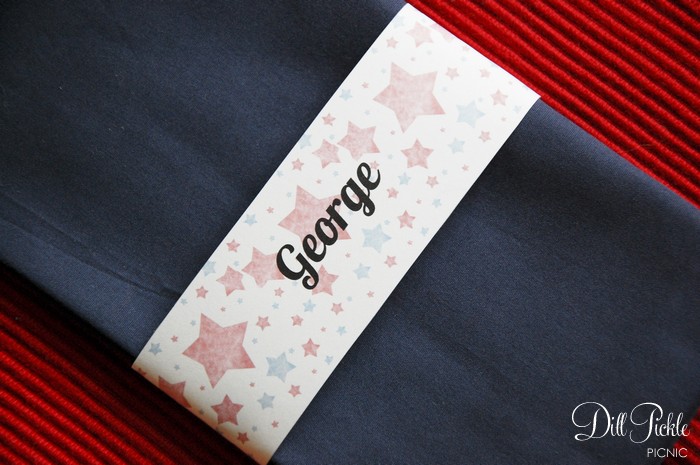
DIY: Patriotic Napkin Wraps – Stars

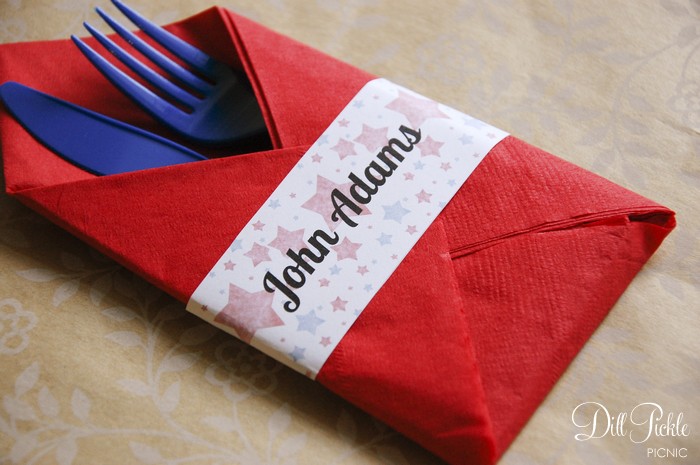
Keeping with the red,white, and blue theme this week…today I have one more fun napkin wrap template.

I also noticed recently that I always take photos of the napkin wrap templates using cloth napkins…but the 4th of July is a perfect opportunity to show they work great with paper napkins as well!

(click here to download MS Word template)

I love how this one looks with my dollar store napkins and plastic cutlery!  The great thing is the napkin wrap holds the bundle together so you could make them up ahead of time!  Total Cost $2.14

>>>>>>>>>>>>>>>>>>>>>>>>>>>>

The font used in the template above is Lobster 1.4, which is free to download from Pablo Impallari.

New to Napkin Wraps?  No worries, visit this post for step-by-step instructions on how to use my napkin wrap templates!

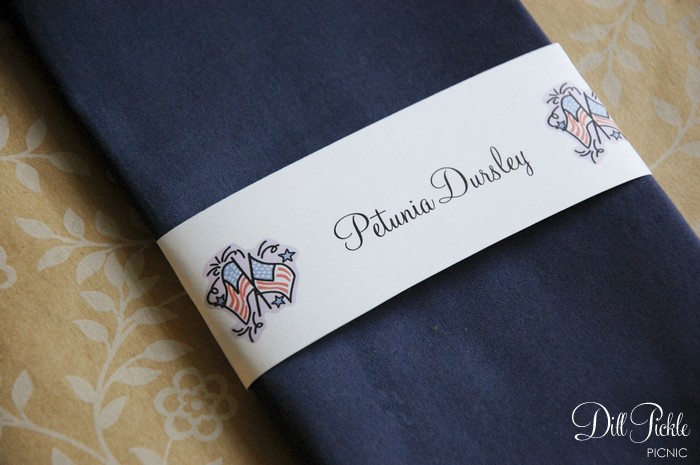
DIY: Patriotic Napkin Wraps – Flags

I’ve been away and neglected this poor little blog for far too long….and since the 4th of July is just around the corner, this week it’s all about Patriotic crafts!  Let’s get things started with a new napkin wrap template!

(click here to download MS Word template)

The template above uses Monterey BT font which is free to download from SoFontes.

New to Napkin Wraps?  No worries, visit this post for step-by-step instructions on how to use my napkin wrap templates!

And now for a shameless plug….did you know I have an Etsy shop?  While it is 99% to blame for my lack of craft posts recently, I did take a break from custom orders to whip up a few sets of  red,white and blue cupcake flags and flagged straws!