DIY: Orange & Red Floral Napkin Wraps

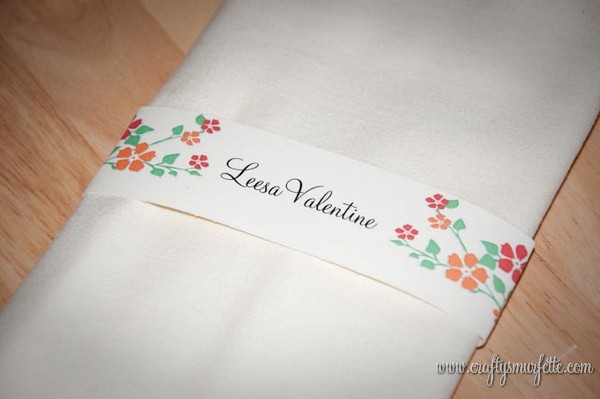
Sometimes I get questions about changing up my original “blue flower” napkin wrap template and sometimes if I’m not busy I’ll volunteer to whip up a new one.  This template is the result of one of those requests.  I love the color orange and would have never thought to pair it with a shade of red…but I think it looks fab!

Click to download template:  csmurfnap_redorange

New to Napkin Wraps?  No worries, visit this post for step-by-step instructions on how to use my napkin wrap templates!

PS…Best of luck Heidi and make sure to send us photos of your napkin wraps in action!

DIY: Holiday Napkin Wraps – Part II

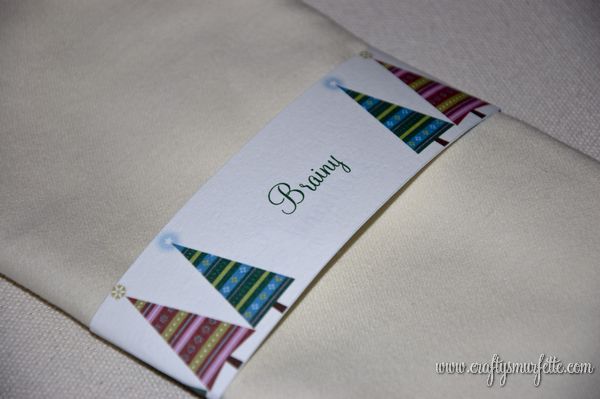
And now time for the “tree edition” of the napkin wraps.  Again, these work the same as my previous wraps, refer to this post for complete instructions.  Merry Christmas from our Smurfy house to yours!

The first is a Set of Multi-Colored Trees
Click to download: csmurf_treenapkins

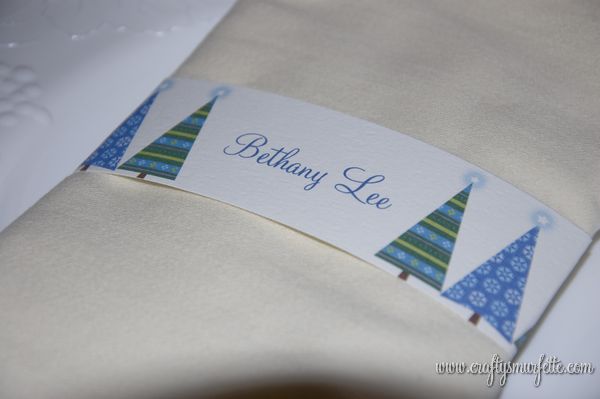
Or how about my favorite with green & blue trees
click to download template:  csmurf_greenbluetreenapkins

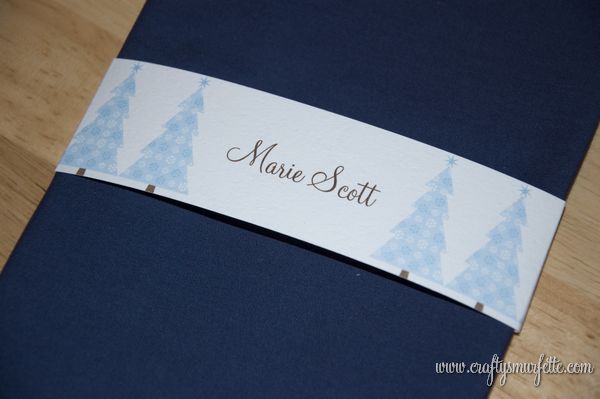
and finally a winter wonderland with pale blue trees
click to download template:  csmurf_palebluetreesnapkins

Check back tomorrow for my final Christmas project for this year:  My version of these 🙂

DIY: Holiday Napkins Wraps – Part I

Ever had that moment when you know you’ve already created something and just can’t find it.  That was me with the Holiday Napkin wraps…I created and tested them weeks ago and then promptly lost the files.  Thankfully today I found them, and not a moment too soon! These work the same as my previous wraps, refer to this post for complete instructions.  Merry Christmas!!

The first is a sepia toned winter cottage.
Click to download: csmurf_rustichousenapkins

Or how about some pastel ornaments
click to download template:  csmurf_pastelornamentnapkins

Check back tomorrow for the “tree” edition of Holiday Napkin wraps & hope you and yours have a wonderful Christmas!

DIY – Fall Napkin Wraps

Several of you have emailed me asking for a more fall themed napkin wrap template to use for fall receptions and thanksgiving …so tonight I put together a couple I really like.  Honestly, I’ve been a little shocked at the interest in my little last minute wedding DIY…but I’m so glad others are finding them useful.

Pumpkin Template
I ran across this adorable pumpkin clip on illustrator Tricia Rennea’s blog as a free download a few weeks ago and bookmarked it to use for something “fall related”.  So it was the first fall themed wrap.  I think they are really cute as a napkin wrap.

(csmurf_pumpkinnapkins)

Speaking of  Tricia Rennea if you haven’t already check her out, she does such great illustrations and has a storefront for purchasing some of them on shirts, etc.

Fall Leaves
This inspiration from this one came from good ‘ole Microsoft Clip art.  I think it might be making an appearance at our inaugural Smurfy Thanksgiving this year.
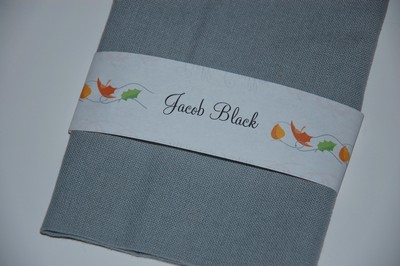
(csmurf_leavesnapkins)

Simple Acorn Template
Again this one came from Microsoft Clip art and then I converted it to a watermark to lighten it up again.  I actually like how well it matches our everyday napkins I used to take the photo!
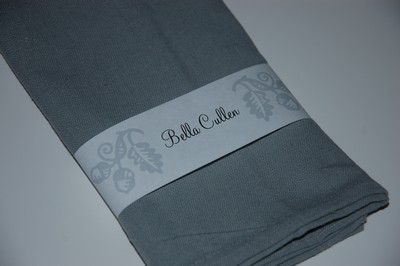
csmurf_acornnapkins

And two more photos just to show you how creative you can be with this little guys.

For example this is what happens if you delete the graphics on the templates and instead use a simple paper punch.  This one is with Martha Stewart’s dove punch.  See how nice it looks that the color of the napkin pops through?

Wouldn’t this be fun with a snowflake punched out for a winter wedding?  Or an ornament for Christmas Dinner?  And for a little more color, what about adding a strip of colored paper behind the punch outs. (please ignore my paper quality… my home office is mid-remodel so I can’t find all the fun papers right now).
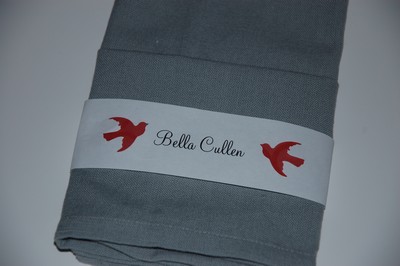
Hope this gives you a few more ideas to make this little DIY project work for you.  If you have questions….let me know!
DIY – Seating Card Napkin Wraps

I promised when I posted about the menu’s that I would post the napkin wraps.  I couldn’t use the original graphics since they aren’t mine to share, but I was able to put together something similar.  Hopefully it will help someone else looking for a quick and economical way to do seating cards.

(source: Climie+Co, blurred names by me)
Tools Needed:

Supplies Needed:

  • 8.5 x 11 paper of choice – I used Luxe White text weight from PaperSource but the thinner variety of watercolor paper also works well
  • Double Sided Table or glue dots
  • Folded (in 1/4 fashion) Napkins to Wrap

Instructions:

  1. Download the Napkin Wrap template and customize with your guest’s names.  You can also change the blue flowers to your own graphic.  I used them again for a house warming party with cute little houses.
  2. Do a test print to ensure you have your printer settings correct on regular paper.  I can’t stress this enough.  Every printer is different so it’s easier to test on regular paper and adjust until you have it aligned, etc.
  3. Print out your napkin wraps onto your paper.
  4. Using the light grey lines that seperate the areas as a guide, carefully cut out your wraps.  I found it easier to cut one page at a time, which did take a bit longer…however I did this part of the process while watching a movie so it didn’t seem as lengthy. 🙂

Now it’s time to wrap your napkins.  Prefold your napkins with a pocket (if desired) in the 1/4 size.  Basically this means folded in half then folded in half again.

  1. Using a napkin as your template place a wrap and center it over where you would like them to line up.  Turn the set over and make small pencil marks on the back of the wrap at the edges of the napkin.
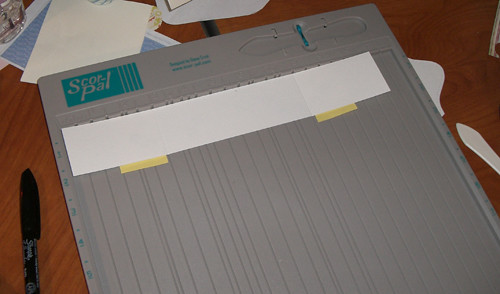
  2. Use this wrap as your template to score the wraps where they will fold over the edge of the napkins.  This is optional but I found it MUCH easier to work with the scored wraps.  I used post-it-notes to mark the lines and create a template of sorts with my ScorPal to quickly score all 100 of my wraps (10 minutes max)
  3. Now get to wrapping….line up the wrap and use a small piece of double sided tape to hold the pieces together in the back.
  4. Insert the Menu and you are finished!
  5. I then used lunch sized paper bags to bag up the napkin sets for each table and handed them over to my DOC to place on the tables.


    (source: personal photos)

If you have any questions leave me a comment or an email!

* flower graphics created with free Photoshop brushes from http://www.freevectordownload.com