Can you believe it’s December already? Wasn’t it just June? I remember thinking the saying “time flies” was just one of those things older adults said. Much like walking to school in the snow, up hill both ways. Sadly now I completely understand what they meant…this year has flown by!
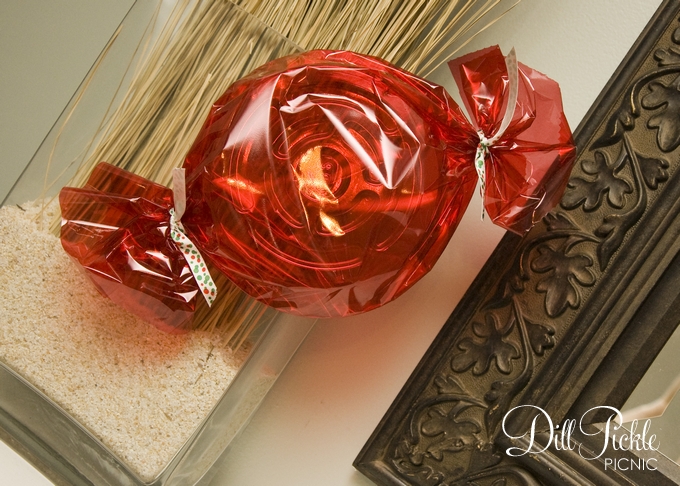
Last year on a last minute, right before Christmas trip to Pike Nursery I noticed their fun outdoor decorations. They had these large peppermint patties. It took me a minute but then it hit me…they made them. So I snapped a photo thinking I should give it a try this year.
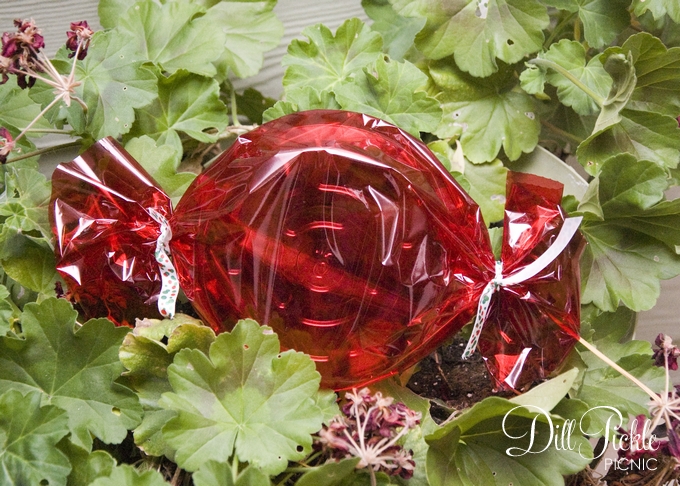
Supplies Needed:
- Tape
- Scissors
- Red (or any color) cellophane wrap
- Ribbon or twine
- Clear Plastic Flower Pot Saucers (mine are 6 inch)
Instructions:
-
- Cut your cellophane into pieces larger than your saucers. I doubled the diameter of my saucer, so 12 inches square for each 6 inch saucer. Don’t worry if you have too much on the sides you can trim that later.
- Lay your first saucer in the middle of one of your pre-cut cellophane pieces, open side up.
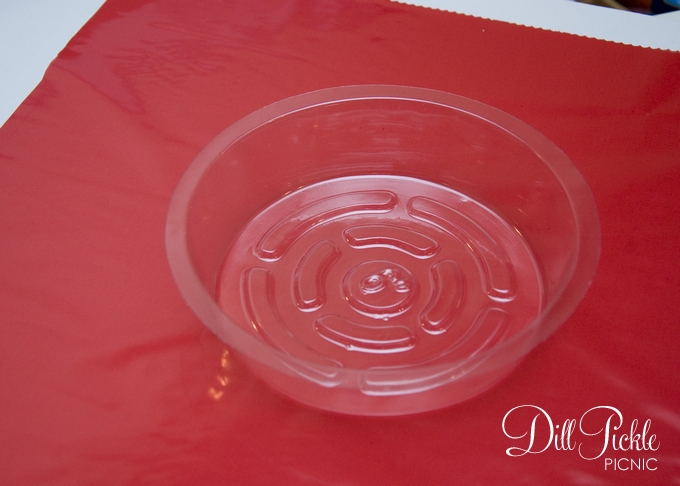
- Pull the bottom half of the cellophane up and over the top of the open saucer. Secure it with tape.
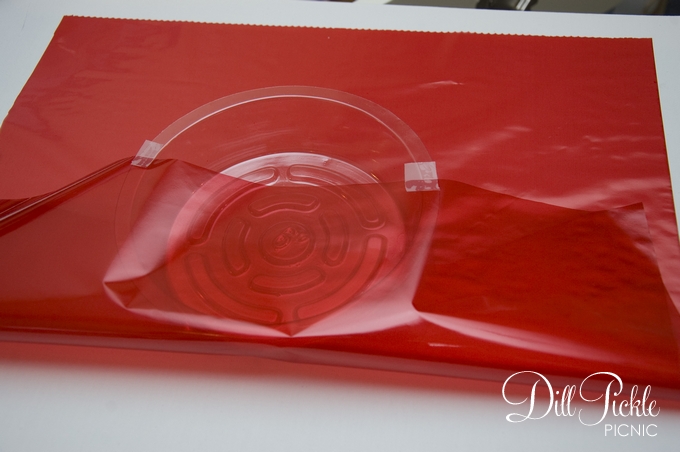
- Pull the top half of the cellophane down and hold closed with a tiny piece of tape.
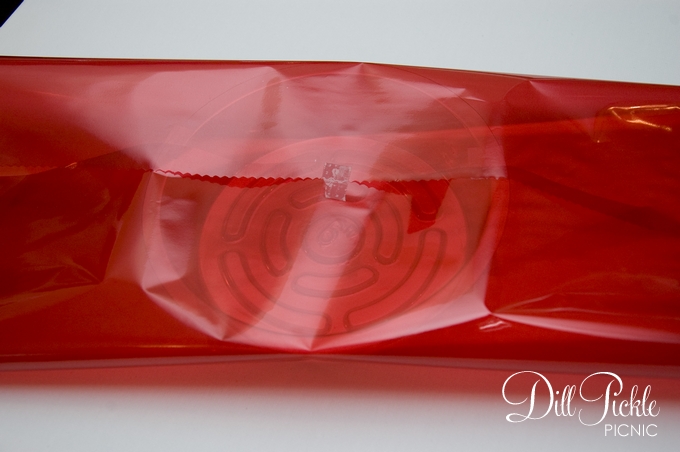
- Now carefully gather one of the ends and tie with a small piece of twine. You could also just use your decorative ribbon but since they will be outside I wanted to tie them with something a bit stronger. Don’t worry if your ends are a bit long, you can always trim them when they are finished.
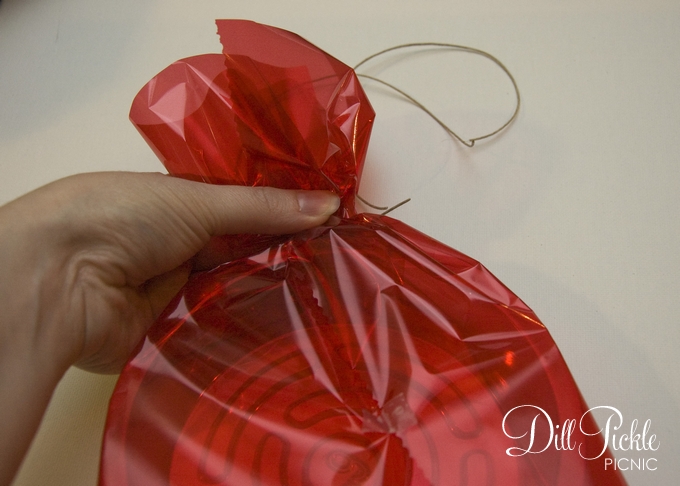
- Repeat the gathering and tying process on the remaining side.
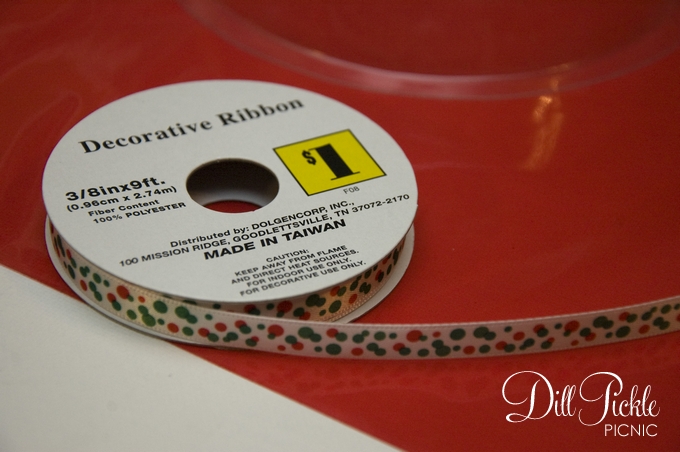
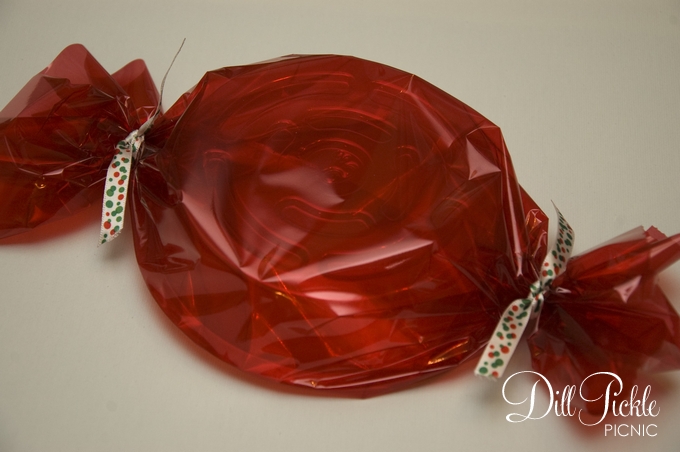
- Now, cut pieces of your decorative ribbon, and tie over the twine to decorate your candy.
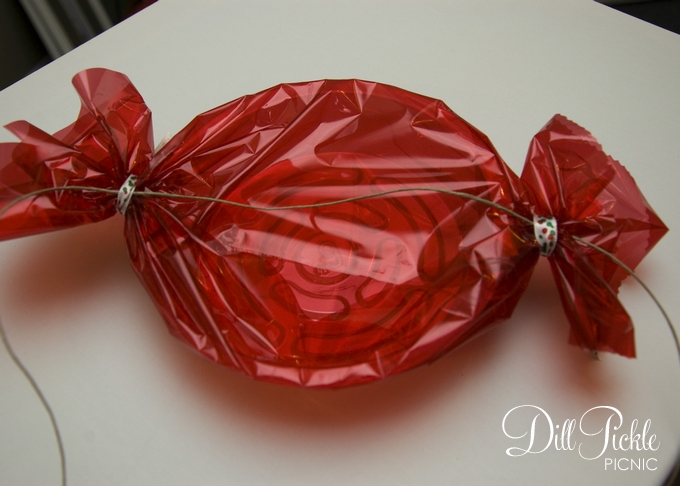
Want to make your candy into an extra large bunting to hang along your front porch?
Easy, just add your bunting twine or robe in behind your ribbon ties, hang, and enjoy!
Total Cost:
All of the supplies listed above were found at my local dollar store! I spent a total of $3.00 which would make over 6 of these large candy pieces which supplies left over for a couple other projects you’ll see very soon
$1 and up


Great idea! and looks cool. If you don’t have a porch or hedge like me, live in housing complex, cover the planters plate from bottom, leaving some excess poly film wrapping, now over the top, gathering ALL the excess poly film at the bottom and twist it tightly. Insert a dowel, your length preference, and tie it all up with a beautiful bow. You know have a lollipop.
Want a smaller version for the tree, use bottle caps from soda bottles, medicine or vitamin caps or even styrofoam balls. Use paper straws or plastic ones (regular or coffee stirrers) and material. You can also wrap the caps to look like the hard candies.
Good luck and Merry Christmas. ⛄❄
What a great idea! Thank you for sharing.
How could you make these for the tree like a 6-7 foot?What coud you use for th plastic candy disk?
Jan,
You could use those 3 or 4″ round cross-stitch coaster pieces for a smaller version of the candy ornament.
Best wishes and many blessings,
Cyndi
Love this but it would be great to fill the container with small gifts and homemade cookies and candy for the family.
Wonderful idea…will look great on my porch. May use it for sort of a Christmad theme that i can carry over to Valentines day. Add a few lights or luminaries and grandkids think grammie is cool.
These are adorable! Very creative! Would love if you’d join our Countdown to Christmas link party! Hope to see you there! Have a great week! 🙂
http://dixie-n-dottie.blogspot.com/2012_12_04_archive.html
These ar eso way cool and you can place them just about any where you want…..I wonder if they have Diff color polly film to do others as well?
Oh my gosh this is so cute!! I love that you use free/cheap items for this DIY. I’ll def. be following to see what you come up with next!
Emily
Pingback: Fun Outdoor Holiday Decorating Ideas | Mrs. Fields Secrets
I always love outdoor decors because they make your home look even more beautiful.
I made these using clear plastic cases from flower nosegays or coursages (used at prom time…ask your florist or available all year long from floral supply places), and put low watt xmas lights thru them, making a string of lightes that looked like candy. If you use different colored plastic paper on each one, they come out beautiful!
That is such a great idea! Thanks so much for sharing 🙂
Great idea! I think it would be cool to make them a garland along a string of clear lights.
Whoa! Such an unbelievably cute, simple, and cheap idea! I’m saving this for next year – you’re so creative!
Pingback: DIY Holiday Crafts » TrashCat
Love love love this idea! This would be super cute with cookies or something in it, as a creative present idea.
What an AWESOME idea!! It’s so simple & creative. I love that it’s relatively weather-proof too – I bet I could fasten a couple to our hegdes outside.
You totally could…the Pike I saw them on last year had them along the front of their store, hanging on the posts with garland and then tied to large pots out front. I’m still looking for the photos I took of them…
HA! So cool, and I have some of those clear pot bottoms. Thanks for a great (big) little idea, can’t wait to see the others. Happy December!
I LOVE this idea!