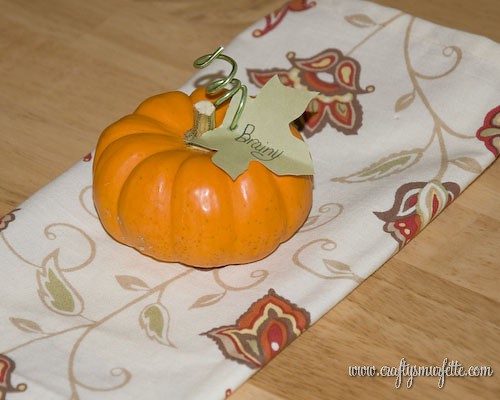
I saw some cute pumpkins sitting on place settings as I strolled through a cute little boutique near my house not too long ago and thought…hum, I could do something like that for Thanksgiving. So I decided to give it a shot to see how “doable” and “economical” it would be for our family Thanksgiving dinner…and you know what I think it’s a real winner.

Tools & Supplies Needed:
- Mini Pumpkin or Squash for each place setting
- Paper to use for leaf name tag
- Green or Brown wire
- Marker or Pen
- Kraft Knife or Ice pick
- Scissors
- Leaf Template

Instructions:
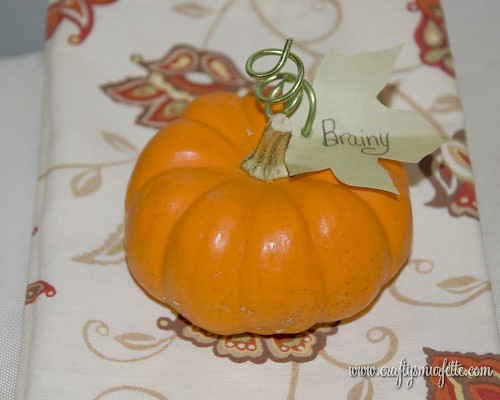
- The first step is to cut out your leaves and label them. For the first attempt (as shown in the photos) I simply printed out some leaves I found on good old Microsoft Clip Art on the back side of my green paper, and then cut them out with scissors. Then used my trusty black calligraphy pen to write on the names.
Then I remembered something that would have worked MUCH better. The Cuttlebug with the leaves dies. I already owned them so it was a no brainer. If you aren’t on the Cuttlebug bandwagon I wouldn’t advise buying one just for this project…unless you have 100’s to do. In that case I’d recommend buying the dies (under $20)and trying to find someone who would either cut them with their machine or loan it to you for a day. Heck, email me and if you provide the paper I might run them through it for you in exchange for gift cards 😉
 (source for both machine & dies: Provo Craft)

- Next it’s time to make the wire coils you’ll use to attach the leaves. I picked up the wire I used in the little floral section at Dollar Tree. You could make almost 20 little coils from one package. Cut off a piece of wire approx 3.5 inches and wrap it around a pen or marker to shape it into the coil.

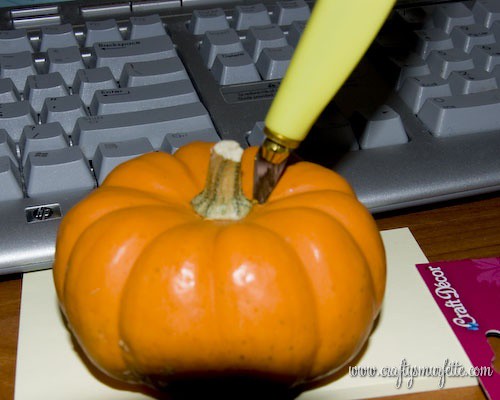
- Use your Kraft knife or even an ice pick to poke a small hole in the pumpkin top near the stem. It should be just a tad bit small than the wire’s diameter to hold it steady. Have a towel handy to dry off the juice that will seep out when the hole is first made.

- Use the knife to make a small cut in the leaves and feed the bottom part of the wire coil through the slit, and place the wire into the hole you created in the pumpkin.
- Push the leaf against the pumpkin and adjust the wire to your liking, then display on a fun fall napkin or onto of your place setting and enjoy.

Price Break Down:
-
Mini Pumpkins – purchased at Wal-Mart Super Center for $0.78 each
-
Green Aluminum Wire – purchased at Dollar Tree – $1.00 for 6 feet
-
Green Paper – Michael’s scrapbook paper – $0.50 per sheet/20 leaves
-
Template – free from MS Word
-
knife, pen, scissors – free already had
TOTAL: For 20 placesettings = $17.60 so $0.88 each
Overall, I’m proud with how they turned out, especially for 88 cents each! What do you think? How will you set your Thanksgiving table?
