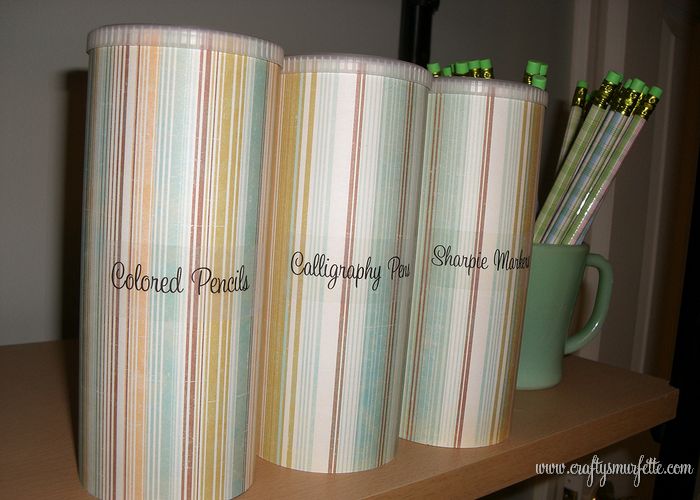
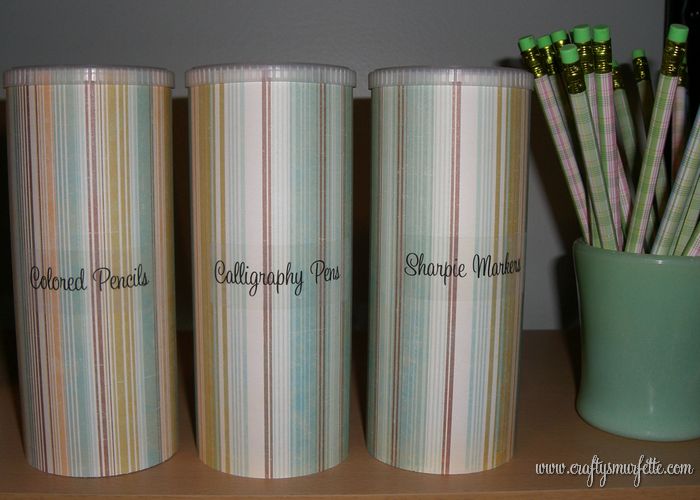
Earlier today I posted about using old Crystal Light plastic containers to make cheap and safe “big girl” candles for my friend’s little girl. Afterwards I remembered I had never shown you how I use these containers in my craft room/office for storage. Before I had all my pens/pencils in a large flower pot on my desk, but I was NEVER able to find the specific type of writing utensil I was looking for. Now, I know right where they are…and they look stylish sitting on the shelf as well. 🙂
Supplies & Materials:
- Plastic Powdered Drink tubes (ex. Crystal Light)
- Clear Address Labels
- Computer & Printer
- Scrapbook Paper
- Double-Sided tape or Xyron Machine
- Scissors or Paper Cutter
Directions:
- Start out by cleaning the plastic container and removing all labels. Dry throughly afterwards.
- Measure the height of your plastic container.
- Using your scissors or paper-cutter cut a piece of scrapbook paper to the correct height.
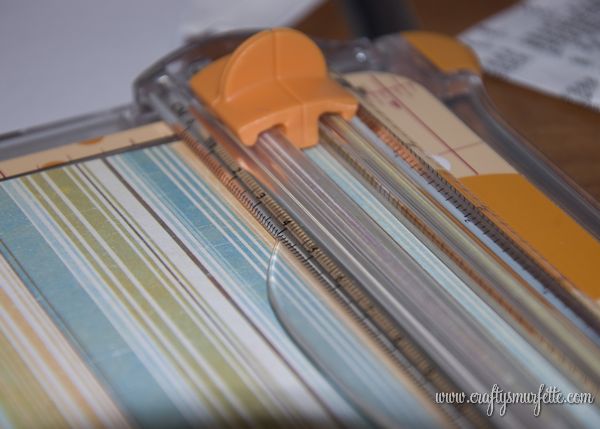
- Wrap paper around your container and make a small mark where the edges meet (adding .25 inch to allow for a better seal/overlap).

- Using your scissors or paper-cutter cut the piece of scrapbook paper to the correct width. Use this piece as a template to cut other pieces for more containers.
- If using an Xyron machine run your pieces of cut scrapbook paper through the machine.
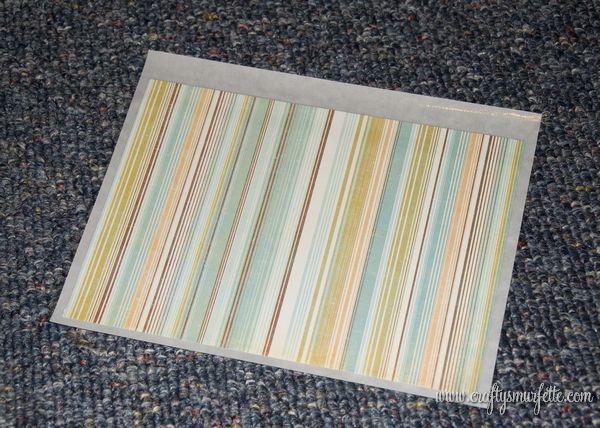
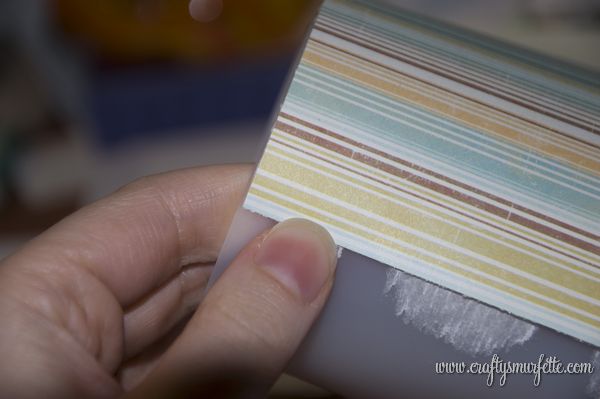
- Carefully remove the backing from the paper and carefully wrap it around the plastic container, taking care to smooth out to prevent any air bubbles. (If using double-sided tape run a piece down the height of the container and attach one end of the paper. Then attach another piece of double-sided tape to the inside of the finishing edge and carefully smooth around so that the paper is smooth and the edges are sealed).
- Using your word processor of choice, print out your clear labels for each container
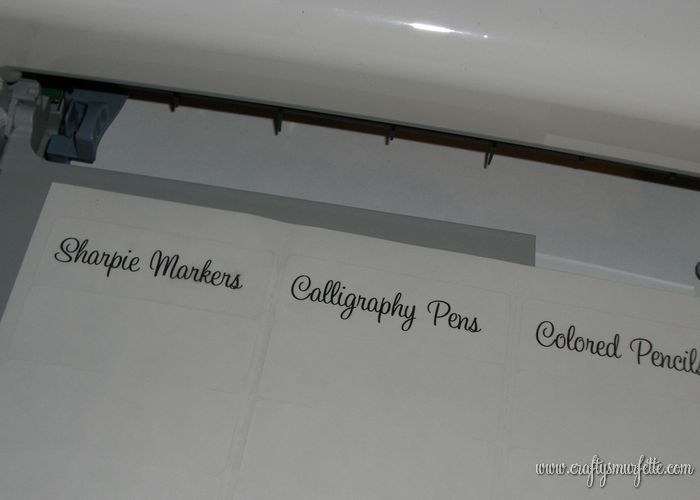
- Apply your labels and fill up your containers with their new contents.
Cost Breakdown:
- Plastic Powdered Beverage Containers – Free from recycle bin
- Scrapbook Paper – Free, leftover from wedding
- Clear Mailing Labels- Free, leftover from wedding
Total: FREE
Bonus: These are so easy to make they would make a fun crafty project for the kiddos as well! You could also cut a small hole in the lid to make a stylish coin jar!

GACK! What a great idea! I just throw those things out, and here there’s such a great use for them. Definitely will be making these.
Found you through the Dollar Store Crafts facebook page!
I love this idea! There’s nothing worse than a crazy-messy desk… this would be such a fun solution. The labels are the perfect extra touch :).
Thanks Kasey, and I agree a crazy-messy desk drives me insane. I love being able to find what I’m looking for easily.
Haha well at least now mostly everything ends up in the right place 😉
Cute idea! I am definitely going to have to do this.
thanks! even my husband can find a sharpie when he needs one…now if only he’d put it back in the right container 🙂