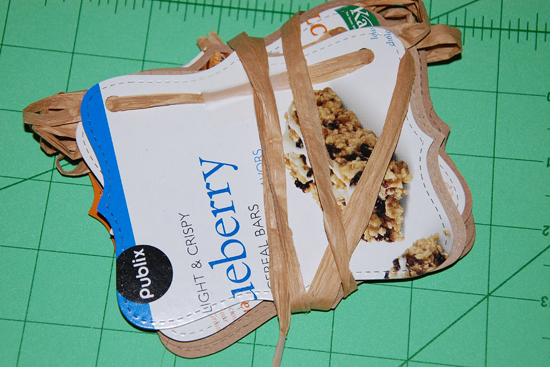
If you are anything like us, you throw away several “chip board” style boxes every week, between cereal, granola bars, and yogurt packs it adds up. Now, if you are anything like ME, then you love using chip board & kraft paper for your crafting projects…do you see where I’m going with this?
For projects that are one-sided, why not reuse something that you would just be throwing away (hopefully in the recycle bin)? So stick around and I’ll show you how to turn these:

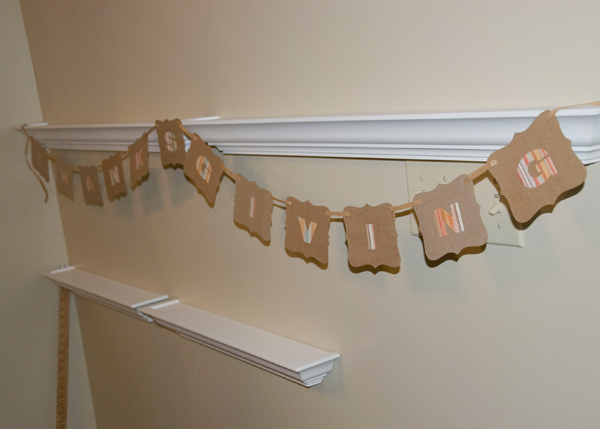
Into this:
Materials:
– card board boxes destined for the trash
– scrapbook paper to make letters
– 3 yards of raffia (twine, ribbon, or yarn… use what you have)
– tape
Tools:
– Cuttlebug (or edge punch, or scrapbooking scissors)
– Top Note Die from Stampin Up
– Standard Hole Punch
– Glue Stick, School Glue, or Xyron (again use what you have)
– Scissors
– Bone Folder
Instructions:
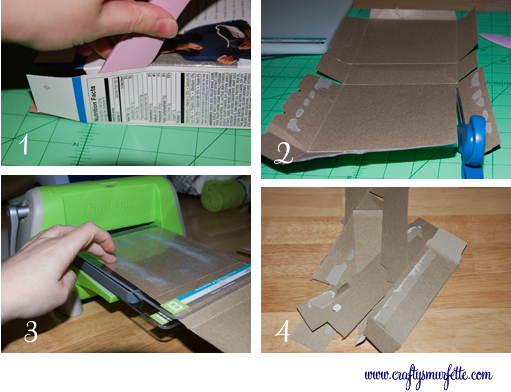
- Carefully pull apart glued seams on each of the cardboard boxes. I use a bone folder to help open up the more difficult areas.
- Using scissors cut off all side flaps from both sides of each box. For larger (cereal sized) boxes you will also need to cut the larger areas into small pieces that will fit through your Cuttlebug or Bigz machine.
- Carefully stack the Top Note die and the card board and run through the die cutting machine (careful to use acrylic plates as indicated by each machine’s instructions). Repeat as many times as necessary to cut 6, 12 or 18 (depending on your selected message).
Note: Don’t worry if you don’t have a Cuttlebug, or the Top Note Die. You can get an equally fun look by marking off rectangular pieces and cutting out with scrapbook scissors OR also from cutting out with regular scissors and then using an edge punch. - Put leftover cardboard aside for tomorrow’s project 🙂
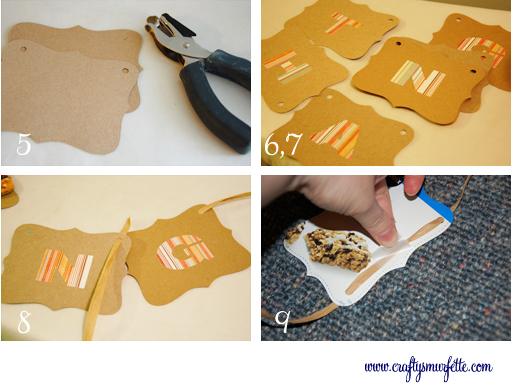
- Use hole punch to carefully punch the top area of each piece and set aside
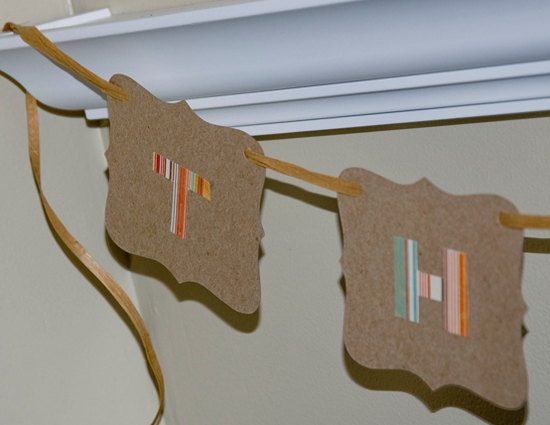
- Using your scrapbook paper carefully cut out the letters for your desired message. I like using 2 inch sized letters. If you have letter dies you could use them to easily punch out your letters, you could also use stickers or pre-cut chip board letters. OR you can always use old school stencils to trace letters in reverse on the back of your scrapbook paper and cut them out with scissors (that’s what I did) 🙂
- Use your glue product to attach letters to card board pieces.
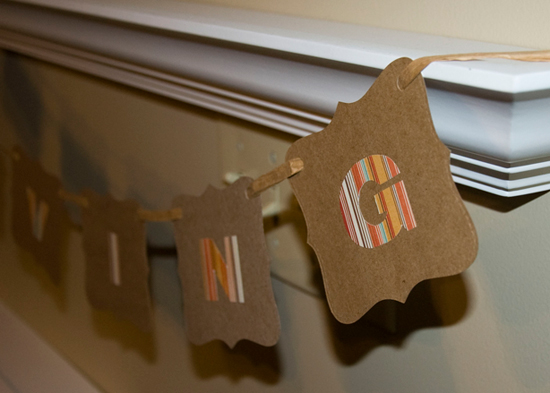
- String your card board pieces with the raffia. To be consistent I always start from the front of each piece of card board, so that the raffia piece is behind the shape.
- To help keep my pieces in place I use a bit of tape on the back of each piece to keep them from sliding.
- Hang & Enjoy!!
Another really fun feature to this quick & cheap project is that it folds up to store really easily, so we can use it again next year!
Price Breakdown:
Since I used boxes that were going to be thrown away, and other materials I already had literally lying around my craft table…it was FREE!!!!
And did you notice a hint for tomorrow’s crafty post in the photos above? Yep, check back tomorrow for another reuse project.
