DIY: Monster Cupcake Eyes for $1

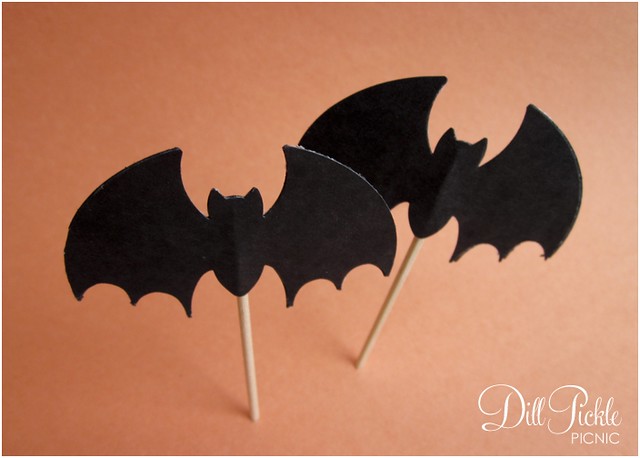
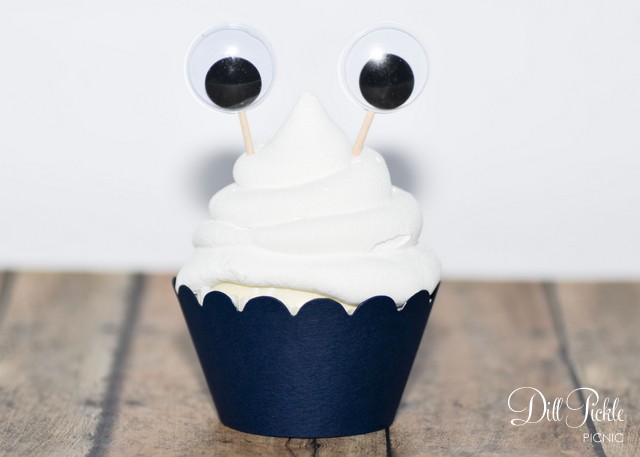
So, I really should have posted this before Halloween but these little guys are adorable for Monster birthday parties as well.  They are another one of those quick & easy crafts that pack so much cute for such a small investment.  How awesome would they look if you covered the top of the cupcake with the squiggly grass-like icing or solid “monster-colored” sprinkles?
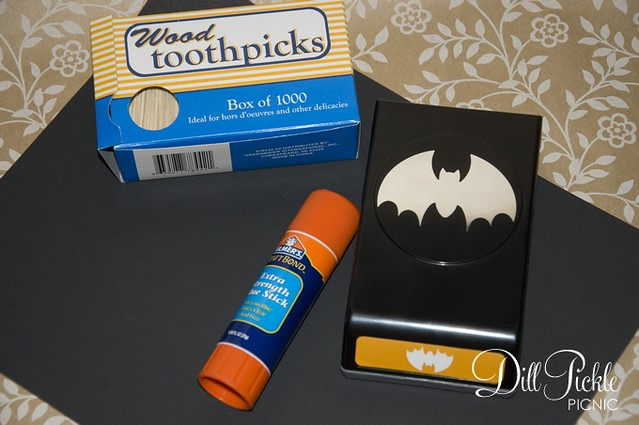
Monster Cupcake Eyes from Dill Pickle Picnic

DPPPhoto-100Supplies Needed:

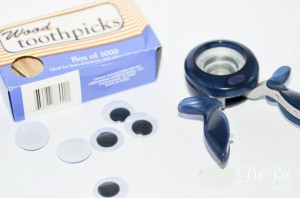
  • Googly Eyes (mine came from Dollar Tree)
  • Glue (or adhesive backed paper)
  • Optional: White cardstock or construction paper
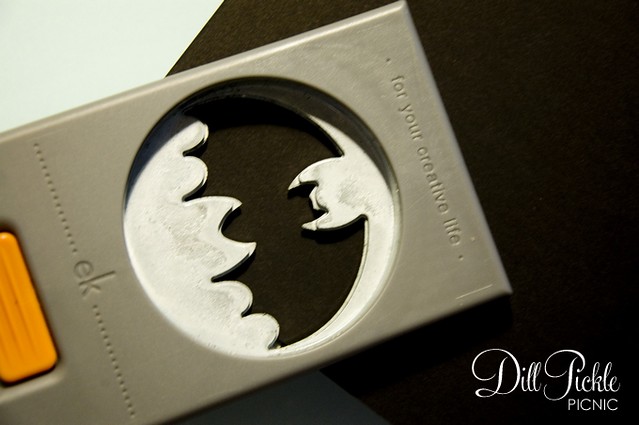
  • Optional: Round Punch in same size as eyes

Instructions for Monster Eye Cupcake Toppers:

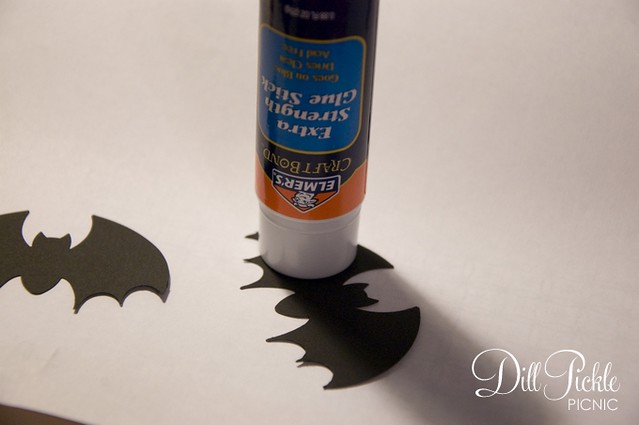
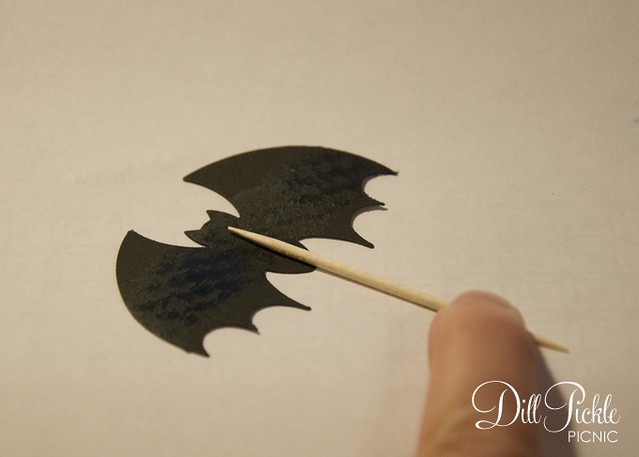
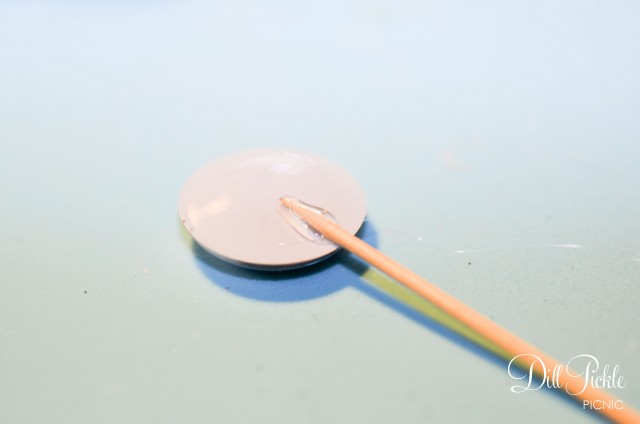
  1. Glue toothpick to the back of each eye.  I would recommend regular craft glue, or low temp hot glue.  Using a higher temperature hot glue tends to cause the thin plastic backing of the eye to bubble.
    DPPPhoto-102
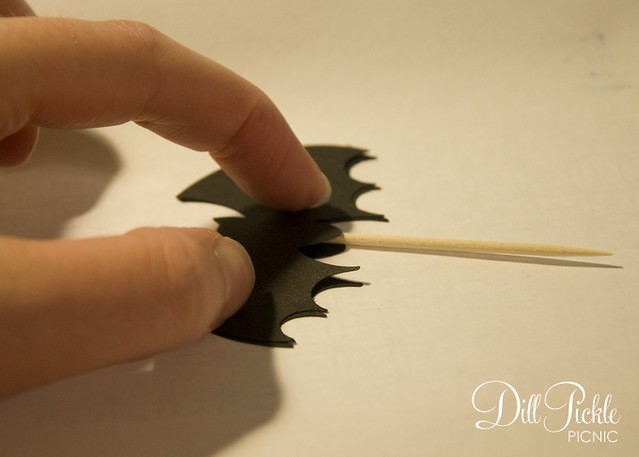
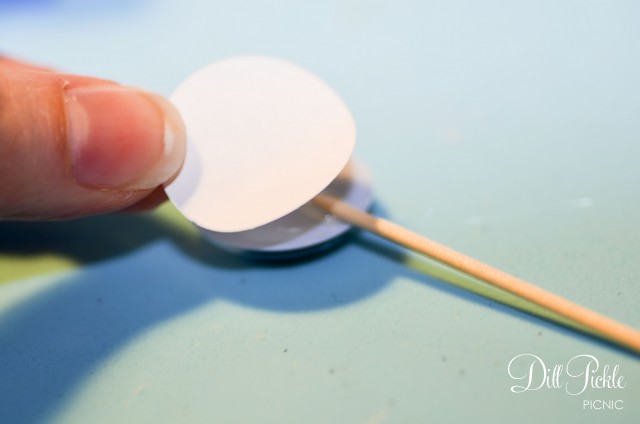
  2. Optional Steps: I wasn’t really happy seeing the glued toothpick on the back of the eye.  To fix this I simply pulled out my 3/4 inch circle punch which is the same size as the googly eyes and punched circles out of some left over white label paper (you know the parts that are left on the side margins after you use the actual labels?).  Then I stuck those to the backs covering the glue/toothpick which also did a nice job of holding the toothpicks in place instead of glue.  You could also use white cardstock and just glue them in place as well.
    DPPPhoto-103
  3. Let dry completely & enjoy!

DPPPhoto-108

The best thing about these is they could be used to create so many different type of critter cupcakes!  What creatures will you be creating with your googly eye cupcake toppers?

DIY: Pumpkin Ale Labels

One last project going on in our household this week is the labeling of my hubby’s home-brewed pumpkin ale.  However these fun labels could look fun over your favorite pumpkin brew or any other fun Halloween beverage.  This could even be fun for other fall festivities or Thanksgiving.

Pumpkin Ale Labels
I printed these out on standard paper and then ran them through my Xyron machine, so these labels won’t stand-up to being iced down.  Then I setup a cut file on my Silhouette (which I’m still learning how to use) and cut them out.  The labels were quickly thrown together, but overall I’m happy with how they turned out.

Don’t have all the fun toys above?  That’s ok too!  You can easily make your own by downloading the printable PDF from below and printing it out onto full sheets of labels and then trimming around them!

Click to Download Printable PDF

Pumpkin Ale Labels

Now that the pumpkin ale labels are finally all attached and ready for a Halloween party this weekend…it’s time to start thinking about fun ideas for the Holiday Ale coming up next!

I hope each of you has a safe & spooky weekend, Happy Halloween Y’all!!

DIY: Halloween Lightpost Decor

I had almost forgotten about posting this little quick project. Last Halloween my FIL hosted a bit of a Halloween party in his “under renovation” home. The “under renovation” part meant we didn’t even start decorating until a few hours before everything was to start. I learned it’s amazing what you can throw together really quickly…including this fun addition to his street number light post that cost less than $1 to make.

DPP-hallowpost1

Supplies Needed:

DPP-hallowpost3

  • Plastic Table Covering (from your local dollar store)
  • Scissors or Rotary Cutter & Mat
  • Tape (I used painters tape, but scotch would work as well)

Instructions:

  1. Carefully unfold the initial vertical folds of your plastic table covering so that it is still folded vertically. (This will allow you to cut longer strips quicker and more precise).
  2. DPP-hallowpost4

  3. Using your scissors or cutting tool measure over approximately 2 inches and cut up the length of the outside vertical edge of the table covering.
  4. DPP-hallowpost6

  5. Repeat 3 more times so that you have 4 strips.
  6. Carefully open up your strips so that you have one long piece. Hint I keep mine doubled so the color is a bit more pronounced.

Wrapping the Post:

  1. Using your tape attach the bottom of the first strip to the bottom of your post at the angle you wish your strips to run.
  2. Carefully wrap the plastic strips around over the tape and then start carefully wrapping the plastic strip up the length of the post. Make sure to keep the strips pulled just tightly enough to keep it in place.
  3. When you reach the top, use an additional piece of tape to hold it in place. Don’t worry about the tape showing since the bow will cover it up.

Creating & Attaching the Bows:

    DPP-hallowpost10

  1. Take the second strip (again I always use a double layer of the table cover) and hold it in your hand about 6 inches from the end.
  2. Make a loop folding it to meet your fingers in the center.
  3. Repeat on the opposite side. Repeat steps 2 & 3 until you have approximately 7 inches of the strip leftover.
  4. Loop the leftover strip around the center and tie the two ends together.
  5. Pull your loops to make them all uniform in length (it’s ok if it looks a bit flat at this point)
  6. Carefully open up the loops of the bow, pulling apart the two sections to “fluff” up the bow.
  7. Repeat using remaining 2 sets of table covering strips.
  8. Using the 6 inch trailers tie the bows around the top of the light post. By tying them all side by side it the bow will go completely around the top of the post and give a much fuller look.
  9. Either trim the trailers to have pointed ends, or tuck them inside the bows so that they don’t show.

The great thing about this project is I still had about 1/2 of my table covering left…which was a perfect size to either cover the long island in his kitchen (or make a Halloween wreath?). Also, since it’s made from plastic it wasn’t an issue when it started raining a few moments later!

DPP-hallowpost2

Total Cost: $1

You could also use this same approach using any of the plastic table covers found at your local dollar store…I’m thinking a red and white candy-cane look could be fun for Christmas!

Looking for more Fall or Halloween projects? Check out the side bar to the left for a quick listing!

DIY: Batty Cupcake & Food Flags

Well hello there! I’ve missed you guys while I’ve been toiling away on a huge work project that I wish I was able to share. It ended up being almost 100% DIY and has really tested my abilities to be both crafty, economical, and yet still extremely professional. Now I’m creatively tired. Does that make sense?

So, today lets talk about Halloween and how bats can be cute.
DPPbatstraw17Ready to make some of your very own?

Supplies Needed:

  • Black Paper or Cardstock
  • Glue or Glue Stick
  • Toothpicks
  • Bat Punch (or die cuts from your favorite machine)

DPPbatpicks-1

Instructions:

  1. Punch out your bats. I used a punch I picked up at JoAnn’s with a 50% off coupon. You could also cut them using your favorite die cut machine. You will need two bats for each flag you want to make. (Hint: with this punch I could get roughly 20 individual bats from one 8.5×11 piece of cardstock).DPPbatpicks-2
  2. Using your glue cover the back of one bat. I use a glue stick when I want to whip these up really quickly, but choose to use paper glue for the ones I sell in my store).DPPbatpicks-4
  3. Place your toothpick on the glued bat.
  4. DPPbatpicks-5

  5. Carefully layer the second bat onto the first, taking care to line up the edges all the way around. Make sure you press to seal the pieces together around the toothpick.
  6. DPPbatpicks-6

  7. Repeat & Add to Cupcakes or Other Spooky Snacks
  8. DPPbatstraw15

Want to jazz up your Halloween party a bit more? Repeat this process using straws to use when you serve up your “witches brew”.

DPPbatstraw3

Total Cost: $1 and up

See quick, easy…and cute! How will you decorate for your Halloween festivities this year? And, after you finish a big DIY project do you too find yourself creatively fried?

(Like these but have no time to make your own? Check out my shop for limited quantities available for sale!)


Life: Halloween & Etsy

Well hello there!  I’ve missed you the past week or so…but things have been busy in the Pickled household.  In the midst of everything I finally managed to get the Dill Pickle Picnic Etsy shop open!  Yay!  Right now it’s looking a bit sparse but I’m hoping to fill it up a bit more over the weekend.  So when you have a minute check it and let me know what you think!

It’s finally starting to feel like Fall in Georgia, and it makes me so happy!  I love fall, it means pumpkins, college football, Halloween, and deep colored clothing.  We will once again attend a Halloween party hosted by a family member and since he has me lead the decorating charge I’ve been checking out all the latest Halloween decorations.  And I found these fun little guys…

{image source: PB}

Which reminded me quite a bit of these little guys I whipped up for his party last year:

Check out this post from last year to learn how to whip up your own pumpkin lanterns using a few dollar bin items!

What about you guys?  What are you decorating plans for Halloween?  Any fun, yet cheap suggestions to share?