DIY: Large Peppermint Candy Decor – Part II

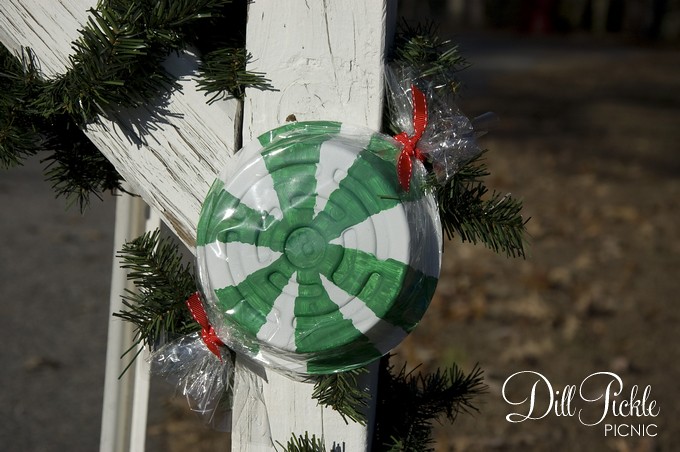
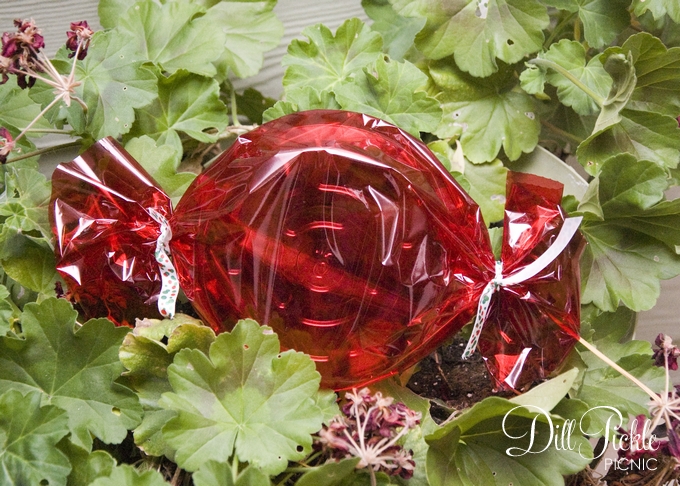
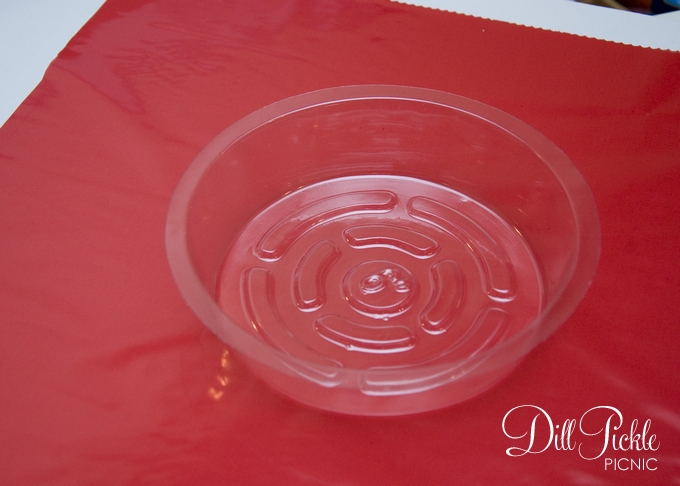
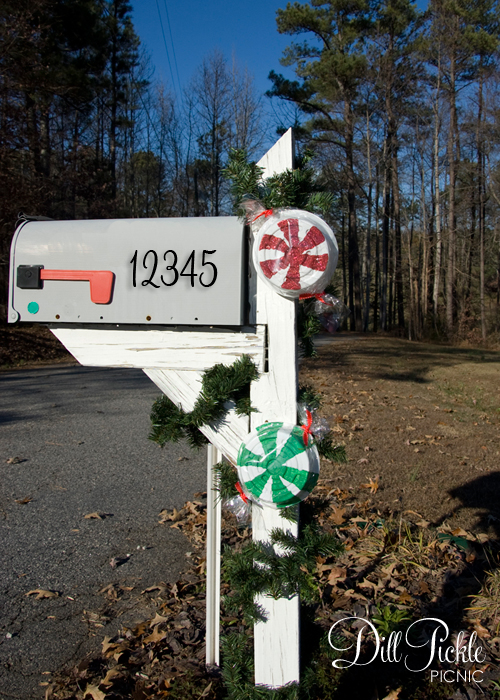
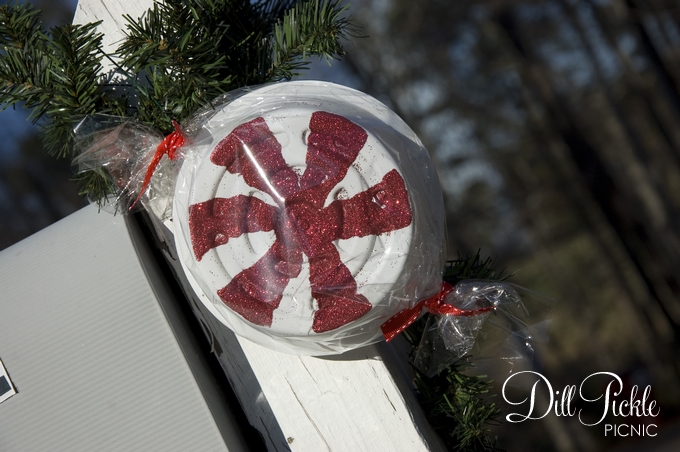
Earlier I posted some photos from my inspiration candy pieces…they were white, glittery, and peppermint-y.  The plant saucers I have are clear…so that meant I needed to try to make them work as well as buying new white ones.  These took a bit longer than those in the first post since they needed some drying time, but we used them to decorate our mailbox just a bit.
DPP-lgcandy-17

DPP-lgcandy-16

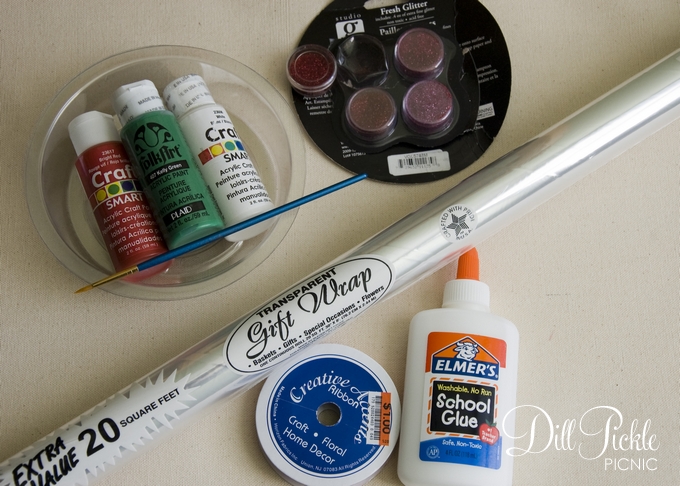
Supplies Needed:

Supply List

  • Transparent Cellophane  ($1 from dollar store)
  • Plant Saucers (mine were $1 from local dollar store and are 6 inches in diameter)
  • White Paint (I used some white spray paint from my stash)
  • Paints for peppermint colors
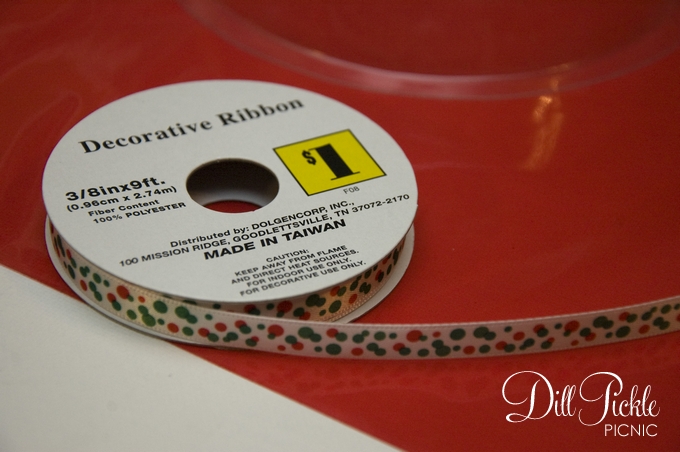
  • Ribbon ($1 from Big Lots)
  • School Glue ($1 from dollar store)
  • Glitter ($1 from Michael’s dollar bins)

Instructions:

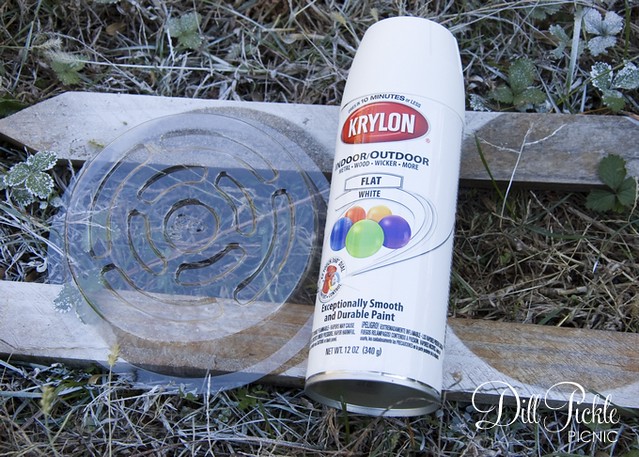
  1. If starting with clear saucers start by painting them white.  You could use acrylic paint and a brush, or spray paint works great for this project.  I used a can leftover from another project and gave the saucers a quick light spray, and then let them dry thoroughly.
    DPP-lgcandy-21
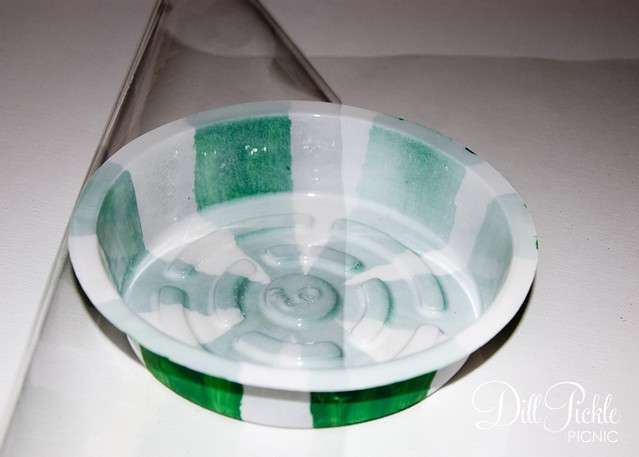
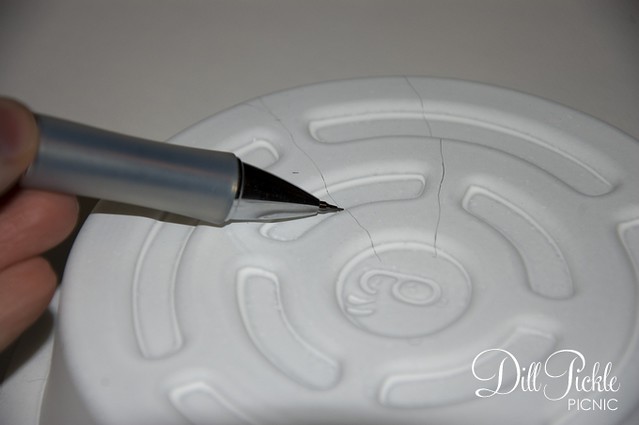
  2. Once dry, it’s time to decorate your candy pieces.  I start by lighting outlining the shapes of the areas to be painted on the top of each piece with a pencil.
    DPP-lgcandy-1
  3. For painted pieces use your acrylic paint & brush to fill in each of the candy sections.  Sit aside to let dry (I leave mine overnight).
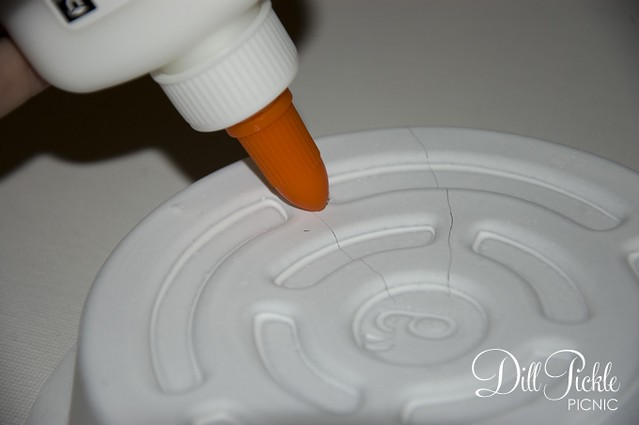
  4. For Glittery pieces fill in each of the candy sections with your school glue.  Use the paintbrush to fill in the spaces if necessary.  Then over a piece of paper apply your glitter.  Use the paper to reuse extra glitter until all glue is covered.  Sit aside and allow to dry (I leave mine overnight)
    DPP-lgcandy-2
  5. Cut your cellophane into pieces larger than your saucers.  I doubled the diameter of my saucer, so 12 inches square for each 6 inch saucer.  Don’t worry if you have too much on the sides you can trim that later.
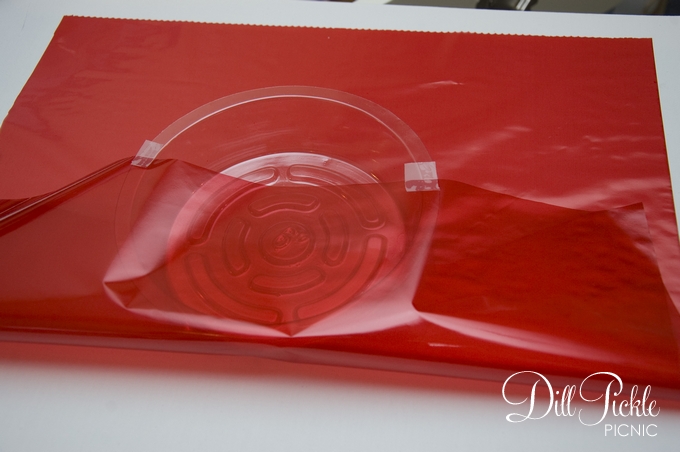
  6. Lay your first saucer in the middle of one of your pre-cut cellophane pieces, open side up.
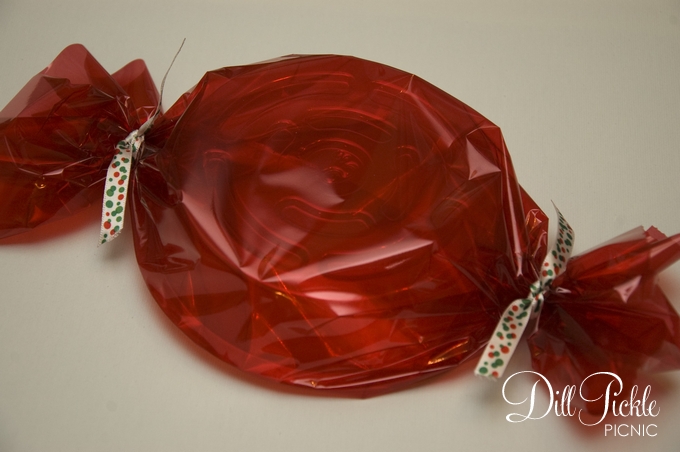
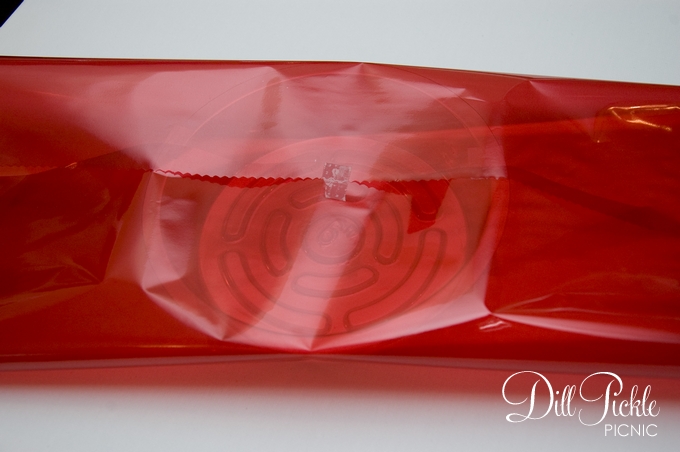
  7. Pull the bottom half of the cellophane up and over the top of the open saucer.  Secure it with tape.DPP-lgcandy-7
  8. Pull the top half of the cellophane down and hold closed with a tiny piece of tape.
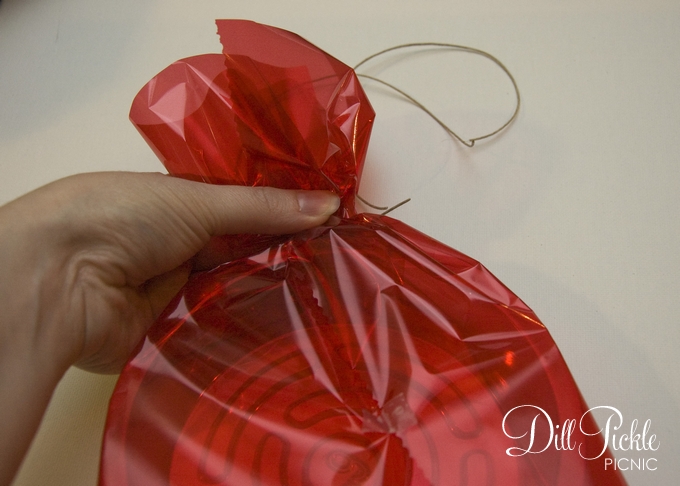
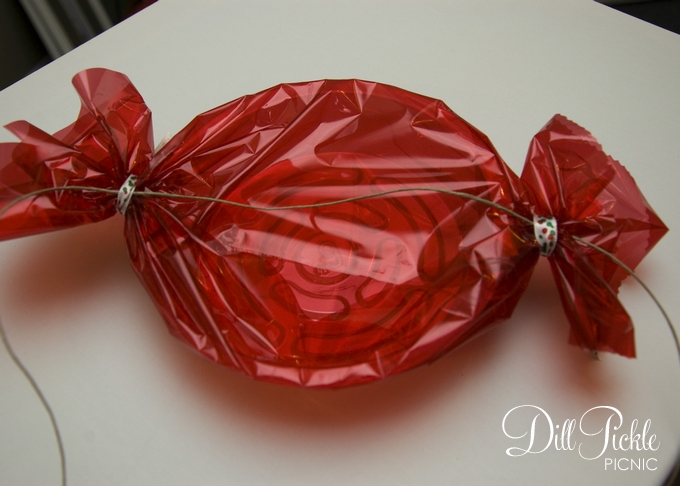
  9. Now carefully gather one of the ends and tie with a piece of ribbon.   Don’t worry if your ends are a bit long, you can always trim them when they are finished. DPP-lgcandy-10
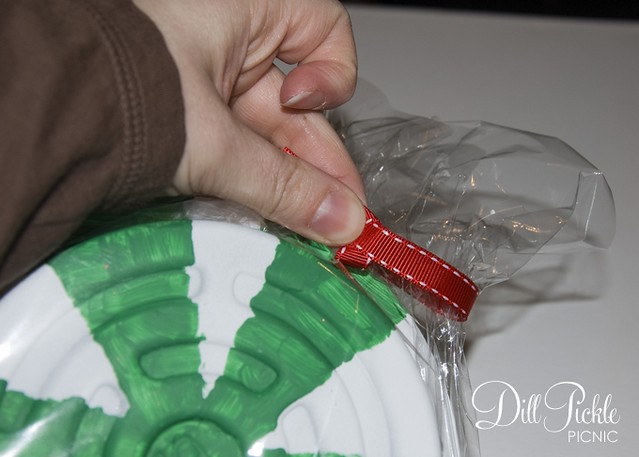
  10. Repeat the gathering and tying process on the remaining side.
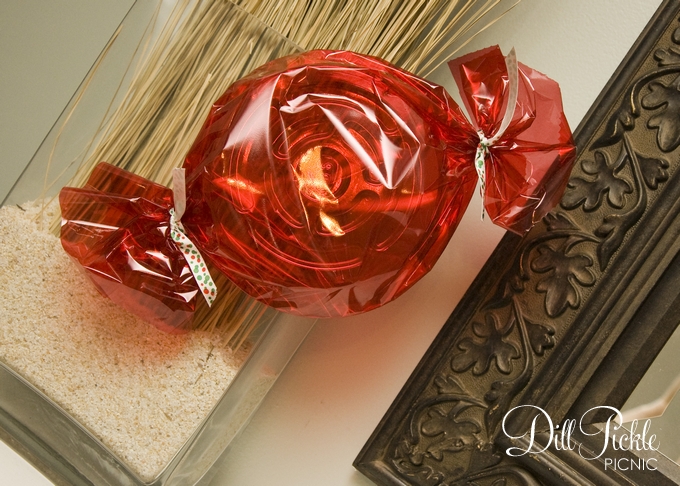
  11. Now,  you are all ready to display your candy! DPP-lgcandy-12
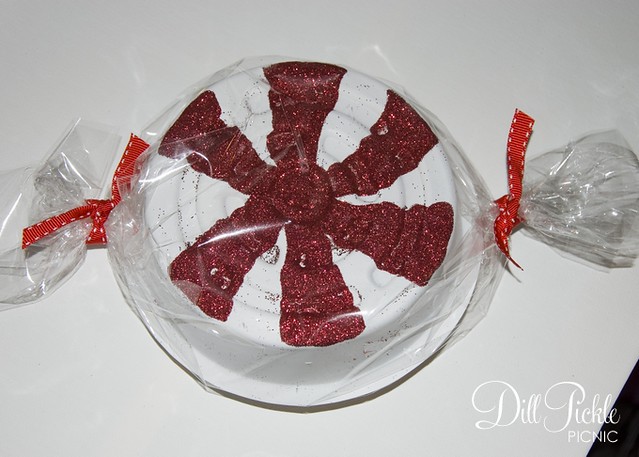
Want to add your candy pieces to garland?

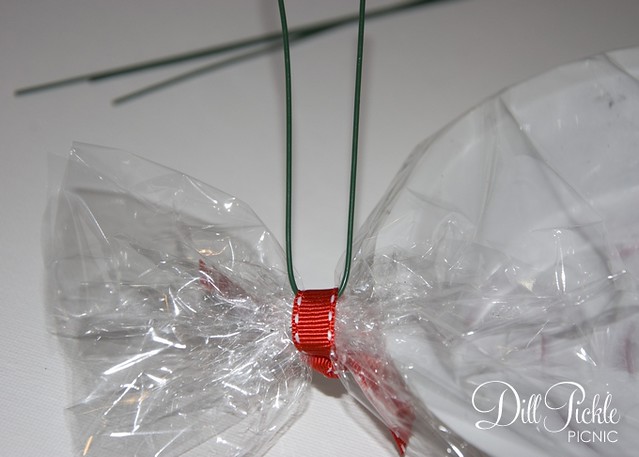
Easy, just slip pieces of floral wire behind your ribbon ties on each side and use to secure to your garland!
DPP-lgcandy-14

Like these candy decorations?

DPP-lgcandy-18

Then stick around…hopefully I’ll have a fun reuse candy bunting project to post later this week!

How do you decorate your mailbox?  Have any fun mailbox inspiration links to share?

DIY Link: Yo-Yo Christmas Trees & Product Review

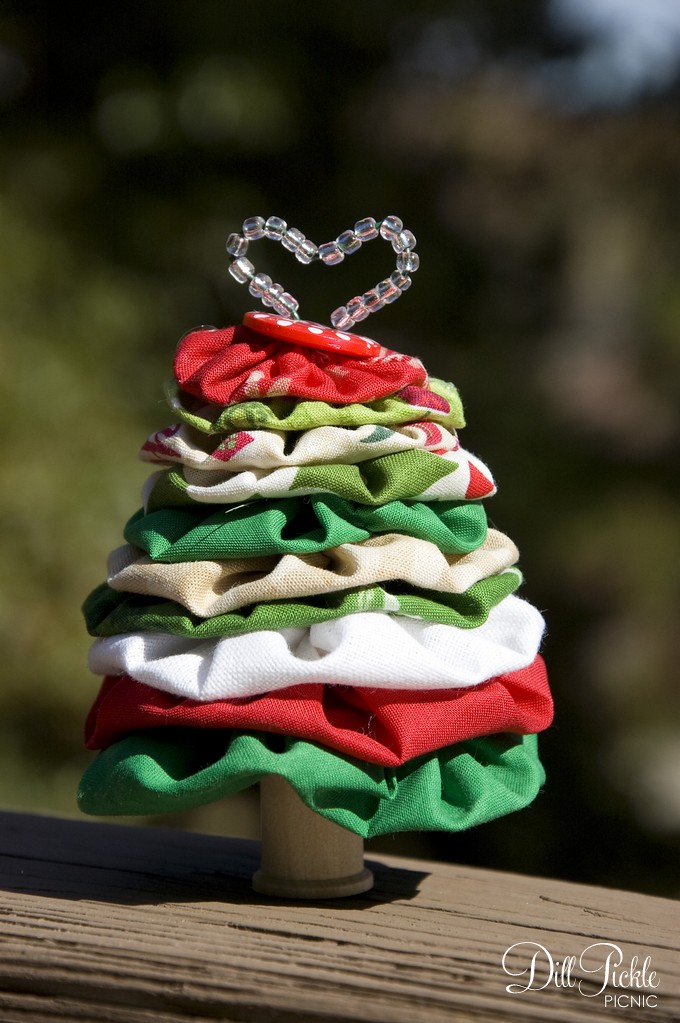
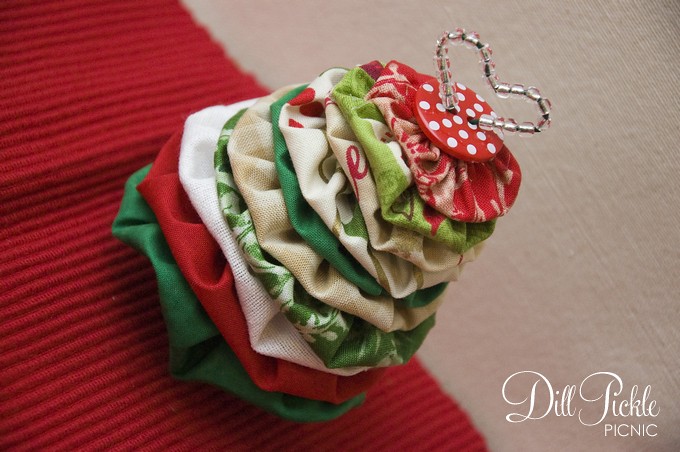
I’ve mentioned my love of Swap-Bot before, and today I’ll show off one of my latest projects that was shipped off several weeks ago to one of my swap partners.  The Yo-Yo Christmas Tree:

DPP-YoYoTree4

Isn’t it cute?  I love to make yo-yo’s, making them is quite soothing to me for some reason.   Typically I have a pile of them laying around with no clue how to use them and after seeing a yo-yo pumpkin this fall thought I should attempt to make a tree.  Then I saw this fun tutorial from Kiwi at Heart and she had made exactly what I was dreaming up in my head.  She does a great job explaining the process…I only did one thing differently.

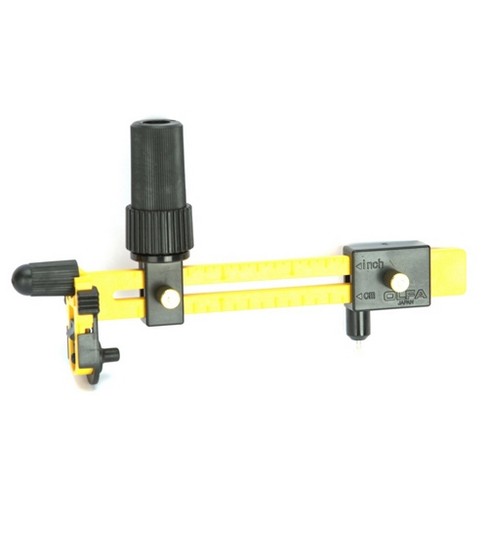
Where she uses templates to cut her circles, I decided to try out this fun little gadget I picked up 50% off at Joann’s a while back.

Olfa Circle CutterThe verdict?  I LOVE it!

PROS:
I was able to just adjust the setting to match her dimensions and cut the circles out with no templates.  It works much like using a string & pencil to draw a circle…only this bad boy has a sharp pin to hold it in place and a super shape rotary blade.  Such a time saver…especially when you love to make yo-yo’s as much as I do! I have a quilt I want to make this year that involves circles and I am thinking this little guy might be a life saver when I get to that point.  So if you cut out circles-o-plenty of like I do…it might be the best $15 you spend.

CONS:
It uses a really sharp rotary blade, so you absolutely must use a cutting mat underneath it.  It can also be a bit odd to hold and turn at first, but once you get the hang of it that isn’t really a problem.

Any other recommendations out there for yo-yo construction or quilting gadgets I might also find indispensable?  Please, share!!

DPP-YoYoTree1

Make sure you check out the yo-yo tree tutorial:  Yo-Yo Christmas Tree Tutorial from Kiwi at Heart

You might also check out Mummy Crafts to see her take on the same tutorial, which also includes a template for cutting the circles.

Fine Print:  I have not been compensated in any way by either Joann’s or Olfa for my review of this product.  It is simply my opinion based on usage of the product I purchased.

DIY: Large Candy Decorations – Part 1

Can you believe it’s December already?  Wasn’t it just June?  I remember thinking the saying “time flies” was just one of those things older adults said. Much like walking to school in the snow, up hill both ways.  Sadly now I completely understand what they meant…this year has flown by!

Last year on a last minute, right before Christmas trip to Pike Nursery I noticed  their fun outdoor decorations.  They had these large peppermint patties.  It took me a minute but then it hit me…they made them.  So I snapped a photo thinking I should give it a try this year.

DPP-lgcandy17

DPP-lgcandy19

Supplies Needed:

DPP-lgcandy26

  • Tape
  • Scissors
  • Red (or any color)  cellophane wrap
  • Ribbon or twine
  • Clear Plastic Flower Pot Saucers (mine are 6 inch)

Instructions:

    1. Cut your cellophane into pieces larger than your saucers.  I doubled the diameter of my saucer, so 12 inches square for each 6 inch saucer.  Don’t worry if you have too much on the sides you can trim that later.
    2. Lay your first saucer in the middle of one of your pre-cut cellophane pieces, open side up.DPP-lgcandy7
    3. Pull the bottom half of the cellophane up and over the top of the open saucer.  Secure it with tape.DPP-lgcandy8

  1. Pull the top half of the cellophane down and hold closed with a tiny piece of tape.DPP-lgcandy9
  2. Now carefully gather one of the ends and tie with a small piece of twine.  You could also just use your decorative ribbon but since they will be outside I wanted to tie them with something a bit stronger.  Don’t worry if your ends are a bit long, you can always trim them when they are finished.
    DPP-lgcandy10
  3. Repeat the gathering and tying process on the remaining side.
  4. Now, cut pieces of your decorative ribbon, and tie over the twine to decorate your candy.DPP-lgcandy14

Want to make your candy into an extra large bunting to hang along your front porch?

Easy, just add your bunting twine or robe in behind your ribbon ties, hang, and enjoy!

DPP-lgcandy25

DPP-lgcandy22

Total Cost:

All of the supplies listed above were found at my local dollar store!  I spent a total of $3.00 which would make over 6 of these large candy pieces which supplies left over for a couple other projects you’ll see very soon
$1 and up

Like these candy decorations?
Then stick around…I’ll have additional ones later this week & next!

_______________________________________________________