This is one of my final “envelope of doom“ projects, but it’s one you could use for many other things. I’ve been wanting to try my luck at stamping metal objects with my letter punches I picked up a while back with a 50% off coupon and this gave me the perfect excuse. I think I still need to work on the pressure I “stamp” or hammer each letter with…but overall I was happy with how it turned out. Since these items were intended to be gifts, I included this little guy in a SwapBot package (visit this post for more info on swapping).
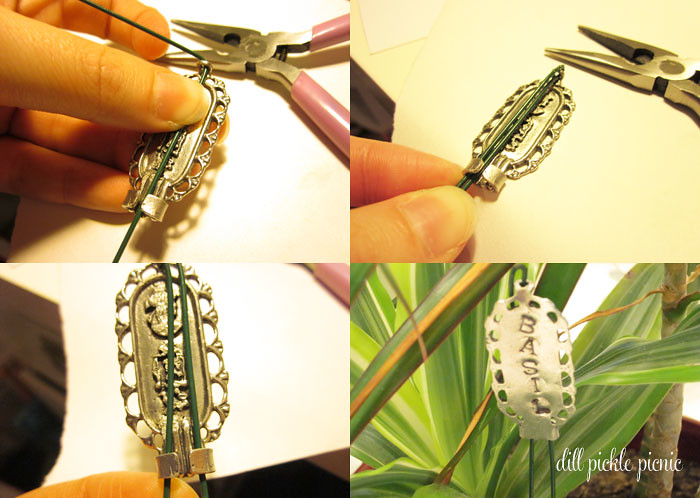
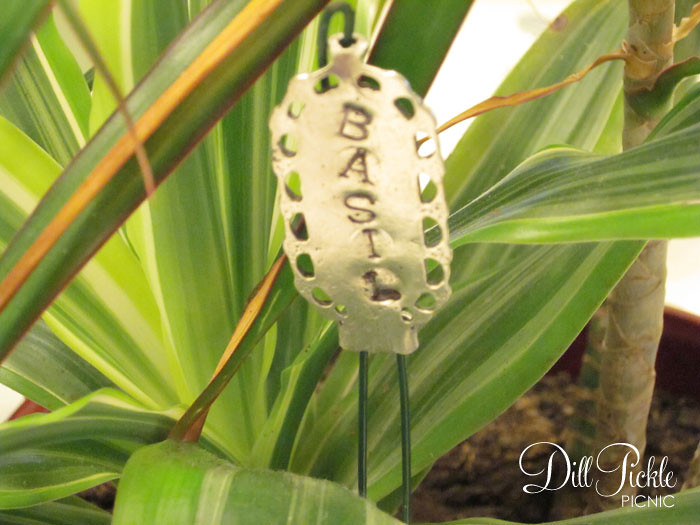 And yes, I realize that isn’t Basil. My basil plant just died so this was my indoor option. 🙂
Supplies Needed:
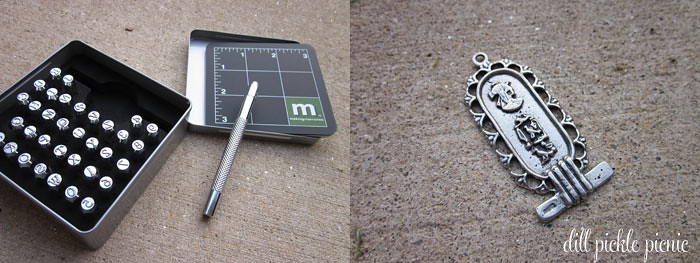
- Letter Punches, I have the Making Memories Stamping Die Set

- Metal item to use as plant marker
- Large piece of floral wire (not pictured)
- Hammer
- Solid surface (in my case our sidewalk)
- Black permanent marker or paint
- Glue (like E6000) – optional depending on your item
Instructions:
1. Gather your metal item to stamp. I’m using a metal pendant from my envelope of doom, but metal washers or even flattened spoons also look fun! Use your imagination.
2. Find a solid surface that won’t scar, but also won’t give when you hammer the letter into the metal. If you are worried about concrete marring the opposite side of the item and your set didn’t come with the little mat like mine did, you could always put down a thin layer of fabric to protect the item.
3. Measure to determine if your word will fit on the item
4. Start from the top, pick the first letter and align on the item. Hit with hammer. (sidebar: I was a bit frustrated with something the afternoon I attempted this project so it was great stress relief to hammer on something…although it might have caused to hit a few letters too hard.
5. Repeat with the letters down the length of the item. You’ll get the hang of how much pressure you need after a few letters so having a test piece to work on first would be helpful to some.
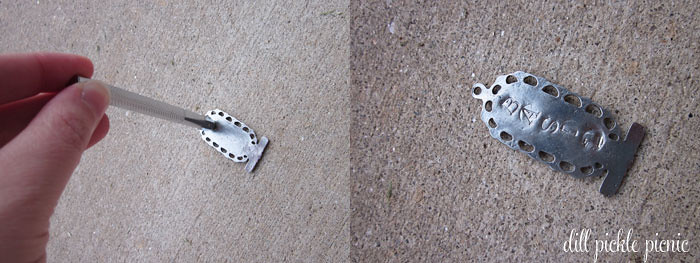
6. Next it’s time to make those stamped letters stand out a bit more. Using a black permanent marker or paint quickly color in the first letter and then wipe the excess off so that only the groves are painted. Repeat for each of the letters.
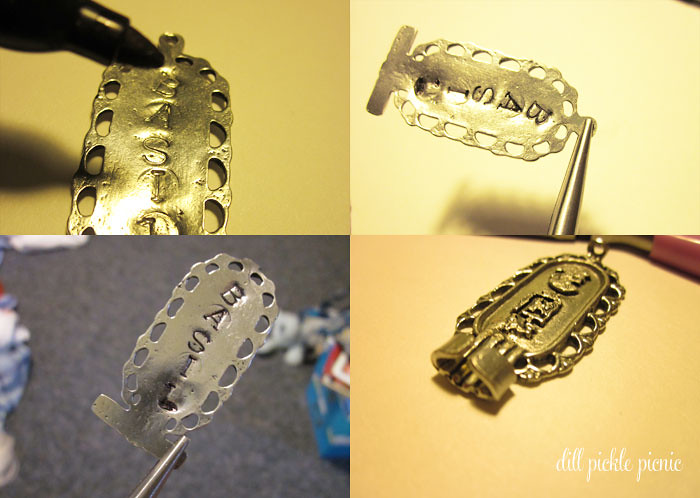
7. Now it’s time to attach your metal tag to the wire. If you are using a flattened spoon, you can skip this step since you already have a stake on your tag! This is also where your version will differ from mine…I had a loop on the top and two pieces on the bottom of each side. So I was able to bend each of these pieces towards the back of my piece.
8. This is also where your version will differ from mine…I had a loop on the top and two pieces on the bottom of each side. So I was able to bend each of these pieces towards the back of my piece.
9. Fold your wire in half and start to attach it to the back of your metal piece. For a washer open the wire up much like I have below to form an inverted “V” and then glue to the back of the washer. I was able to feed the wire up through the top loop and then secure it to the back by bending the sides down on top of it.
10. Let glue dry, add to plant and enjoy 🙂
Do you label your garden plant? We didn’t do such a great job of that this year, but next year I plan to create DIY plant markers. If you’ve created your own please share your favorite garden marker project links.
PS. I hope each of you has a wonderful Labor Day Weekend & War Eagle!

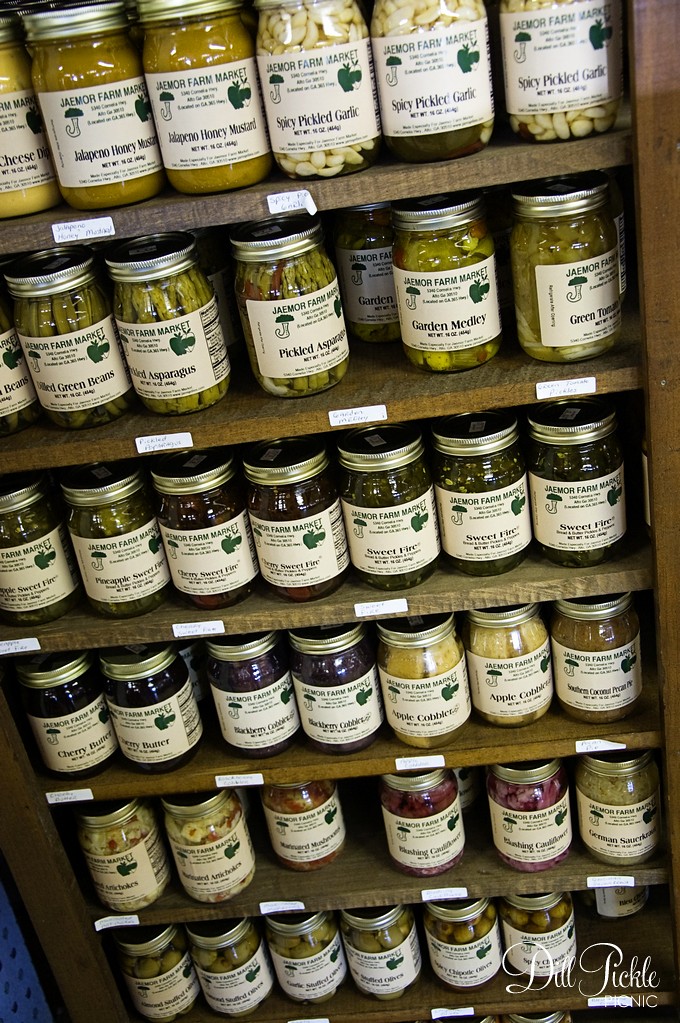 Pickled Asparagus anyone? or perhaps some Jalapeno Honey Mustard?
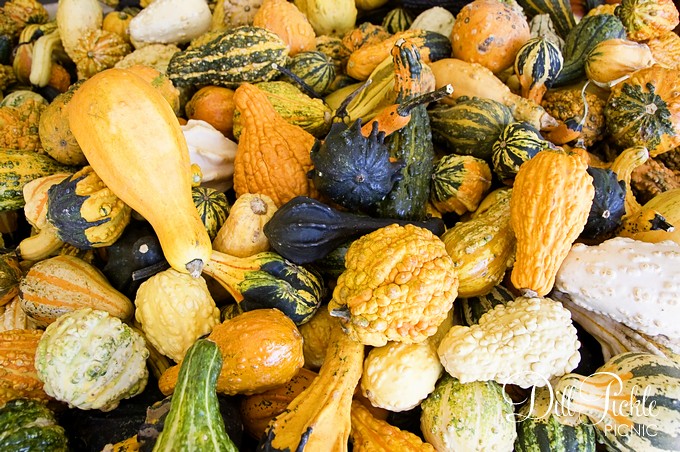 Or how about a colorful squash or two?
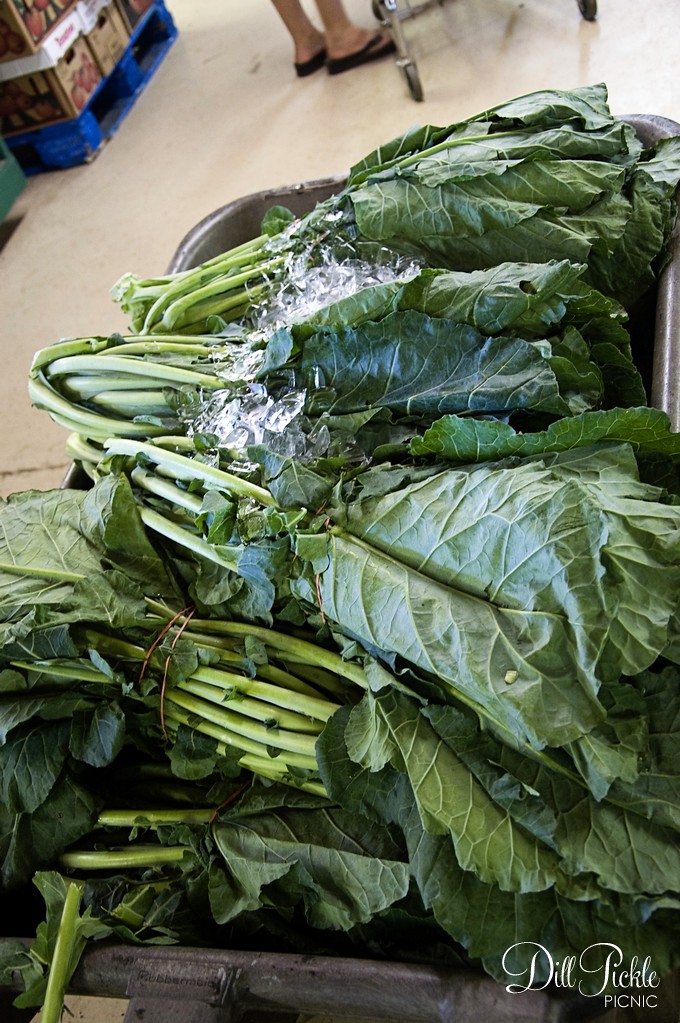 or some greens?
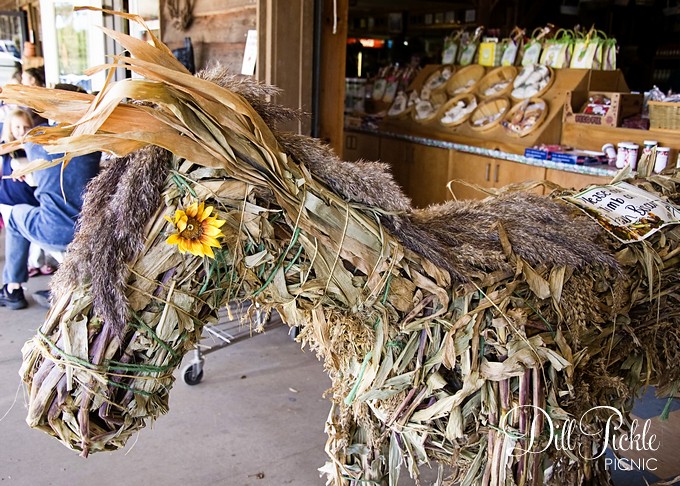 This is Pecan Biscuit…isn’t he fun?
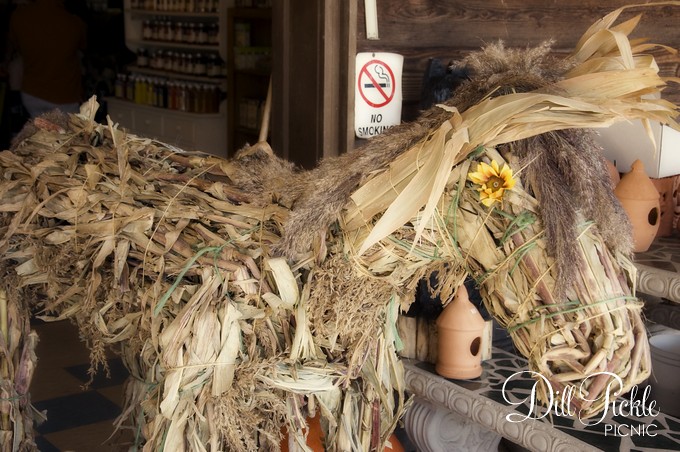


 What is Swap-bot?
 Would you have guessed the cover collage was a single shot of glass beads? Pretty fun huh?


