
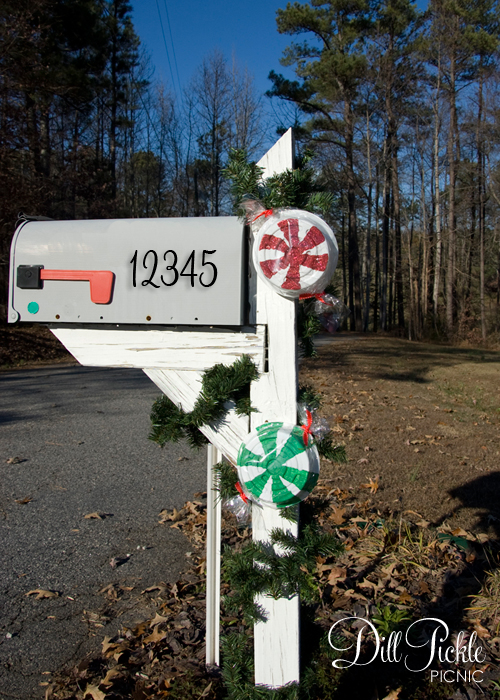
Earlier I posted some photos from my inspiration candy pieces…they were white, glittery, and peppermint-y. The plant saucers I have are clear…so that meant I needed to try to make them work as well as buying new white ones. These took a bit longer than those in the first post since they needed some drying time, but we used them to decorate our mailbox just a bit.
Supplies Needed:

- Transparent Cellophane ($1 from dollar store)
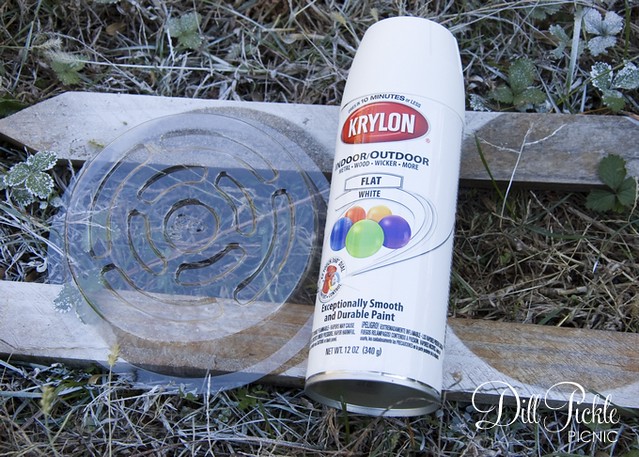
- Plant Saucers (mine were $1 from local dollar store and are 6 inches in diameter)
- White Paint (I used some white spray paint from my stash)
- Paints for peppermint colors
- Ribbon ($1 from Big Lots)
- School Glue ($1 from dollar store)
- Glitter ($1 from Michael’s dollar bins)
Instructions:
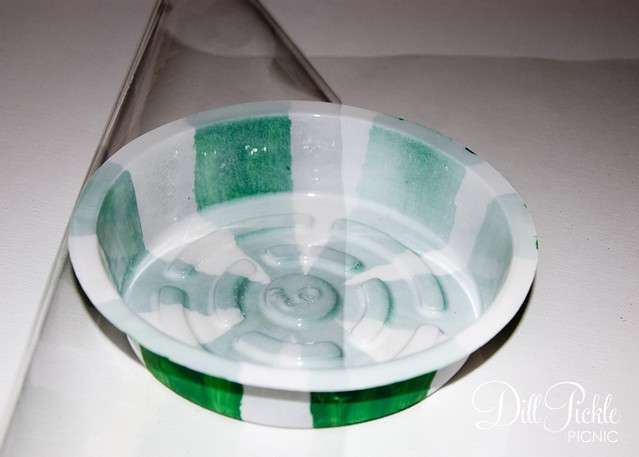
- If starting with clear saucers start by painting them white. You could use acrylic paint and a brush, or spray paint works great for this project. I used a can leftover from another project and gave the saucers a quick light spray, and then let them dry thoroughly.
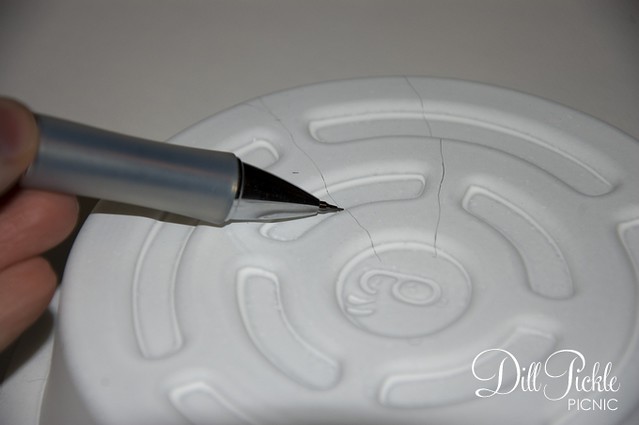
- Once dry, it’s time to decorate your candy pieces. I start by lighting outlining the shapes of the areas to be painted on the top of each piece with a pencil.
- For painted pieces use your acrylic paint & brush to fill in each of the candy sections. Sit aside to let dry (I leave mine overnight).
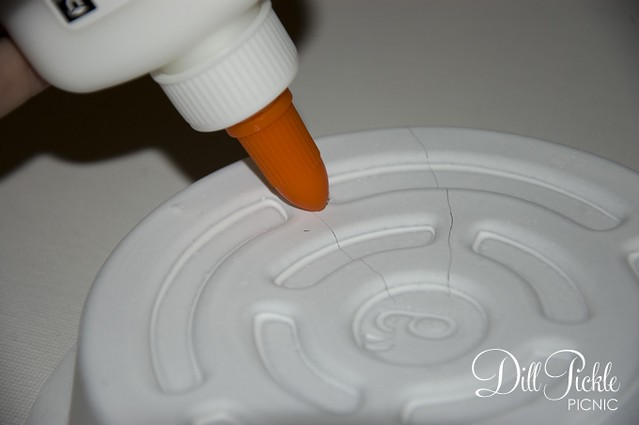
- For Glittery pieces fill in each of the candy sections with your school glue. Use the paintbrush to fill in the spaces if necessary. Then over a piece of paper apply your glitter. Use the paper to reuse extra glitter until all glue is covered. Sit aside and allow to dry (I leave mine overnight)
- Cut your cellophane into pieces larger than your saucers. I doubled the diameter of my saucer, so 12 inches square for each 6 inch saucer. Don’t worry if you have too much on the sides you can trim that later.
- Lay your first saucer in the middle of one of your pre-cut cellophane pieces, open side up.
- Pull the bottom half of the cellophane up and over the top of the open saucer. Secure it with tape.
- Pull the top half of the cellophane down and hold closed with a tiny piece of tape.
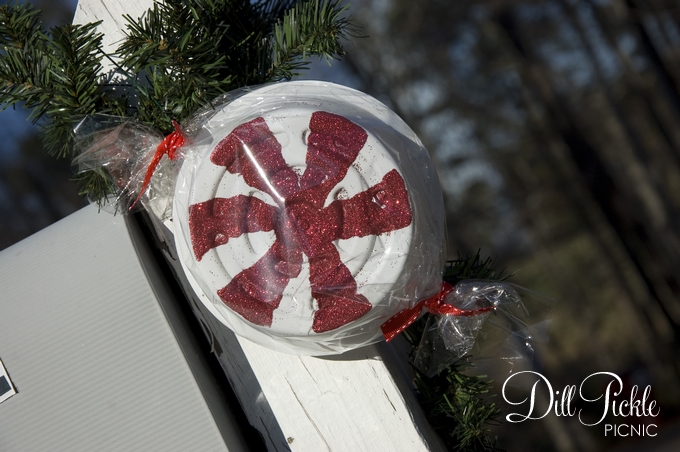
- Now carefully gather one of the ends and tie with a piece of ribbon. Don’t worry if your ends are a bit long, you can always trim them when they are finished.
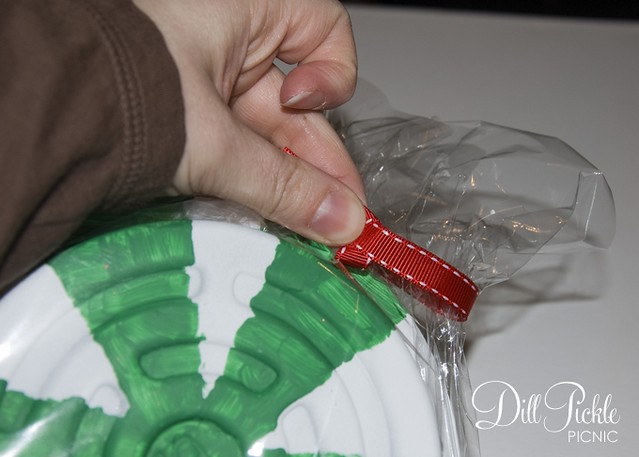
- Repeat the gathering and tying process on the remaining side.
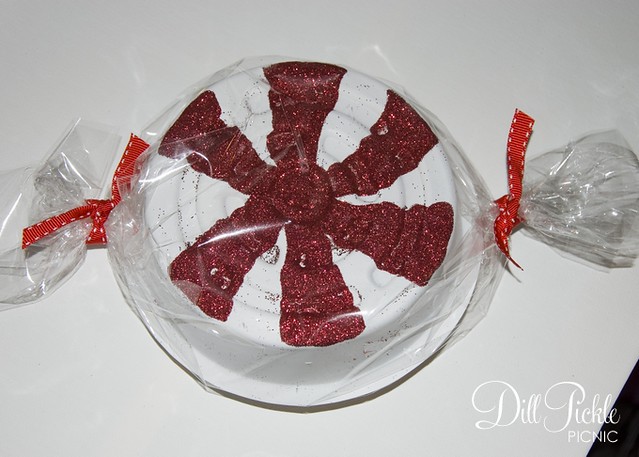
- Now, you are all ready to display your candy!
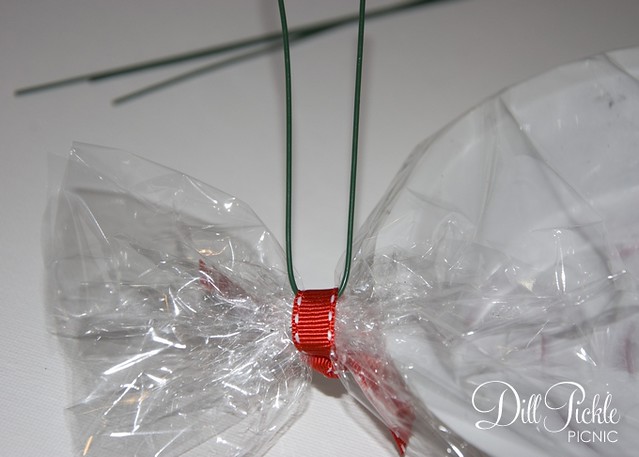
Want to add your candy pieces to garland?
Easy, just slip pieces of floral wire behind your ribbon ties on each side and use to secure to your garland!
Like these candy decorations?

Cute… :):)
Thank you so much for these instructions! I completely forgot to take pictures, but the decorations worked out wonderfully for the dance! We even used some cheap plastic trays, covered them with brown wrapping paper, and painted some to look like lollipops to use in the photo booth. Thanks again for the inspiration!
Ha, they look so cute on the mailbox! I love the big impact.
I really, really love these and I’m kicking myself for not seeing these earlier, because they’d be perfect for my mailbox!